One amazing feature of the pastel medium is the contrast you can get using its brilliant colors against a neutral or dark background. Want to capture the mystery of a picturesque night scene? Pastels are a great way to go!
Here is a step-by-step guide for anyone who’d like to create a night-themed painting with soft pastels.
Step 1: Compose your sketch
As with any pastel painting, it’s a good idea to start with a basic sketch to map out your composition. Use a neutral color when sketching so you can go darker or lighter to cover it up later. And, because the light source is so important in a night scene, think about a composition that will allow you to emphasize the effect that light has on the entire painting.
Oh, and if possible, use a dark, neutral-toned paper for your surface (mine was a bit light for this demonstration, unfortunately). Trust me, it’ll be a lot less work to cover.

NOTE: If you’re using a pastel paper with different textures on each side, turning the paper over to the less “toothy” side can give you a softer, more smeared effect with pastels. This might be exactly what you want for a darker scene.
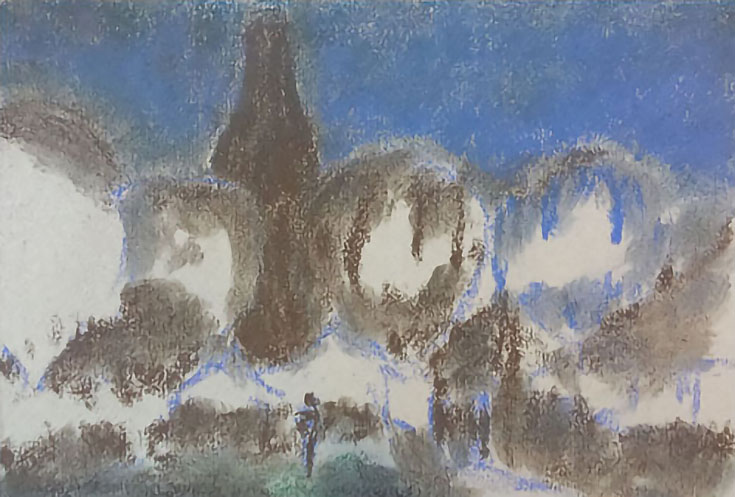
Step 2: Create an underpainting with shadows
In the next phase, I begin by selecting a color that will set the mood of the painting and fill in the night sky. For a romantic country scene, that might be purple. For a mysterious ocean scene, I might use green. Because this painting will be of a summer festival, I’m using a deep blue to give the feel of a summer night.
Instead of black, use your darkest gray (as close to black as possible) to fill in the shadow areas. Leave everything else the tone of the paper for now.
Step 3: Add pops of color!
In my opinion, the element that makes a pastel night scene sing is color. Color sets the mood for the painting and provides a respite from all the dark shadows. Choose carefully which colors you’d like to emphasize, and use them sparingly throughout the piece, blending into your shadows as needed.
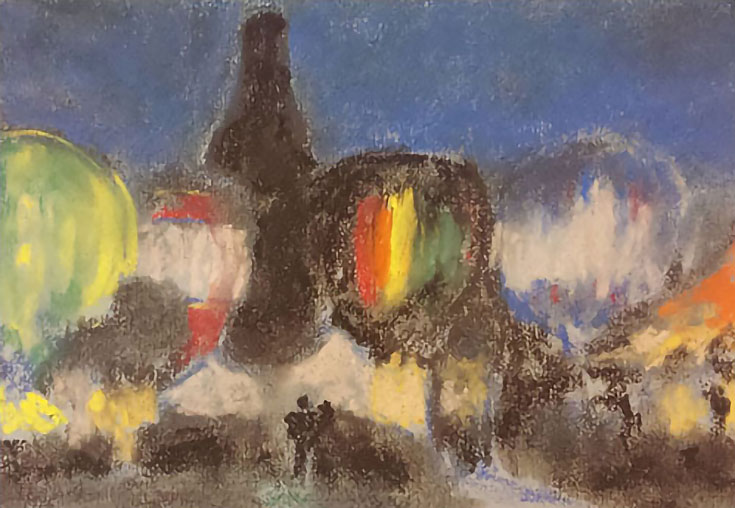
Add color to any light sources too—you’ll be adding your final highlights on top of them later. Being selective with your colors and selecting a few areas to use rich color will give them the opportunity to “pop” against all the shadows and light.
Step 4: Finish with your lightest lights
As you’ve worked through your painting you’ve been adding shapes, shadows, and colors, all building toward that last phase where you’ll apply your lightest lights. Since most of the work has been done setting the stage, all you need to do now is add a little brilliant, white light for your light sources in the painting.
I typically smear just a tiny bit of white into the center of my light sources, blending them gently into their surroundings until your eye can’t quite see where the white stops and the other color starts.
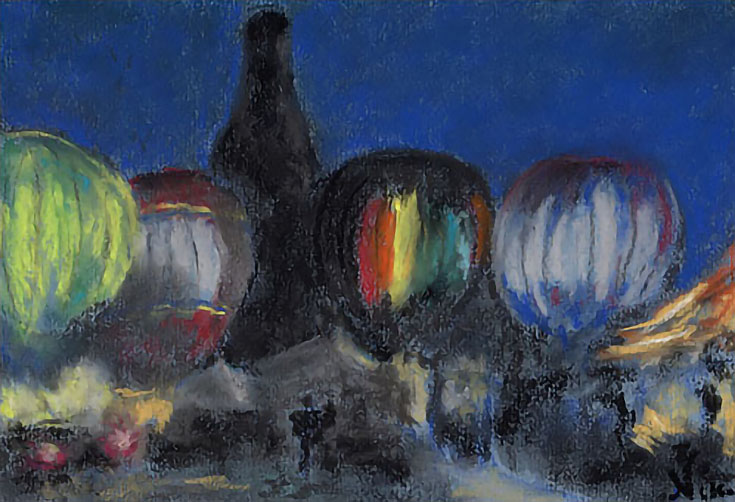
Then, once your lightest lights are in, give your painting a once-over and finish blending or tweaking any other areas that need it.
I didn’t use fixative with this piece, because I wanted it to feel soft and “smeary” rather than crisp and clean. If you decide to use fixative for your own painting, do it lightly between stages, and of course, follow all the safety instructions listed on the product.
When you’re finished, just sign your work, and you’re done! Happy painting!
This post may contain affiliate links.