White tulips are beautiful, delicate and a joy to paint. . . but the trick to painting them is understanding that many colors are used to make something appear white. (Luckily, that’s also the fun part!)
Follow along as I take you through my steps to paint these gorgeous white tulips.
1. Arrange and light your tulips
When I purchased these tulips they were all closed up tight, so I cut off the ends of the stems, placed them in water, and let them open up a bit before I painted them. This is a good way to see all the interesting shapes and colors that hide inside the flowers.
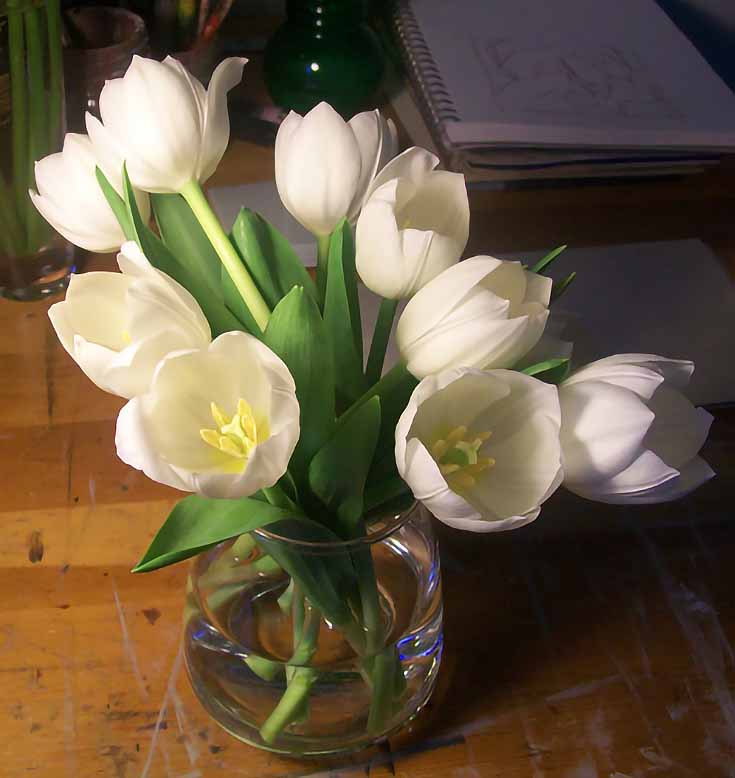
Next, I put a bright spotlight on the bouquet coming from the left side. (You can also use natural light coming from a window, if you’d like.) Either way, make sure you have a strong, single-direction light source to give some great contrast and nice shadows before you paint.
If you take just one thing away from this tutorial, it should be that: always have a strong, direct light source!
2. Sketch your composition on canvas or panel
For this painting, I decided to use a 5×7 inch artist panel that I primed myself with acrylic gesso. I prime my own supports sometimes to have more control over the surface texture, but you can get artist panels from a variety of art supply vendors and they come un-primed or primed in smooth and coarse textures.
You can see below that I also cropped in on a section of the subject to make it work best in my 5×7 format. A few preliminary thumbnail sketches in your sketchbook will help to work out the composition if you’re not sure where to start.
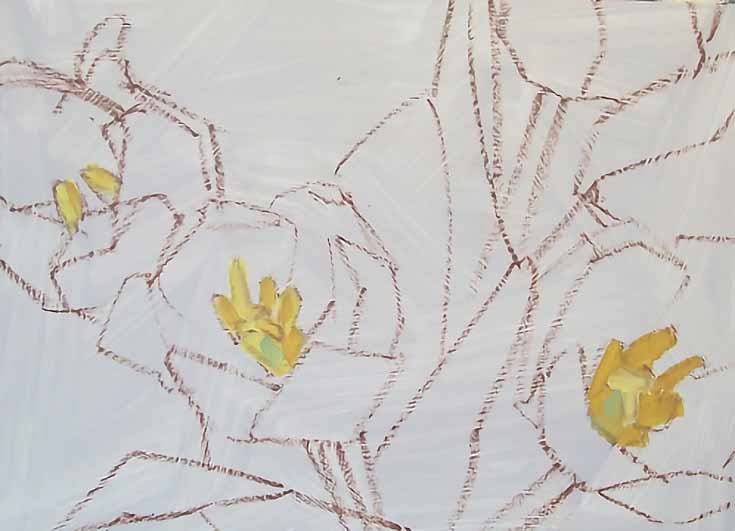
Once I sketched the composition onto my panel I start painting the yellow bits on the inside of the blooms. Yellows can get muddied up pretty quick by the other colors so I like to lay in the clean, light yellows first to avoid this problem.
3. Block in your shadows
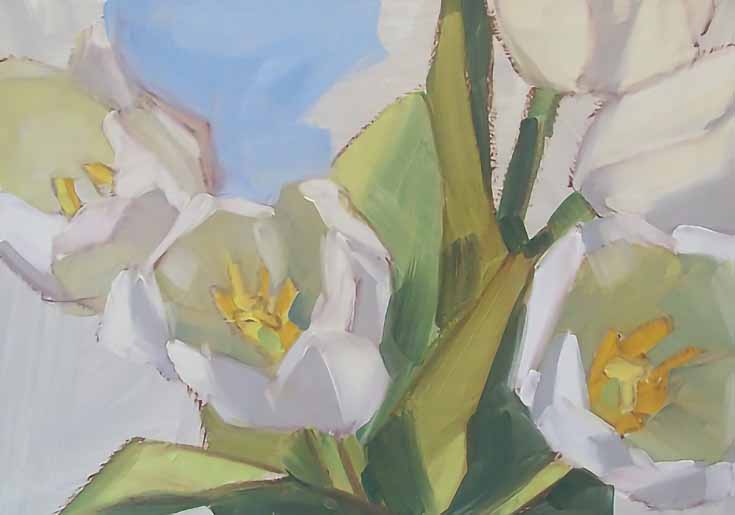
This is when it gets fun. Take a look at the shadows in and around the white petals. Notice the variations in color and temperature (and check out the original photo at the beginning of this article to see what I mean.) The shadows closer to the light source are warmer; as they get further away they cool down. Here’s how I recreated that in my painting.
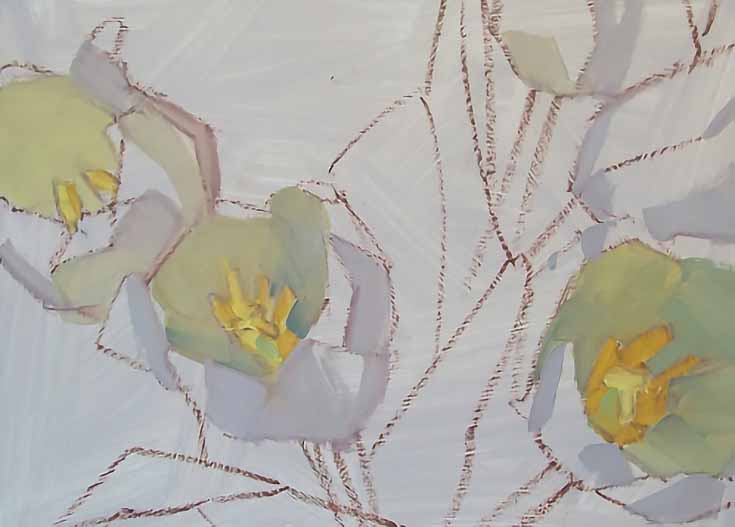
Fight the urge to mix a basic gray with just black and white, and really play with the colors. I used a yellow and bluish green for the shadows inside the tulips (where the color was warmer) and cool blue/purple gray on the outside petals.
It may seem strange to paint such “bright” colors for your shadows, but that’s only because of how it looks on the white gesso background of your panel. Once you fill in the other colors of your painting, these “bright” shadows will fit in perfectly, and your entire painting will seem to be glowing with light!
4. Fill in the lightest parts of the petals
The next step is to add the white parts of the petals. Keep in mind that I am painting wet on wet so all of my colors can get moved around and mixed together on the panel when I want them to. Also notice that when I add a stroke of white it is never pure white—I am always pulling and mixing with other colors.
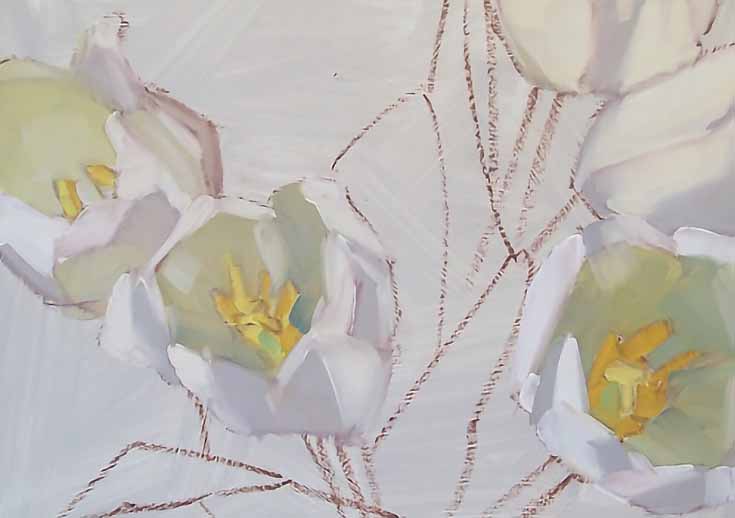
Just like the shadows, the white areas have a temperature as well, so remember to add some warm or cool tones to them. For example, see how the flowers in the upper right corner are warmer than the others? This makes a more varied and interesting composition.
5. Finish (or barely finish) the leaves and stems
I wanted the green portions of the painting to remain secondary and almost abstract, so I just blocked in the basic shapes and values and then left them alone, allowing the blooms to take center stage. Note how your tulip colors are beginning to pop!
You can definitely get more detailed if you wish but for this painting I stayed pretty loose with the greenery.
6. Add a colorful background
You can see that I already started filling in my background with some blue tones to give the idea of sky. I always save my background for last so I can push and pull color from my subject in and out of the background color. It gives a nice variety of hard and soft edges that help create a well-rounded painting composition.
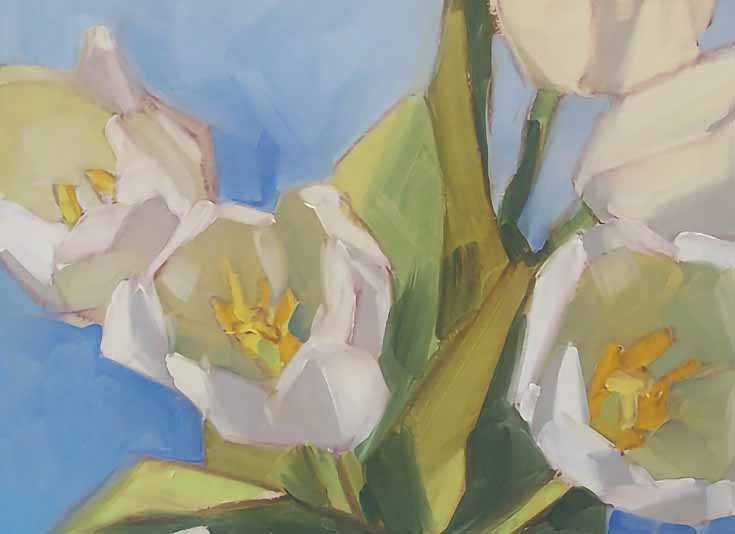
And that’s the finished piece! Take some information from this tutorial, add your own style, and get inspired to paint a bouquet of beautiful, delicate and colorful white tulips. Happy painting!
This post may contain affiliate links.