While it may seem as though you can buy a tube of watercolor paint in every imaginable color, the best way to simplify your life while painting is to learn to mix your own colors from the primaries.
Not only can you create any color you want from just a few tubes of red, yellow, and blue paint (see my watercolor paint 101 article for a detailed list of colors) but by mixing your own colors of paint, you’ll learn much more about the properties of color and how to use it in your art.
Here are three different ways to mix colors in your watercolor paintings:
1. Mixing color directly on the paper (wet-in-wet)
Wet-in-wet is a term watercolorists use when painting with a “wet” mixture of paint onto a “wet” piece of paper. I demonstrated this technique a few weeks back while explaining two different ways to create a flat wash of color on your paper.
In fact, mixing colors wet-in-wet is basically painting a variegated wash.
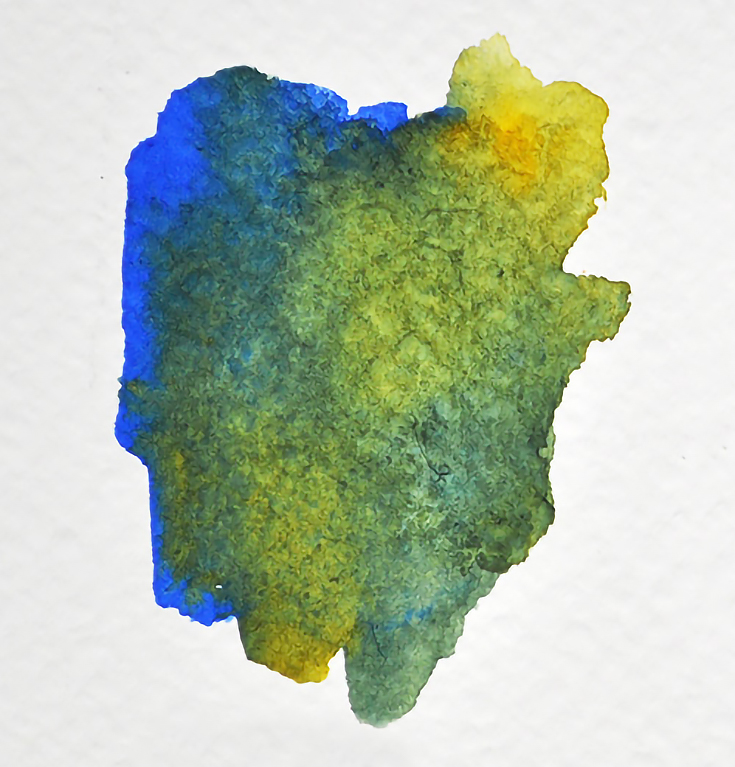
When you drop one wet color to another wet color already on the paper, the color will mix—but not in an even, controlled pattern. Instead, the colors will move wherever the water is on your paper. Working flat gives the least control, so having an adjustable easel that allows you to control the flow of paint by tilting it (even a makeshift one) may be helpful.
I suggest that you learn to work with your watercolors instead of expecting to have total control. The more you paint, the more you will learn that (in all but the driest applications) watercolor wants its own way. By not fighting it too much, you will experience what I like to call the “magic” of watercolor—that spontaneous, lively dance that happens when water and colors mingle together on wet paper!
As you can see in the image above, mixing blue and yellow watercolor paint directly on the paper still registers as green to the eye, but the edges are soft and the color is uneven. Those subtle color shifts and irregular color patterns are some of the most exciting parts of watercolors, and can often enliven your paintings. I mix most of my colors like this for that very reason.
2. Mixing color on your palette
Sometimes you may prefer to mix your colors on the palette. This allows you to create a very uniform color, and is good for even color applications. Maybe you need places in a painting that are not too busy, and an even color will work best there. Or maybe you need a large area of flat color, like a sky. By mixing the color on your palette you can be sure you have enough of the same color mixture to complete the whole area.
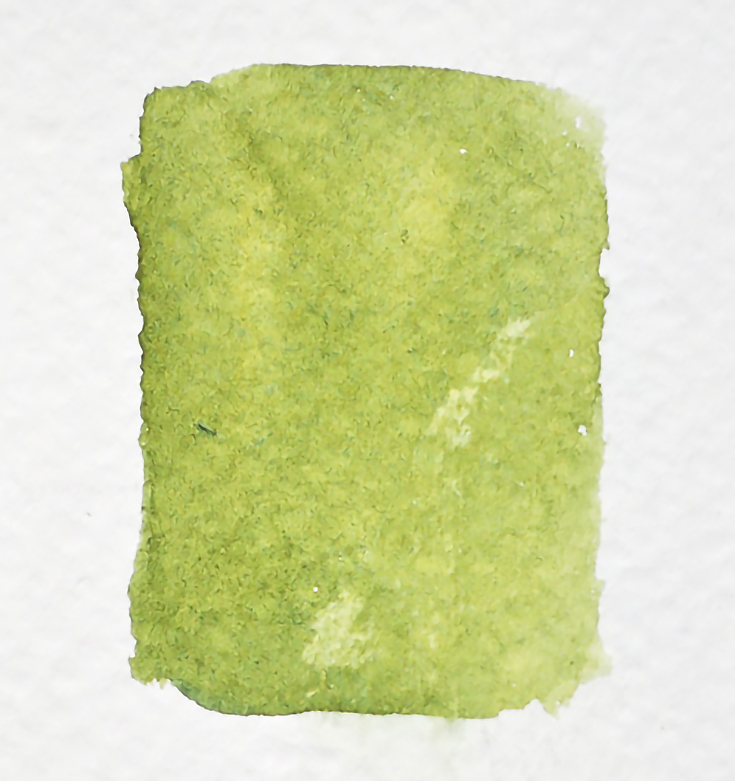
Here’s a word of caution, however: when I was beginning to learn watercolor, there were many times I did not mix enough paint to finish the section I was working on. I had to stop painting—and watercolor is all about timing—and mix a second batch of color which was usually IMPOSSIBLE to get to match the first batch.
By the time I got my second batch mixed, the first area was drying. When I tried to go back in and paint with wet color over that dry area, it just made a huge mess. It is for this reason I suggest you have a palette with a large mixing area so that you can mix enough paint the first time.
3. Applying glazes of color
The third way to mix color is by using a “glaze.” A glaze is a second application of paint over the top of the first application—sort of like layering different colored glass on top of each other. Because many watercolor pigments are transparent, the individual colors are still discernible, creating beautiful color effects.
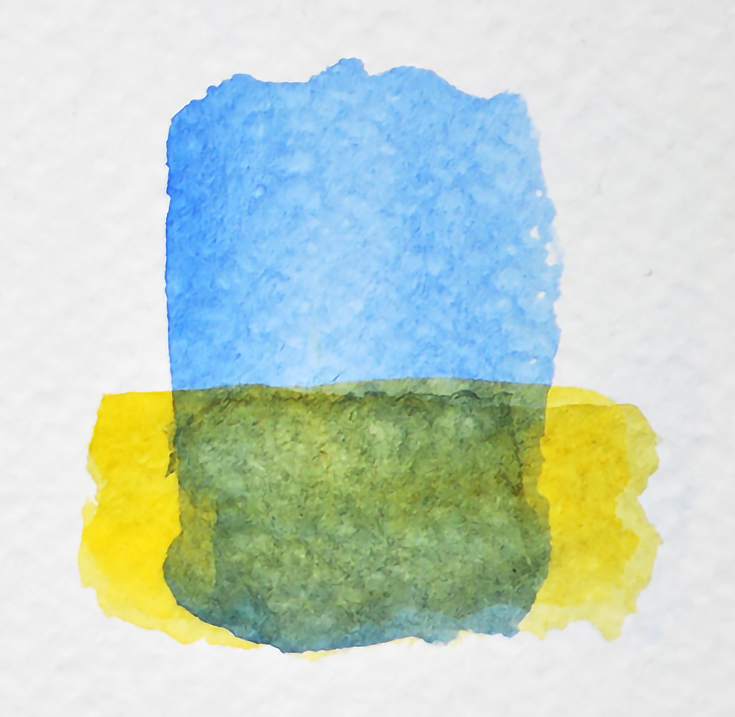
Keep in mind, the first application must be completely dry before adding another layer on top. Many things affect how quickly your paper dries, such as how humid the air is, or how wet the wash was. If your first layer is not dry, streaking or a muddy, uneven color will result. So even if your paint looks dry, allow several hours or use a blow drier to make sure.
Note: A glaze is also an effective way to add a darker value of the same color. After you have painted an area (if you see that it needs to be a darker value) you add the same color on top and build another color layer, making it darker that way.
Remember—watercolor always dries lighter
Any time we paint with watercolors we must remember that it dries 30% lighter than what we see when it is wet. It’s helpful to keep this in mind and start out by painting colors that are a little darker than you think you need them to be.
Yes, you can always go back in and brush on more paint to make something darker, but the fewer times you go over an area with paint the more vibrant and clear the color will be. Most students’ biggest complaint is that their paintings looked over-worked and lack vibrancy, so definitely keep this in mind.
In addition, the ratio of water to paint will influence how dark or light your color mixtures are. To lighten watercolor pigments, just add water and let the water and white of the paper do it’s job. To darken a mixture, add more paint and less water.
Soft, transparent glazes will seem light-filled, while dark bold wet-in-wet mixtures will seem dark and heavy. It’s good to have options!
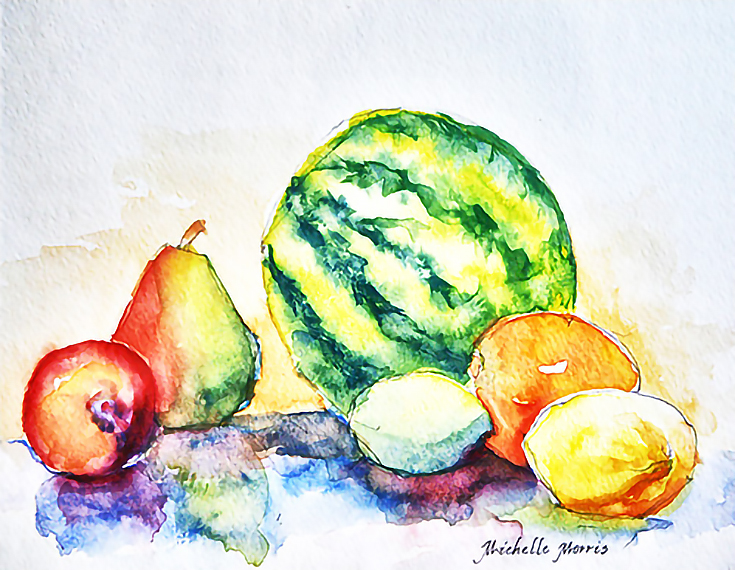
This painting was created by mixing all the colors directly on the paper. For your next watercolor painting, try out a few of the different mixing techniques explained above, and see which one YOU like best.
Make sure to check out all the other links in this article for more helpful tutorials and demonstrations—good luck, and happy painting!
This post may contain affiliate links.