In today’s watercolor painting tutorial I’ll be demonstrating some basic techniques, including several brush strokes you can practice on your own to gain more familiarity with your brush and paint.
Before we jump in, however, you should take a minute to get comfortable and put everything exactly where you’ll need it while painting.
Setting up an efficient painting space
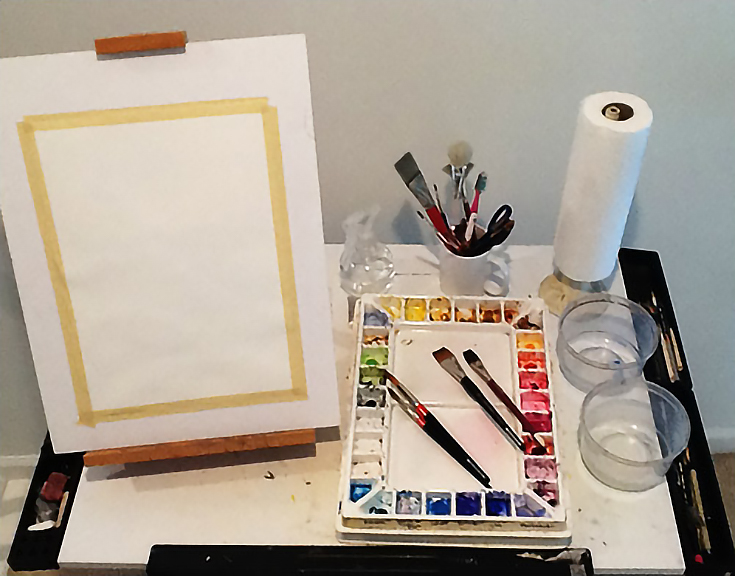
When painting in my studio, I use a table-top easel for small to medium-sized works, and a standing easel for larger works. I am right handed, so I set up my space with the easel to the left and my tools on the right side of the table.
In the photo below, you can see my brushes standing upright in a cup (NEVER leave brushes standing in water—it will ruin their shape) alongside a roll of paper towels, two water containers, and my palette.
Organize your own tools in a way that feels comfortable to you, with everything in easy reaching distance, and you’re ready to start painting!
Mixing your paint with water
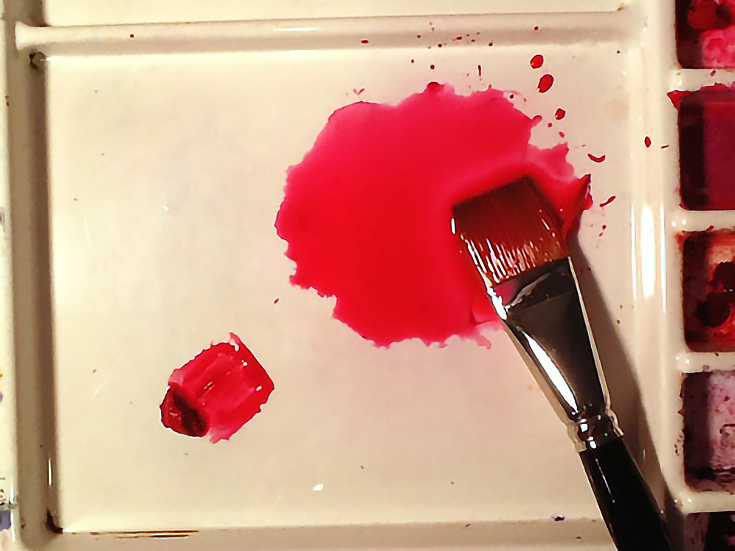
Is your watercolor paper mounted and on your easel? Good. Put a dime size dollop of red paint on the mixing space of your palette, and select a flat brush. (Check out my other article for more information on which types of watercolor brushes to buy.) Right now we’re simply going to get a feel for loading your brush with paint.
Dip the brush in clean water and use it to scoop up about half of that dollop. Make a watery puddle to work from in your mixing area. Load the bristles of the brush with the watery paint mixture.
Your puddle of water/paint should be an even consistency, with no clumps of pure paint or clean water. And, your brush should have a good amount of liquid paint soaked up and ready to use.
Painting basic brush strokes
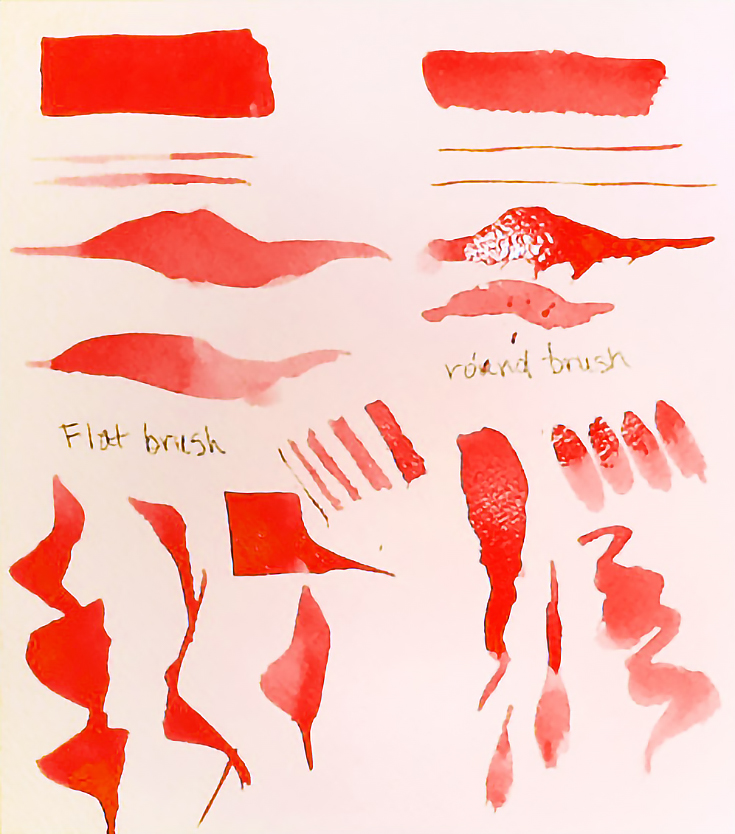
Head over to your easel with your loaded brush. Place the wide flat side of your brush against the paper and stroke some paint onto your paper in a wide band. You can quickly cover large areas with brush strokes like this—practice it a few more times if you’d like.
Next, load the brush again and stroke the paper using just the side edge of the brush, making a thin line.
Load the brush once more and start with the side edge to make a thin line, but as you move across the paper press the brush down and turn it—this is one stroke you can use to make leaves. At this point, you probably have some shapes similar to those on the left side of the photo below:
Now with round brushes you have a bit more flexibility. A round brush cannot make flat, crisp washes as well as a flat brush can, but you can still make most of the same marks as before.
Using the same method to make a puddle of paint on your palette, load your round brush and repeat the same strokes you made with your flat brush. As you can see (both in the photo above, and on your watercolor paper in front of you) you can do everything ALMOST the same.
The biggest difference is width and edge control. Flats tend to be crisp and sharp, while rounds tend to be looser.
Adjusting your grip for better brush strokes
It may seem odd, but how you hold your brush matters quite a bit. Holding the brush down close to the hairs (as though you were using a pencil) will give you a nice tight use of the brush for things like fine lines and details. Holding the brush further back on the handle will yield a looser or more gestural look.
Practice the same strokes as before with each brush again, but this time try it with a different hold on the brush. At first it may feel more comfortable to hold the brush like a pencil, but I suggest for most work you keep your grip in the mid-section of the handle just above the metal ferrule.
It might feel unnatural, but it is much easier to paint this way. Since I paint in a looser style I keep my grip even further up, and you may want to experiment with that as well.
Practicing is key
I’ll finish out this first tutorial with a little exercise, which you should do as many times as possible.
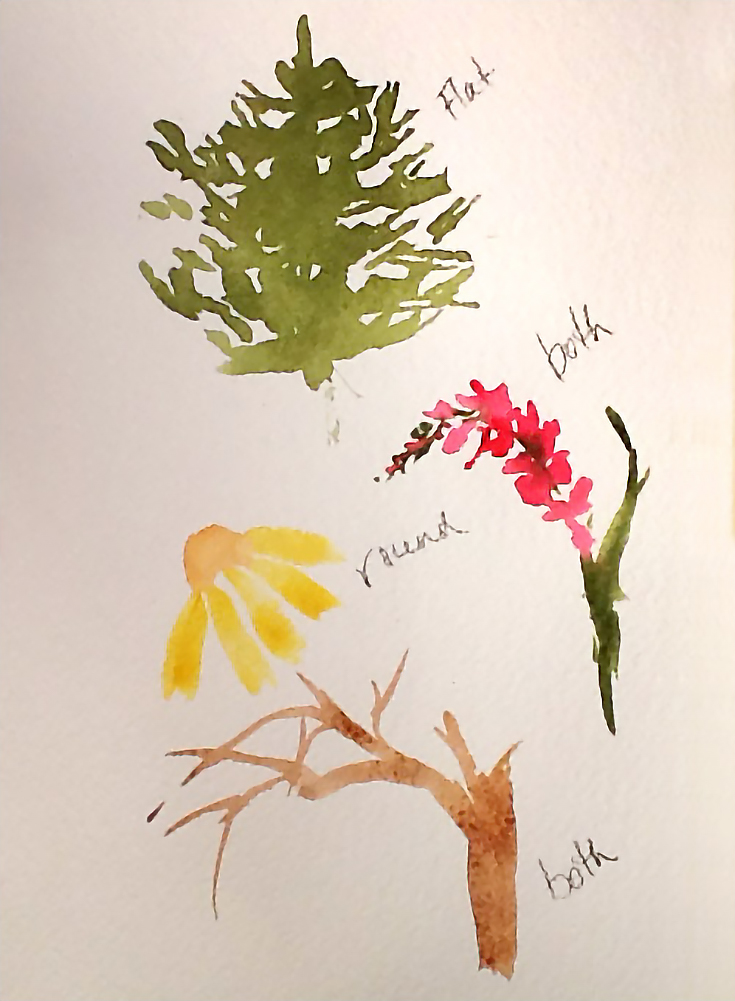
Copy the examples below or find objects of your own to practice making marks with your brush. For each object, ask yourself, “Which brush and which stroke can I use to paint this object?”
This is part of the decision making process you will always use when painting, so it’s important to think about it now. Working with your brushes and understanding what you are able to do with them is all part of the learning process. The more time you spend painting, the sooner your brush use will become second nature.
Have fun, and keep on painting!
This post may contain affiliate links.


