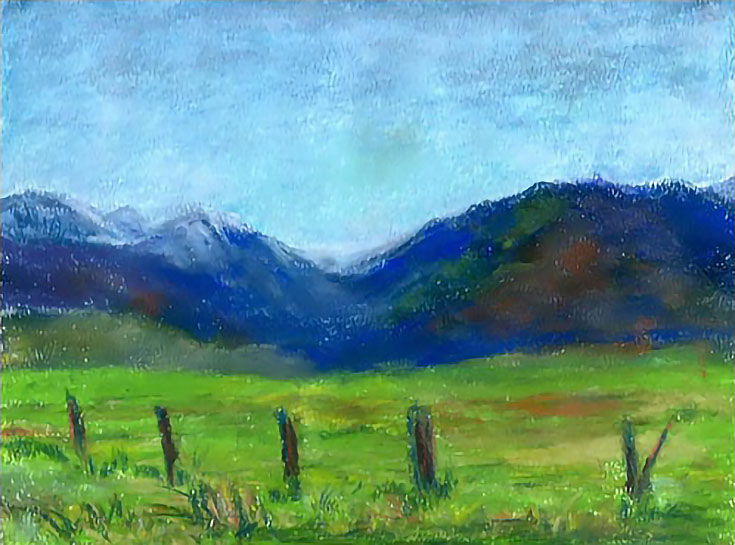
If you’ve ever worked with both oil pastels and soft pastels, maybe you’ve been curious about blending the two mediums together in a single artwork.
Of course, soft pastel is a water mixable medium, while oil pastel is, well, oil! But with a little care (and courage) you can use oil pastel as a resist in a soft pastel piece to create a richly-colored, textured piece.
How to use soft pastels with oil pastels
To follow along with this tutorial, you’ll need oil pastels, soft chalk pastels (the softer the better—they will pick up some oil pastel, so use your less expensive ones) and a surface of your choice. Watercolor paper, drawing paper, mixed media paper, or flat canvas will all work.
You may also want to have a brush and water and some watercolor paint, but those are optional. Please note that for this tutorial you WON’T want to use fixative, since it’s not made for oil pastel.
All right, let’s get started!
1. Choose a surface and create your oil pastel sketch
Before you begin sketching, you’ll need to decide what kind of painting you’d like to create. For a scratchy, textured look, choose a rough surface such as flat canvas or watercolor paper. For a smoother, more blended feel, choose a surface such as drawing or mixed media paper.
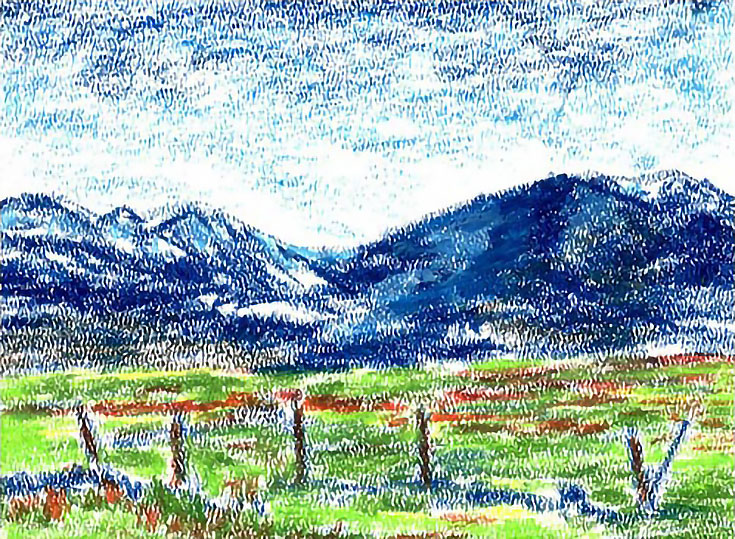
Once you’ve chosen a surface, prep it accordingly. (For example, if you use watercolor paper or canvas, you have the option to cover it with a thin layer of watercolor first). Then begin your painting by creating a basic values sketch and laying out your composition and color scheme.
Emphasize your darks and leave your lights uncovered with oil pastel, since they’ll look better when layered in with soft pastel later.
Remember to follow the forms of your shapes with your pastel strokes. If you’d like a softer, more blended look when your painting is done, then use less oil pastel in the beginning stage.
2. Use dry pastels to paint in your basic values
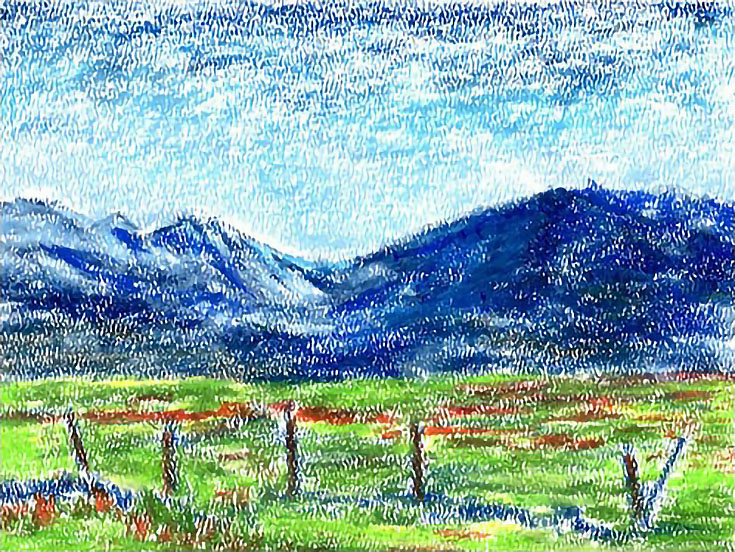
After your oil pastel sketch is complete, begin working in a layer of chalk pastel. Focus on bringing color into big areas, sticking to basic lights and darks and a couple of dominant colors for emphasis. Remember that softer pastel will work best at adhering to the oil pastel layer.
OPTIONAL: If you’re working on watercolor paper or flat canvas and would like a bit more coverage, brush your pastel layer with a bit of water to blend it. Just make sure your wet pastel has dried completely before adding any more layers to your painting.
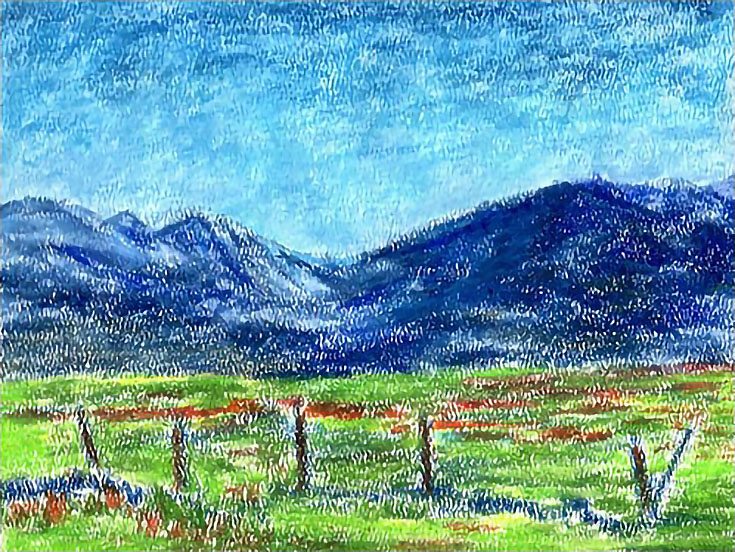
3. Add your lighter soft pastel colors
If you’re planning to use some bright color, now is the time to add it to your piece for emphasis. This is also a good stage to scratch away at the oil pastel in any areas where you’d like to create additional texture, touch up with oil pastel as needed, or add more layers of water-brushed soft pastel.
If you’re using a toothy surface, make sure the balance of surface texture and pastel strokes are consistent throughout your piece.
If you want to blend some of the areas of soft pastel which are already on your painting, try smearing with your finger or a sponge that won’t lift the pastel off the surface. Conversely, using a dry brush will lift soft pastel off of the painting, if you’d like to remove some of the pastel.
HEALTH TIP: Never blow pastel dust off of your painting—it’s not good for your lungs! Instead, brush excess dust away with a dry brush or shake it into the trash.
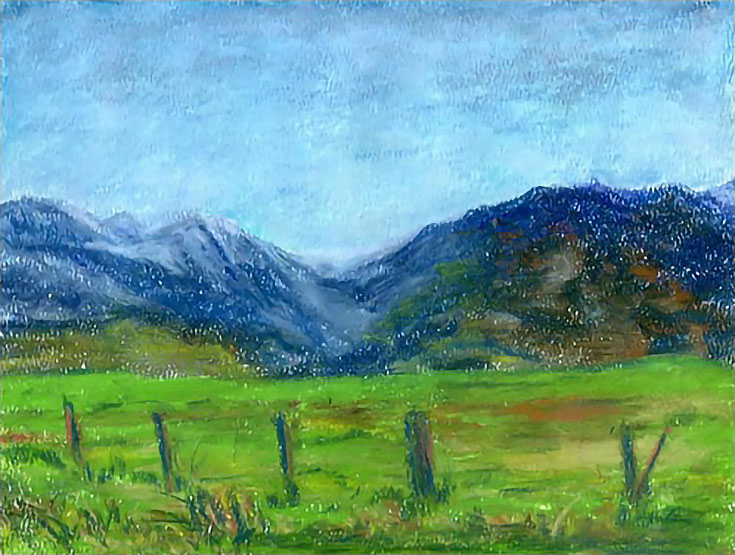
4. Add your final touches and you’re done!
After you’ve completed any last details, frame your oil and chalk pastel painting under glass. Remember that oil pastel needs to breathe a bit, so don’t display it where it will be exposed to heat or direct sunlight if possible.
Good luck and happy painting!
This post may contain affiliate links.
