Have you ever visited a blog and thought, “Wow! That’s a lot of reading. I don’t have time for that, I’ll come back later. . .” only to never return?
Well, that’s the exact same thing that happens when a visitor arrives at an art blog, but there isn’t any art to be seen!
Here are 6 ways that you can (and should be) using images to keep those visitors on your art blog, even with those longer posts:
1. Draw your readers in
Web surfers have short attention spans. To keep them on your art blog you need to capture their attention fast! And the easiest way to do that is with an image.
Place an image, relevant to the title of your blog post, centered directly below your first paragraph, or off to the side of that first paragraph.
2. Break your posts up with images
Break your large blog posts up into smaller, more digestible, bits of information, then go back through your blog post and place relevant images between those bits of information.
3. Use images to illustrate points
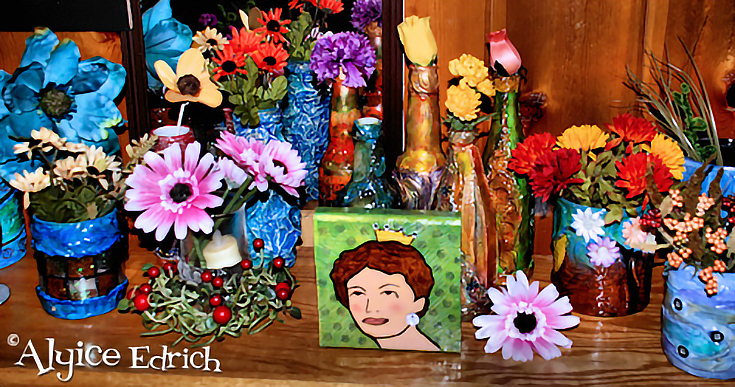
Illustrating key points in your blog post doesn’t require a chart or diagram, you just need to use images that relate to the topic you’re speaking about.
If, for instance, your first four paragraphs talk about choosing the right paint for your project, show an image of several different paint tubes, or a palette with various colors of paint and a paint brush.
On the other hand, if you’re talking about attending a gallery opening for a local artist, show a picture of the artist in the gallery (with proper permission of course) or the front of the gallery.
The key to selecting a good image is to ask, “Does this image help tell the story or does it distract from the story I am trying to tell?”
4. Draw attention to the last part of your post
More often than not, artists will post an image in the first part of their blog post, and forget about the second half of the post. That’s not a good idea, especially with long posts.
Give your readers a reason to keep reading by drawing their attention to the bottom half of your post (where your sales pitch often resides) by including another image, or two.
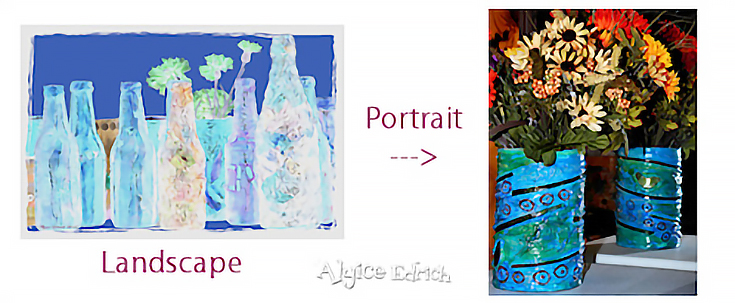
5. Use landscape images
When given the choice between using a landscape or a portrait orientation for your image, choose landscape.
Landscape images fit the width of your post area, and require less scrolling, making them ideal for breaking up paragraphs.
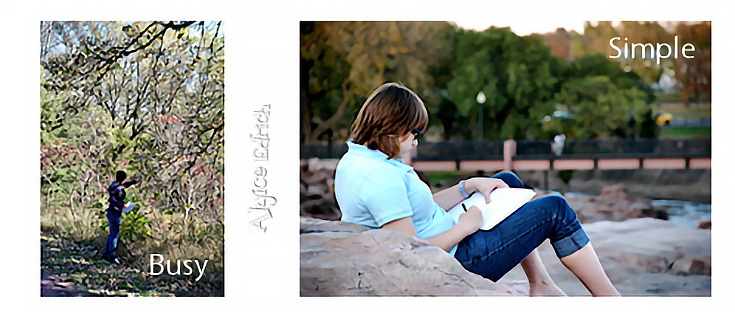
6. Simplify your images
Finally, when selecting images to use in your post, choose images with minimal distractions. In other words, make sure that the main subject of the photograph is not competing with other objects (i.e. background noise or clutter).
In the end, the most important thing to remember is that whatever images you use, they should always help to tell your story. At the very least, they should reinforce your points and make your blog more scannable for quick readers.
So choose your images wisely!
This post may contain affiliate links.