As some of you may remember, I wrote in a previous post about the importance of having beautiful art marketing materials.
Anything you send out, whether it be a formal portfolio or a simple jpeg, will be the first impression you make on a potential client or curator. You only get to make one first impression—so don’t waste it. Whatever you show people should inspire them to see, touch, exhibit, and own your work.
To that end, I decided to take my artwork, and create a set of small portfolio books that I can mail (with SASE, of course) to places where I would like to exhibit my work.
I did some research on how to make books and found a lot of articles for people who are handy. (You mean I get to build my own bookbinding vice before I even get to start on my book?! Great—insert sarcasm here.)
If you’re like me, and the chance of you biking to Home Depot for drill bits rounds down to zero, you probably want instructions for people who are crafty not handy. So, I rummaged around, brainstormed, and came up with today’s tutorial.
Before you start, make sure you have the following items: Hole puncher, razor blade, scissors, paper, chipboard (or cardboard), ribbon, dental floss, tape, and glue. You’ll also need some prints of your artwork.
Now without any further ado. . .
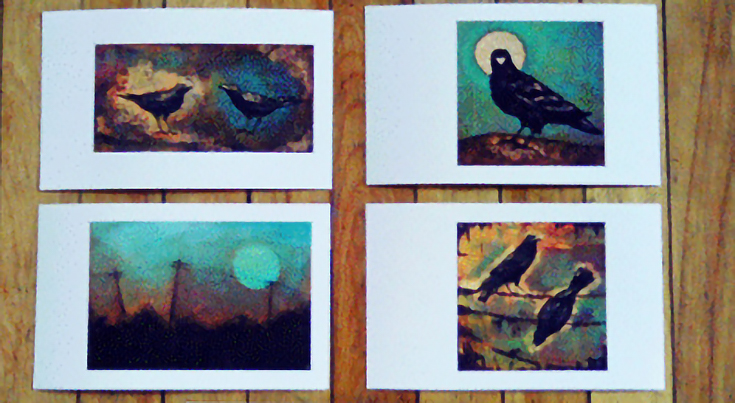
Step 1: Select the prints you will use. Use high quality prints—this will be the first impression someone has of your art. I use Japheth Storlie of Twin Cities Reprographics. My prints are centered on 5″x7″ paper with an additional 1″ margin on the left, so they are really 5″x8″.
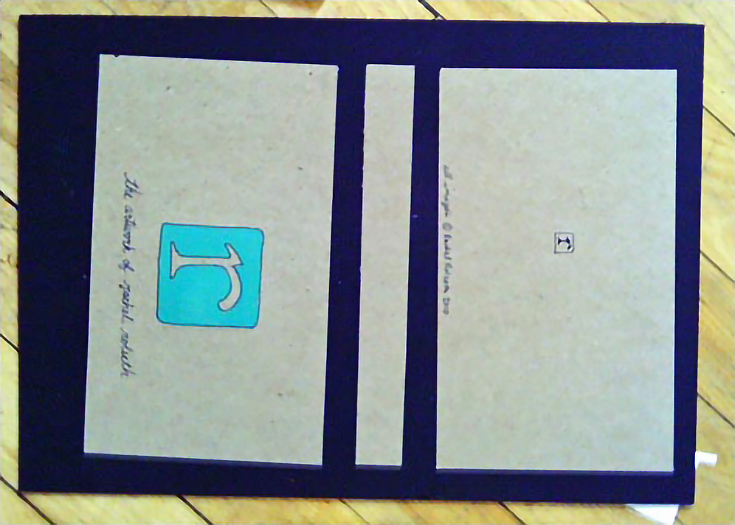
Step 2: Take an 8.5″x11″ piece of chipboard (a thin, uncorrugated piece of cardboard) and cut it into two 8.5″x5″ pieces and one 8.5″x1″ piece. Paint your logo onto the front and and add any words you want.
Do this before the book is bound, trust me.
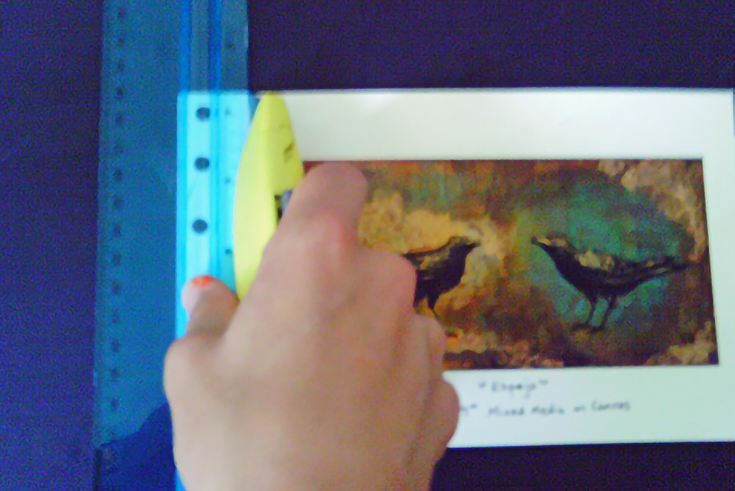
Step 3: Lightly score your prints along the edge of the left margin.
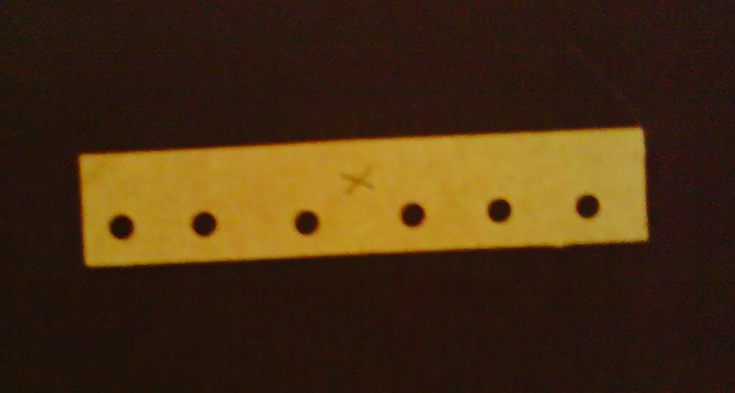
Step 4: Cut the 8.5″x1″ piece down to a 5″x1″ piece. Punch six holes in it, evenly spaced. Tape it on to every page and punch holes through the holes in the cardboard. Make sure you are lining it up along the same edge every time.
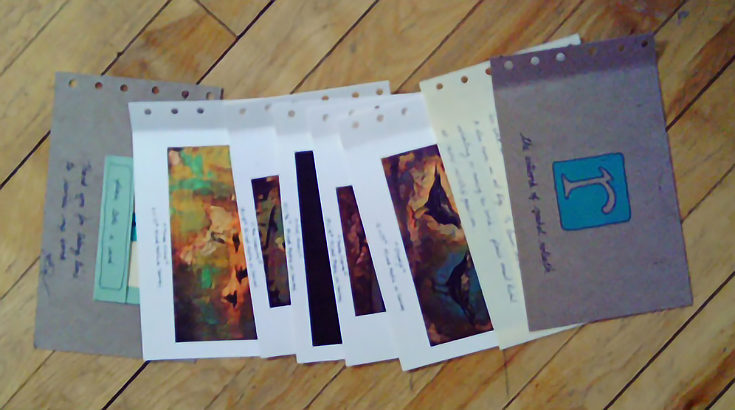
Step 5: Get your front and back cover and all of the prints you will use together in the order they will be bound. You can add an artist bio or artist statement, decorative paper, or whatever you want in here as well.
Step 6: Next, use dental floss to tightly tie all of the pages together.
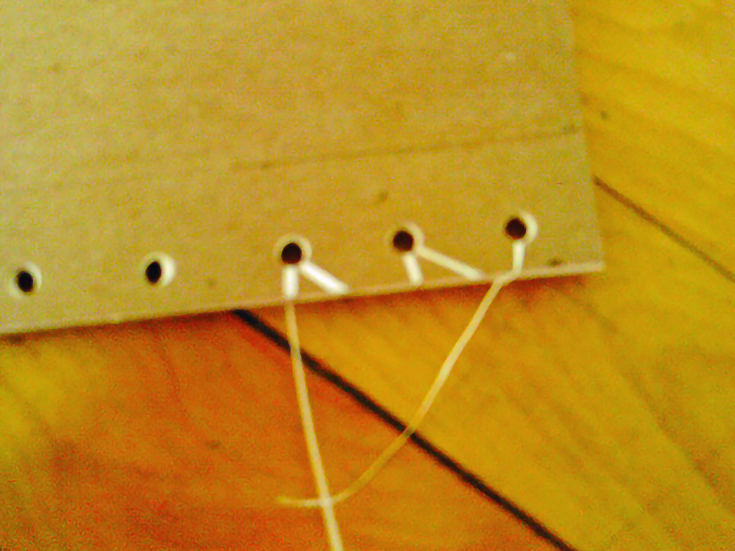
Step 7: Cut off the ends of the dental floss. Use a decorative paper to wrap the 1″ margin like you would a present. I used craft glue to secure a piece of ribbon along the edge between the cover and the paper.
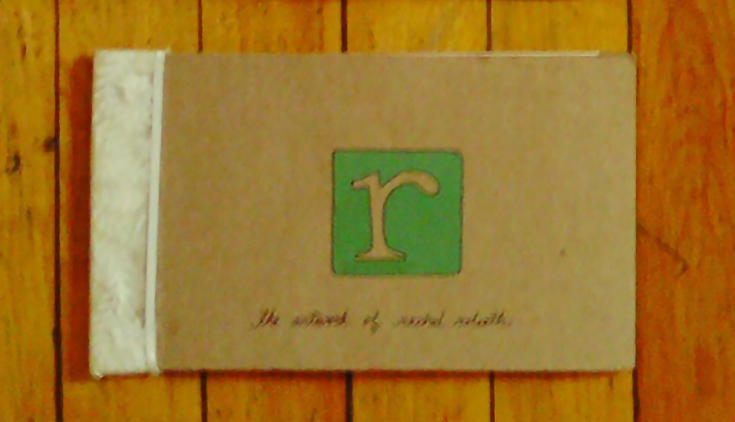
Didn’t these turn out nicely? Good luck with your own books. Feel free to email me with any questions or pictures of your books when you’re done!
For more articles and advice from Rachel, please visit her art blog.
This post may contain affiliate links.