The beginning watercolourist often experiences a trial-by-error initiation, in which the desire to produce a lovely, light-filled watercolor painting exceeds one’s ability to actually do so.
However, once bitten by the painting bug it is impossible to give up on the challenge. Here are some tips to help overcome the feelings of despondency often associated with the learning process.
1. Find a watercolour tutor
Whether it’s face to face, via the internet, by reading a book or watching a DVD, it doesn’t matter! Just find someone you can use as a mentor to help guide you through the creative process. EmptyEasel even has a lot of free watercolor tutorials to get you started.
2. Attend workshops in your area
Check the recommended skill level required before signing up, but don’t be intimidated by beginner or intermediate classes. There is often a wide range of skill levels, from beginner to advanced, in every workshop. It’s a great chance to learn from everybody.
3. Join an art group and attend demonstrations
This is great for accountability, to ensure you are painting on a regular basis. But it can also be a great source of critique and a excellent opportunity to learn from other artists in your community.
4. Purchase quality watercolour tools. . .
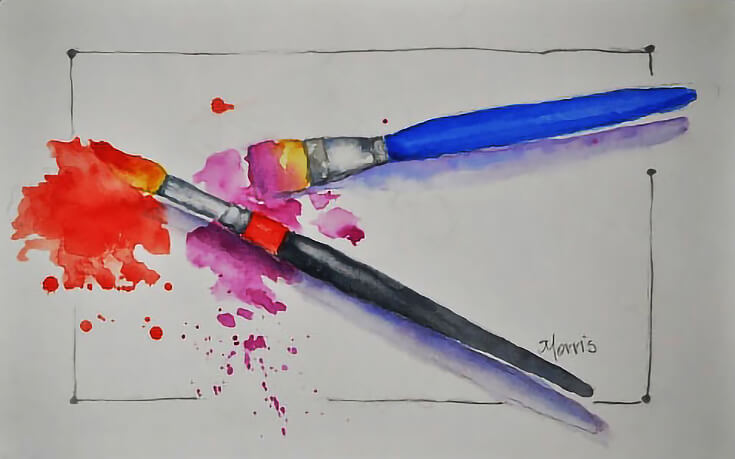
Getting the proper tools can make the job ten times easier. While some things you can afford to skimp on, having the proper paints, paper and brushes is imperative. The best watercolour paper is Saunders or Arches. For brushes, always have a round, fat-bellied one with a point and a 1” flat brush (here’s more good information watercolor brushes if you’re not sure where to start).
Make sure your watercolour tubes are purchased from a reputable art store. Start with a mix of Cadmium Red, Alizarin Crimson, Aureolin, Raw Sienna, Burnt Sienna, Ultramarine blue, Cobalt Blue and Cerulean blue. From these you can mix deep vibrant darks as well as transparent glowing washes.
5. But save money where it doesn’t matter!
There are so many ways to cut corners. The mixing palette is of great importance, but it really only need be white, and large. A plastic BBQ plate from the $2 shop is equally as effective as expensive art shop palettes.
A child’s sand bucket works great as a water container; and a bath towel can be used for absorbing water from your brush. Get a spray bottle with a fine mist for wetting your paper and paints.
You’ll also need a plain board to stick your paper to, light weight, so it can be easily moved. (Coat it with an acrylic sealer to make it waterproof.)
Get masking tape, to give a clean edge to your painting. Buy a few 2B pencils for your preliminary drawing. And save one of your old cut up credit cards for making marks in drying paint.
With the above materials you are set to produce watercolor paintings. Get familiar with your colors by making swatches on paper, label them, mix them wet into wet and note the results. Keep in mind, the less you stir the paint, the fresher the result.
6. Give yourself attainable goals.
Set simple, achievable goals, such as: I will paint a painting showing a light area, a mid-tone area, and a dark area. Forget the fancy brushwork or dazzling color, just try for your tonal contrast.
These suggestions should be enough to get you started. Keep practicing, and until we meet again, happy painting!
To learn more from Jean, please visit her website at www.jeancowan.com.au .
This post may contain affiliate links.


