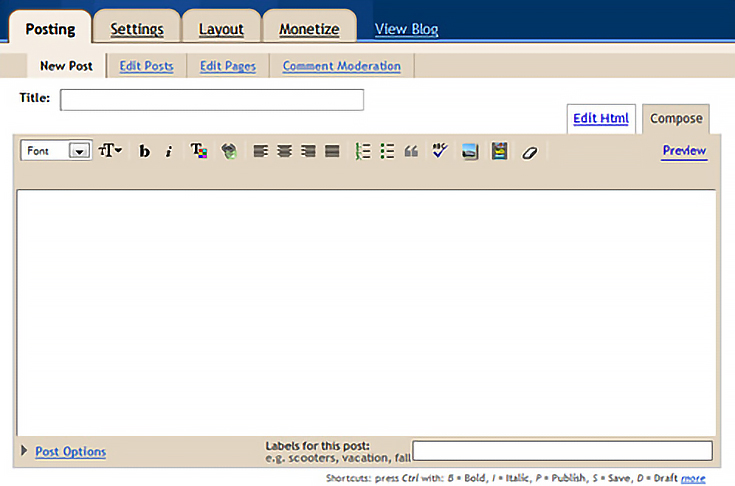
Although I love the idea of composing my posts directly in Blogger’s interface and, with a single click, having my photographs appear and my links become linked, there’s something to be said about knowing how to use a little HTML code in order to enhance a blog post.
When you use HTML code in your post, you are not limited to Blogger’s interface. You have complete control over everything, including where your images are positioned.
To use HTML, just click the “Edit HTML” tab at the top right of your post editor.
The editor won’t look much different, but you’ll be able to add code, and then switch back to the “Compose” tab and see how it all looks.
While there are entire books written on the subject of HTML coding, you don’t need to know “everything” in order to start using it in your art blog. In fact, picking up a few simple tricks now will make more complicated code much easier to learn in the future.
So today I’m just going to teach you two simple tricks for using HTML code to make your images do exactly what you want in your blog.
How to add HTML image code to your blog posts
OK—let’s assume that you host all of your images on a free photo sharing service like flickr.com. You want to pull in an image from flickr, center it, and place it between two paragraphs, one above it and one below it.
To do that you would use the following HTML code:
<p align=”center”>
<img border=”0″ src=”http://flickr.com/image.jpg” alt=”Image Title”/>
</p>
That doesn’t look too complicated, does it? Here’s how it works, one line at a time:
1. <p align=“center”>
This line of code tells Blogger two things:
First, that you want a paragraph break (p) before the image and second, that you want the image to be centered (align=”center”).
And, since this is a line of code, you need to start with “<” and end with “>”.
2. <img src=”http://flickr.com/image.jpg” alt=”Image Title”/>
This tells Blogger where to find the image (src=”http://flickr.com/image.jpg”) and gives it some alternate text to display in case the image doesn’t show up properly in someone’s browser (alt=”title of image”).
Again, since this is code, you’ll need a “<” at the beginning and a “>” at the end.
3. </p>
This last bit of code just tells Blogger that you’re ending the paragraph (/p) which you started in the first line of code. Just like writing a regular paragraph, if you start a paragraph in HTML code, you should always end it.
And that’s it. . . you now know some basic HTML code!
Of course, if you want to include a second image, but have it stick to the right or left side of your content—you can do that too. All you need to change the align=”center” section to say align=”right” or “align=”left”.
How to make an image into a link
Now here is one final tip. . . let’s say you want to include an image from your flickr page AND make it link to your flickr gallery so anyone can click it and see your entire gallery of images.
All you need to do is create a HTML link around the image, like this:
<a href=”http://flickr.com/gallery”>
<img src=”http://flickr.com/image.jpg” alt=”title of image”/>
</a>
Again, I’ll break it down one line at a time:
1. <a href=”http://flickr.com/gallery”>
This line is the start of the HTML link. It shows where the link will go when someone clicks on it (a href=”http://flickr.com/gallery).
2. <img src=”http://flickr.com/image.jpg” alt=”title of image”/>
This line is exactly the same as before. You’re telling Blogger where to find the image, and what the alternate text should be.
3. </a>
Just like a paragraph, if you start a link, you need to end it too (/a).
If you don’t end a link, it won’t work. . . but if you do it right you’ll end up with an image that leads visitors to your gallery, or wherever you want.
Now next time you create a post in your blog, consider using a little HTML to place your images instead of Blogger’s regular interface. After all, the more comfortable you are using HTML code, the easier it will be to pick up new tricks down the road.
This post may contain affiliate links.

