As with any drawing, the beginning of a painting is the most important step. Successful starts lead to good finishes.
In the next few paragraphs I’ll explain what I do to start a painting off on the right foot.
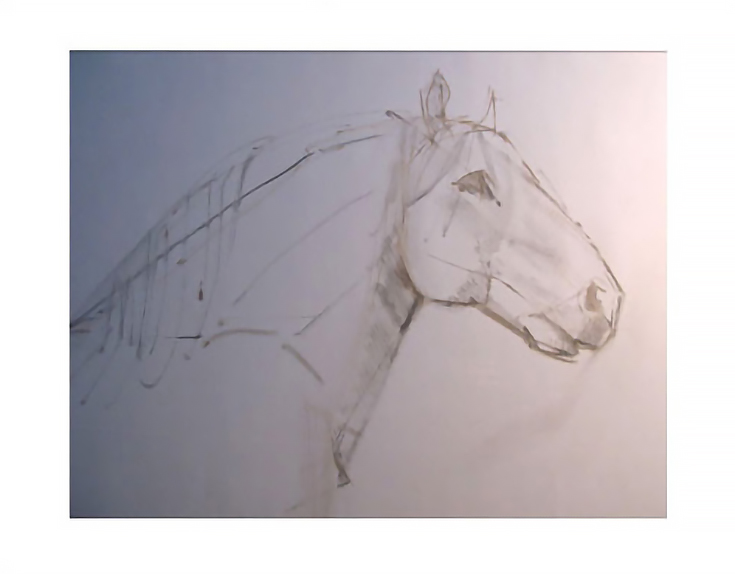
Phase 1: Blocking in the initial drawing
I’m starting with a gray (neutral 5) toned canvas. The gray color will serve as a mid-tone on which I can moderate the color temperature later on. With a Hoghair Filbert #1 brush, I take some blue-black paint straight from the tube (no turpentine or linseed oil) and sketch in my first lines.
I begin by discerning the direction of the head and neck, because those are the two biggest forms in my painting and they’ll anchor everything else.
I mark the top and bottom locations of the head, then find the center line of the head all the way down from the top between the ears, through the middle of the face between the nostrils, and down through the lips.
Using a center line makes it easier to find the sides of the skull, and ensures that my drawing has accurate proportions. I continue to block-in the side planes of the jaw, cheeks and neck, then finish by painting in the smaller details: ears, eye socket, nostrils, lips and mane.
I work this phase rapidly, but accurately. At this point it is simply a drawing on canvas.
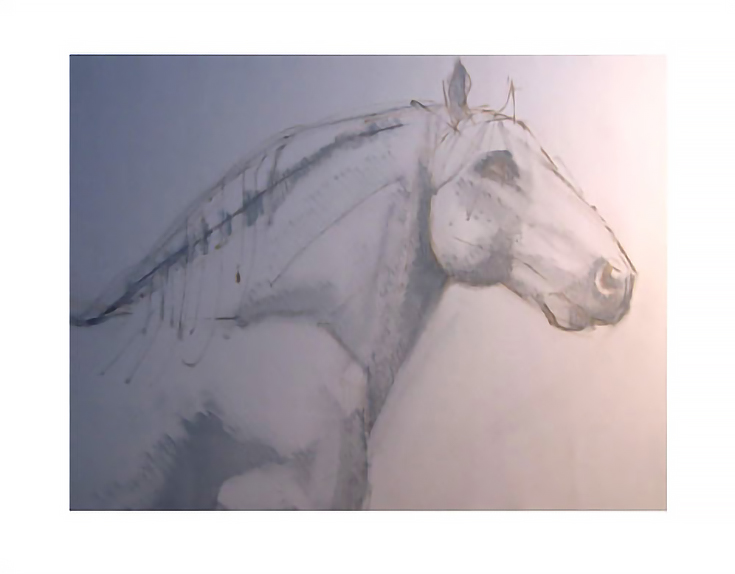
Phase 2: Painting in the shadow shapes
In the second phase of the underpainting, I step back from my subject and squint. This simplifies the light and shadows into more abstract shapes, letting me see and paint only the shadows.
Again, don’t spend too much time on this phase. I just sketch in the shadow shapes, then fill them in quickly. Details aren’t important—what’s important is seeing the shadows as unified, simple shapes.
If you get the shadow shapes right, the rest of the painting will follow. Shadow shapes support the light shapes; yin supports the yang.
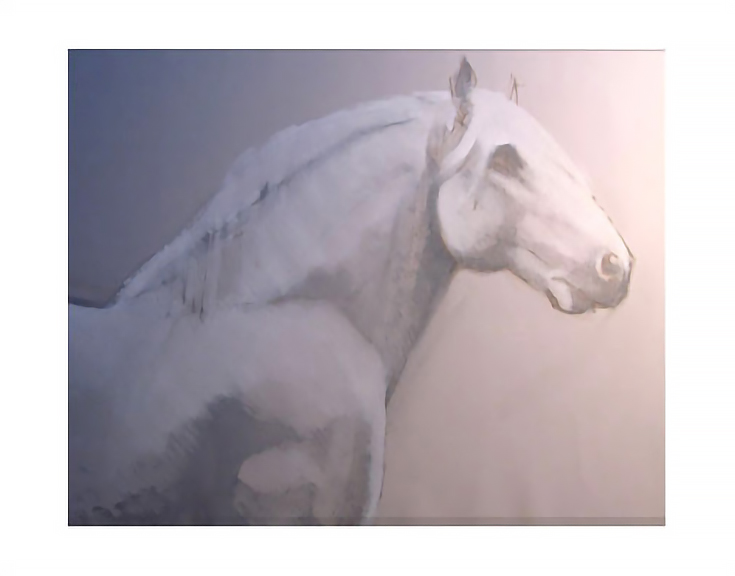
Phase 3: Adding white for the lighter areas
In the final phase of the underpainting I use a warm white paint to show the areas of light in the painting. This contrasts nicely with the cooler blue-black shadows.
Additionally, the gray of the canvas now serves as the mid-tone between my areas of shadow and light. It will appear to be either warm or cool depending on the temperature of the color going over the top of it.
With the lightest areas filled in, the underpainting is now finished, ready to guide the rest of my painting. I let it dry before adding any color over the top of it.
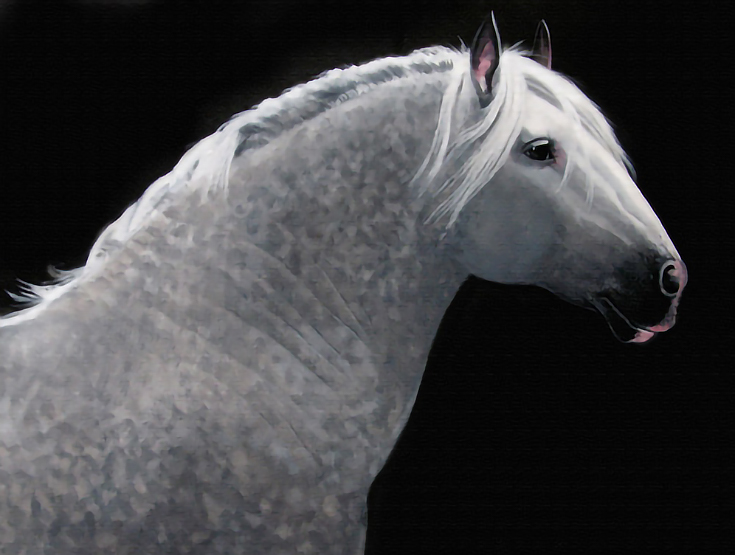
Here is the finished painting, using the underpainting shown above.
For more painting tips from H. Edward Brooks, please visit his painting blog.
This post may contain affiliate links.


