Many artists who have their own blogs also choose to micro-blog via Twitter. Twitter, as you may already know, is an online social networking service that allows bloggers to share information in under 140 characters.
Bloggers use Twitter to bring traffic “back to their blogs” by providing automatic post updates, as well as sharing quick and easy messages (or tweets) for any subject that they don’t necessarily want to create an entire blog post about.
Twitter is also a viral marketing tool. If you write a great blog post and link to it on Twitter, your Twitter followers can easily share it themselves with a simple click of the “Retweet” button—and their followers can do the same!
In today’s article I’ll explain how to set up your Twitter account, how to automate your blog posts to show up in your Twitter stream, and how to place your Twitter stream on the sidebar of your art blog.
Step 1: Start at Twitter.com
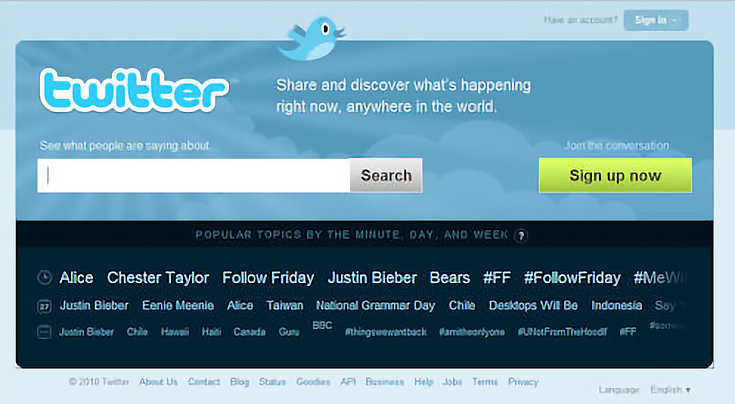
Go to http://twitter.com and click on the green “sign up now” button.
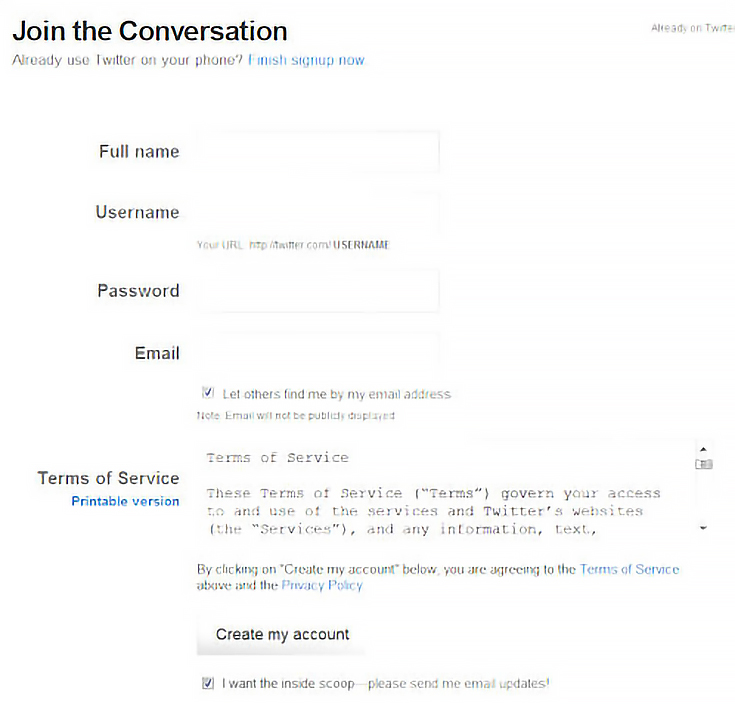
After clicking the “sign up now” button, you’ll be taken to the setup page below.
Fill out the required information: full name, user name, password, and email address. Next, read through the “Terms and Conditions” and click on “create my account.”
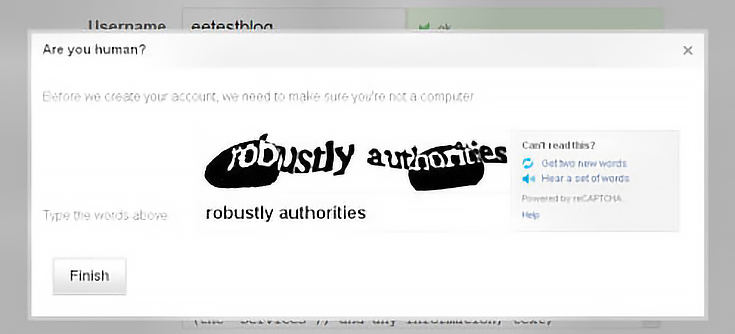
A pop-up screen will appear asking you to verify that you’re indeed a human. Just retype the words that appear in your screen and click “finish.”
Step 2: Find people that interest you
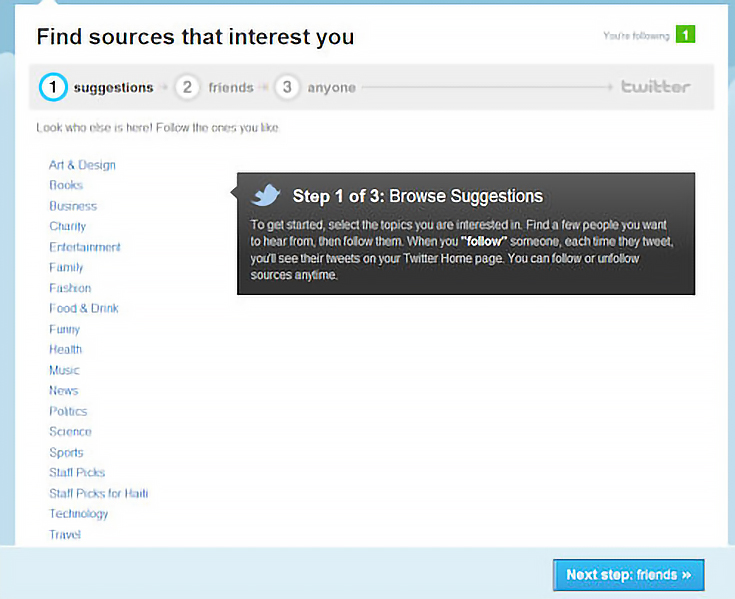
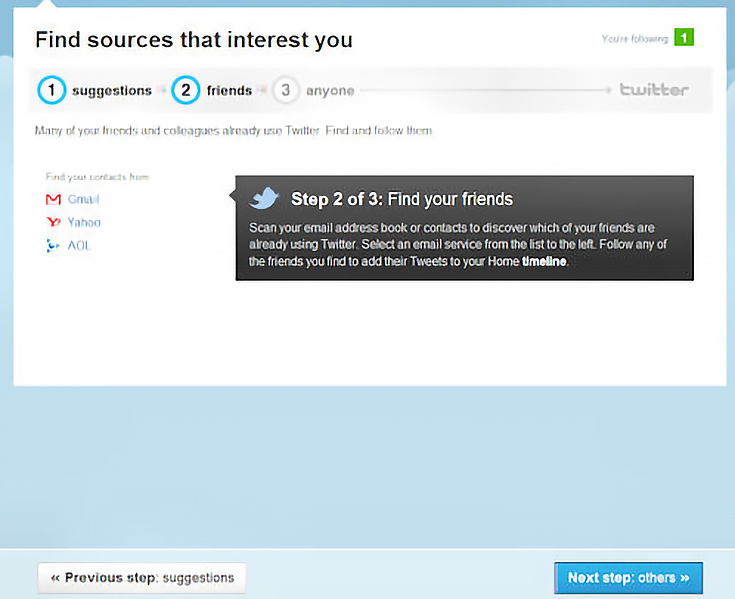
Now that you have a twitter account, you can begin to “follow” people on Twitter. This page is the next page you’ll see:
Feel free to browse the category list on the left side of the screen to find new Twitter friends to follow, or just skip to the next page by clicking on the blue “Next step: friends” button.
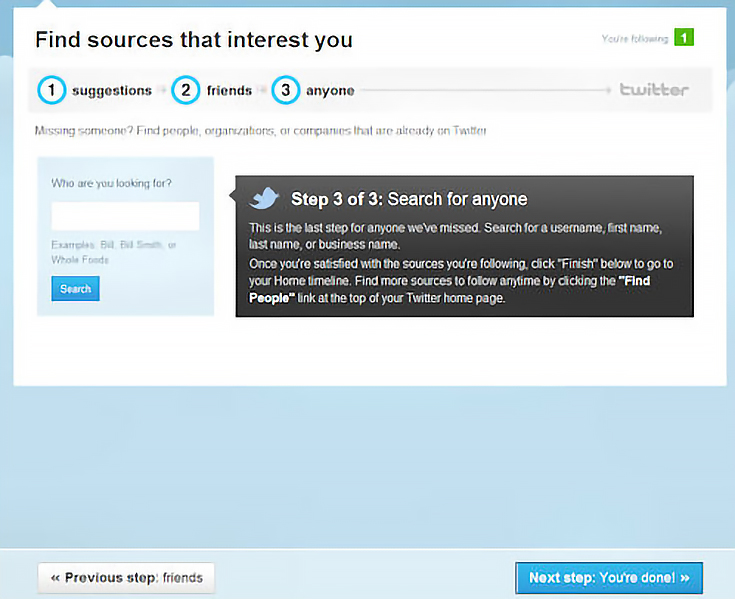
Once you click “next” you’ll be taken to the “Find Your Friends” page:
If you’d like, you can add your email contacts, but we’re just going to click on the blue “Next step: others” button. Of course, you can always go back and add your email contacts later.
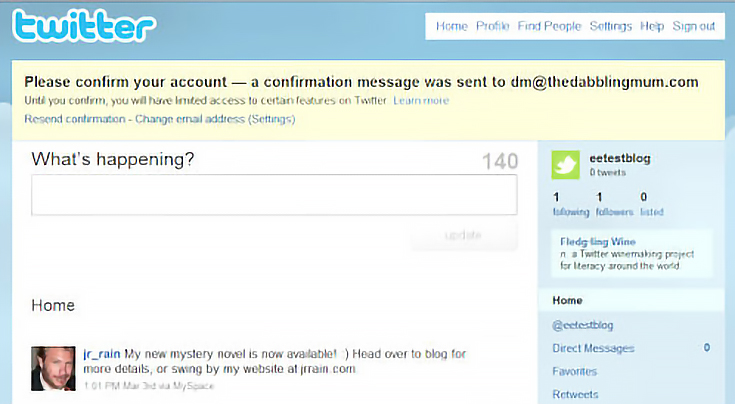
Once you click “next” you’ll be taken to the “Search For Anyone” page:
Again, to save time, we’ll just click the blue “Next step: You’re done” button. However, if you have someone in particular that you know is on Twitter, and you’d like to follow them, you can enter their name in the field provided, and add them to your list of people to follow.
Step 3: Confirm your Twitter account
At this point you’ll be taken to a page asking you to check your email account for a message from Twitter, and click on the confirmation link that it contains.
Just log into your email account, find the email with the subject “Twitter” and click on the link in the email.
At this point, a new screen will pop up with a message that reads, “your account has been confirmed.” And as quickly as the message appears, it will disappear, leaving you to explore your Twitter account.
Step 4: Add Twitter to your blog
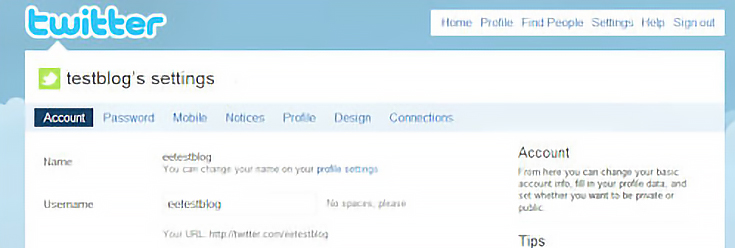
While in your Twitter account, click on the “Settings” tab on the upper right corner of the screen to be taken to the “Settings” dashboard.
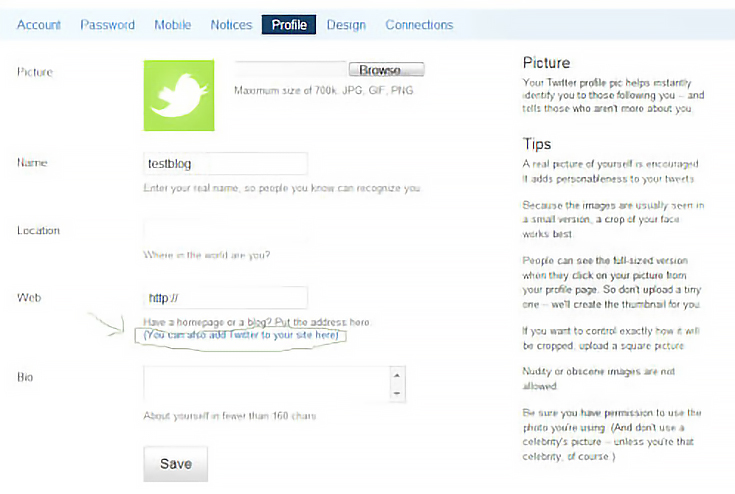
Click on the “Profile” tab to be taken to the following page:
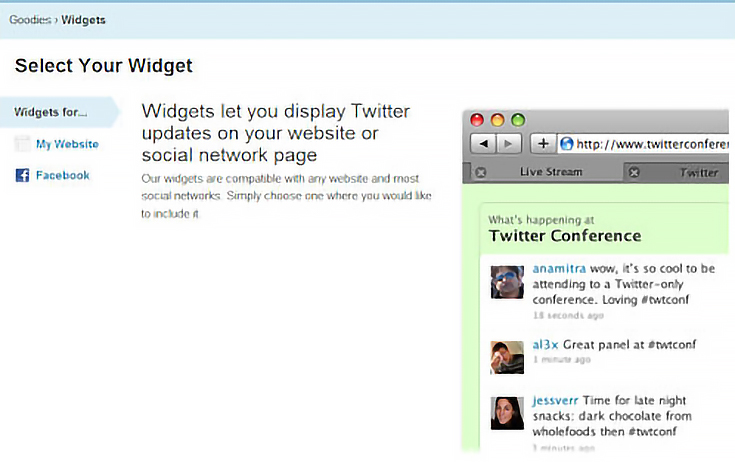
Scroll down until you see the words “You can also add Twitter to your site here” and click on the link. You’ll be taken to the “Widgets” page, shown here:
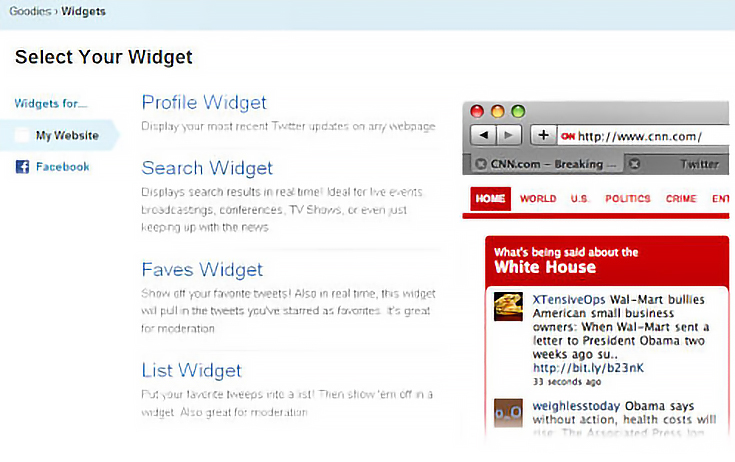
Under “Widgets for…” click on “My Website” since you’ll be putting this widget on your own blog. On this page, click on the Profile Widget.
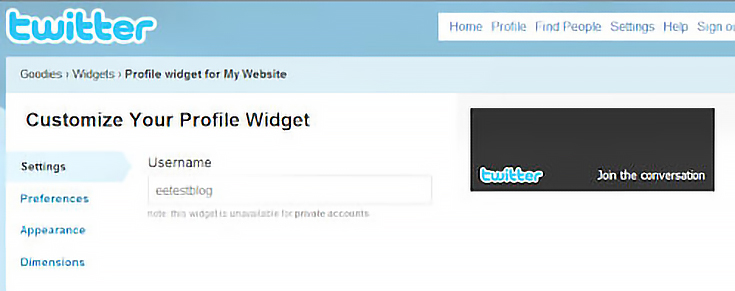
At this point, you can customize your widget.
You’ll need to play around with the settings (appearance, dimensions, preferences) so that the widget matches your blog’s color scheme. Once you’ve customized the settings, click the grey “Finish & Grab Code” button on the bottom of the screen.
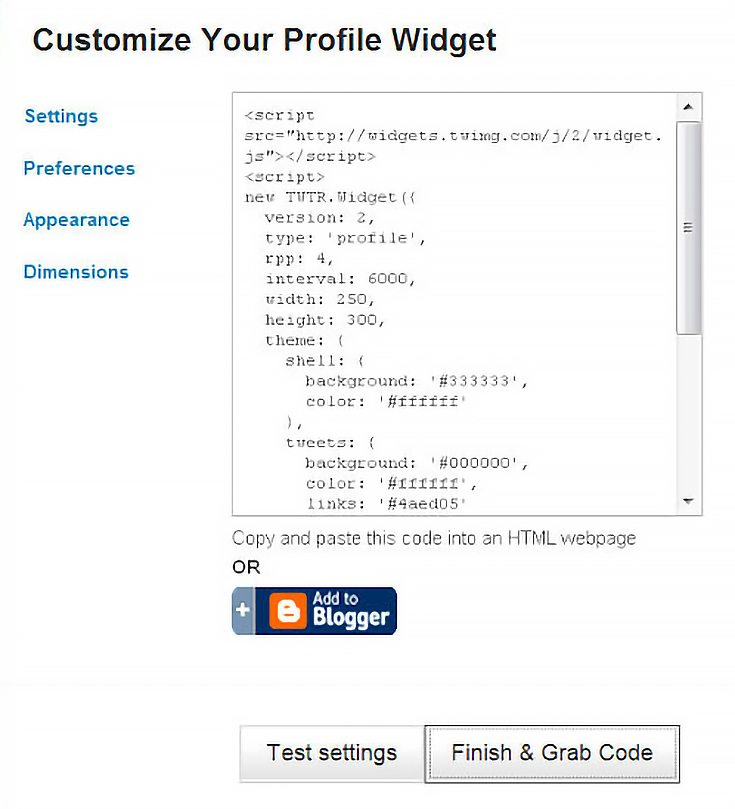
Once you click on the Finish & Grab Code” button you’ll be taken to the following page, where Twitter has made it very easy to place the widget on your Blogger blog. You can simply click on the blue “Add To Blogger” button as shown below.
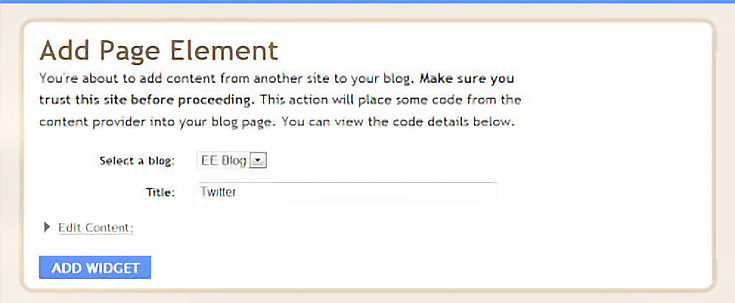
When you click on the “Add To Blogger” button, you’ll be taken to a log in page for Blogger. Log in with your Blogger ID and password to be redirected to the “Add Page Element” page on your blogger account.
Just click the blue “Add Widget” button to automatically add your Twitter feed to the sidebar of your Blogger art blog.
Now, there’s just one more thing you MIGHT want to do. . .
Step 5: Log into your Feedburner account
If you already use Feedburner to deliver RSS feeds for your blog, then you’ve got a great tool just waiting to be combined with Twitter, too!
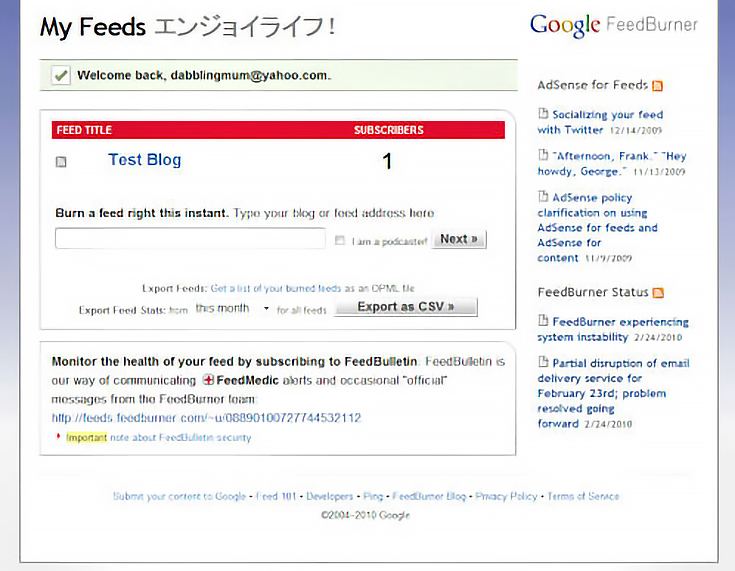
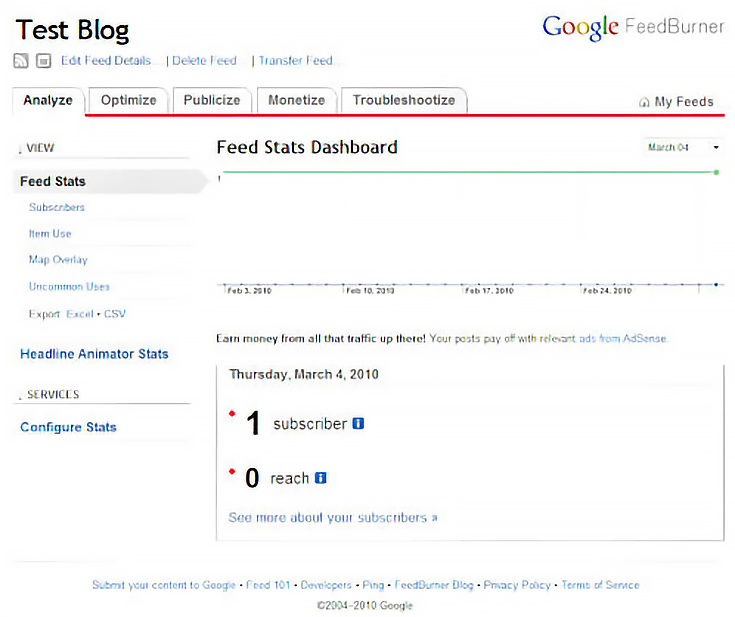
Go to http://feedburner.google.com and log into your Feedburner account. Once logged in, click the name of your blog to be taken to your dashboard.
Click on the “Publicize” tab (the middle tab on the top of your dashboard) to be taken to the “Publicize Your Feed” area.
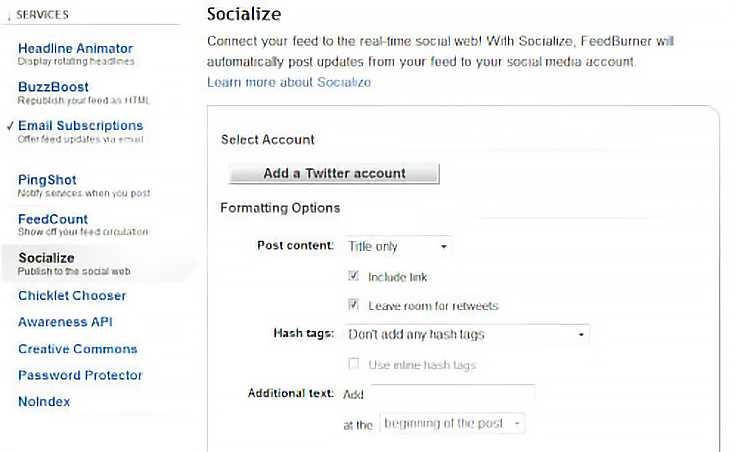
Click on the “socialize” tab on the left column:
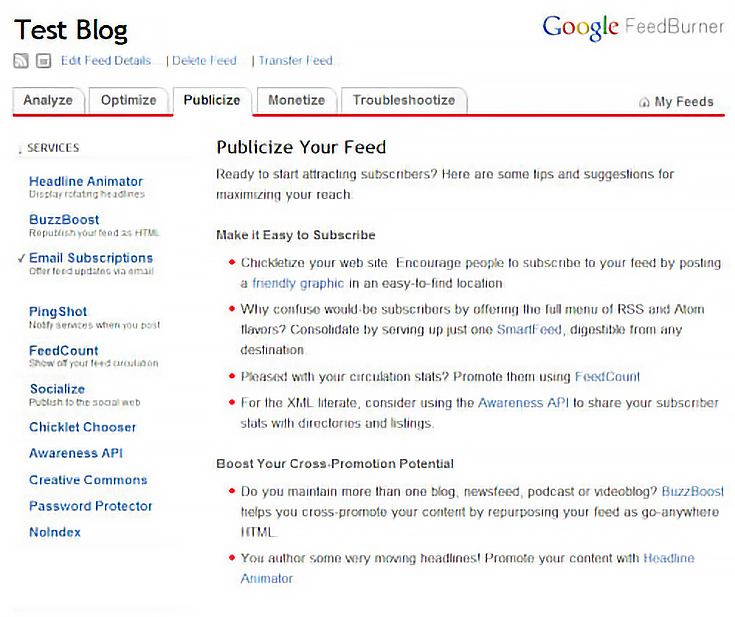
It’s here that you’ll link Twitter to your Feedburner account so that Feedburner can automatically “Tweet” your new blog posts for you. This means that every time you publish a new post, you’ll be sending out a tweet to all your followers, too!
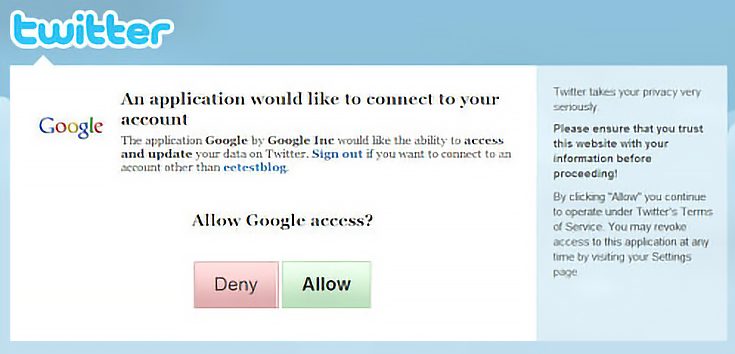
Just click on that “Add A Twitter Account” button and a new screen (from Twitter) will pop up asking you if it’s OK if Google accesses your Twitter account.
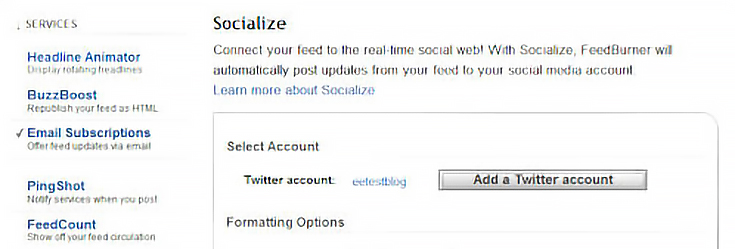
When you click on the green “accept” button, you’ll be redirected back to your Feedburner account. At this point, you’ll see your twitter account integrated into your Feedburner account.
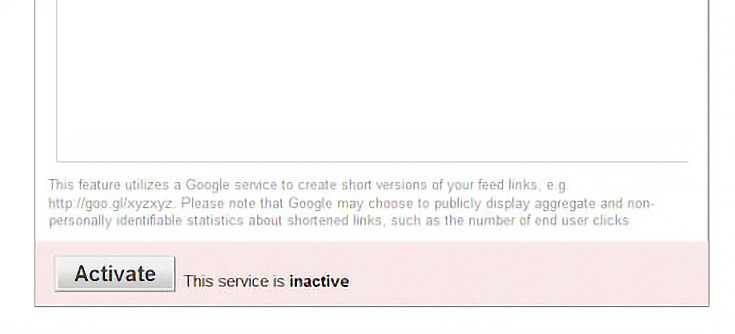
To complete the integration and begin automatic tweets of your new blog posts, click the “activate” button at the bottom of the screen.
And that’s all there is to it. . . you’re now done with Feedburner.
At this point you’ve just set up your very own Twitter account, added Twitter to your blog, and created an auto update for your Twitter stream!
Now you can just continue blogging like normal, and allow Feedburner to tweet for you, or you can add your own tweets by logging into your Twitter account and updating your Twitter stream yourself. It’s up to you.
Either way, you’ll have a little extra edge when it comes to marketing your art blog (and your artwork) online.
To personalize your Twitter page and learn about all your other options, check out the very helpful and informative tutorials at http://twitter.com/help/start.
This post may contain affiliate links.
