Artists who choose to use a free blogging platform for their art blogs often pick Blogger.com, and for good reason: it takes less than 60 minutes to set up your blog, provided you’ve already designed your banner and written your first post.
Below are the quick and simple steps for setting up an art blog on Blogger.
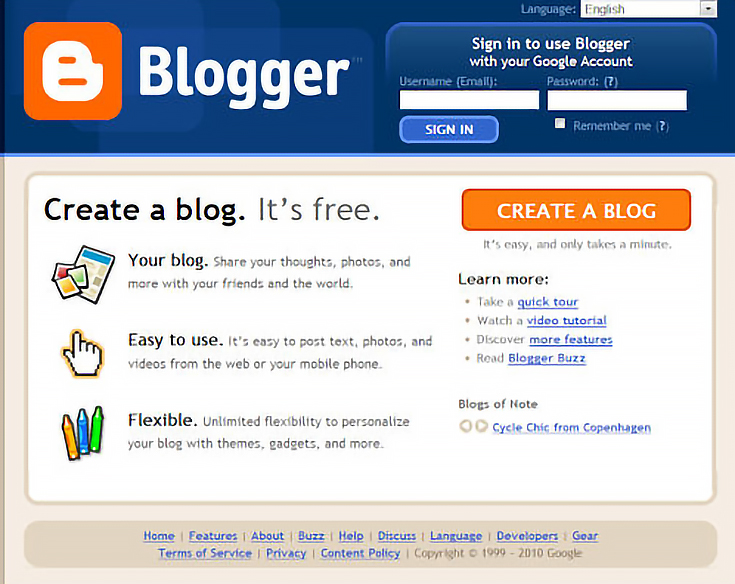
Step 1: Start at blogger.com
Go to http://blogger.com and click on the orange “create a blog” button.
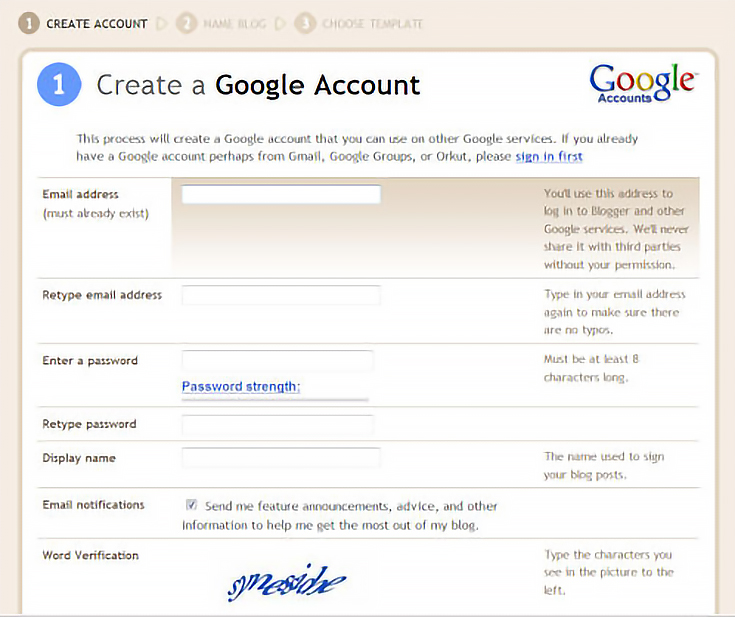
Step 2: Fill out your basic info
Fill out the blog set-up form. It’s pretty self-explanatory, so there’s no need to go into a lot of details—just make sure that the password you choose is different from the passwords you use for other online activity. This is always a good idea, since it will make it harder for hijackers to take over your blog, should they somehow manage to get into one of your other accounts.
Step 3: Choose the name and URL for your art blog
Choose the name of your art blog wisely as this will be a name that reflects you as an artist, and should grow with you as you do. If you already have a website, it’s best to choose the name of your website as the url.
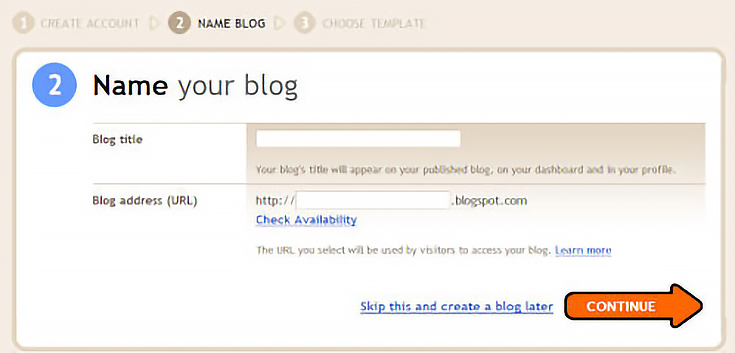
Don’t worry about conflicting urls because Blogger always includes the extension “blogspot.com” with any url you choose. This turns your blog’s address into something like “yourblogname.blogspot.com”—unless, of course, you choose to host your blog on your own website.
To learn more about choosing a domain name, read these articles:
13 Tips On Choosing The Perfect Domain Name
How To Choose A Domain Name For Your Art Website Or Blog.
Step 4: Pick out a template
Currently, Blogger has a limited number of templates to choose from, but with a little manipulation you can make any template your own.
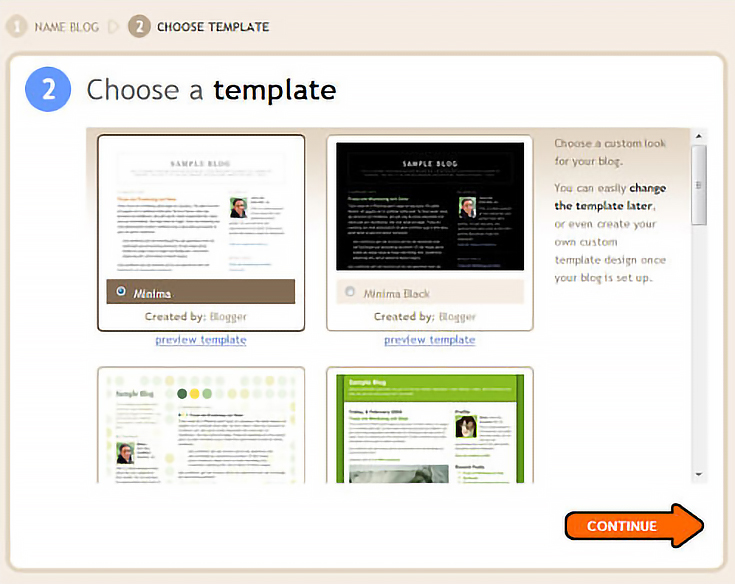
With Blogger’s one click technology, you can even preview all templates before you choose one. If you later decide that the template you’ve chosen doesn’t work for you, you can switch to a new template with a simple click of a button.
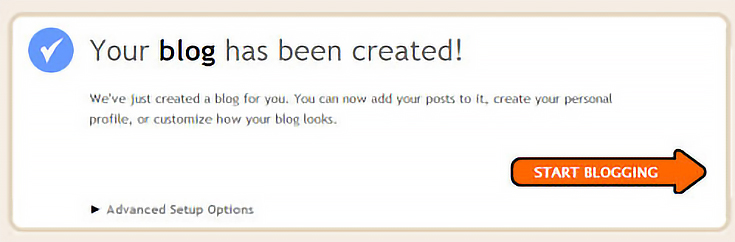
Step 5: Congrats, your blog is live
Now you can start blogging or do a little tweaking to make your blog more personal. Just click on the orange “start blogging” button to proceed.
Step 6: Change your art blog’s layout
After clicking on the “Start Blogging” button you’ll be taken to the “New Post” page. Click the “Layout” tab to make additional changes to the look and feel of your blog.

(Of course, if you want to publish a post immediately, go right ahead. Changing your template later won’t affect your first post’s content in any way, shape, or form.)
When you click on the “Layout” tab you’ll be taken to the page shown below. Every box on this page allows you to do something different with your blog, and this is where things can get a bit tricky.

The “Navbar” option at the top is what allows readers to skip around from one Blogger blog to another. If you click on “edit” you can change the color of that tiny bar. I personally like to choose “transparent light” so that the bar doesn’t distract from the overall look of my own blog.
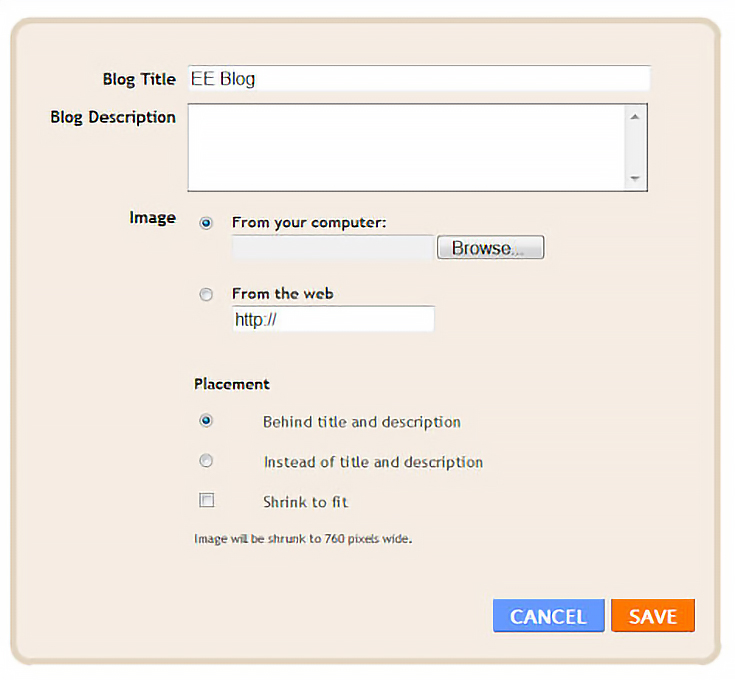
Below the navbar is the “Header” option. Click “edit” to upload your own banner, or type in the title of your blog as you’d like it to be displayed.
Underneath the header is the “Blog Posts” box. Clicking on “edit” allows you to choose how many posts can be viewed on your blog’s home page (stick to no more than 3), what your post’s timestamp will look like (i.e.,Thursday January 21, 2010), and if you’d like Google Adsense to show up between each of your posts (you’ll have to sign up for a separate account to use this feature).
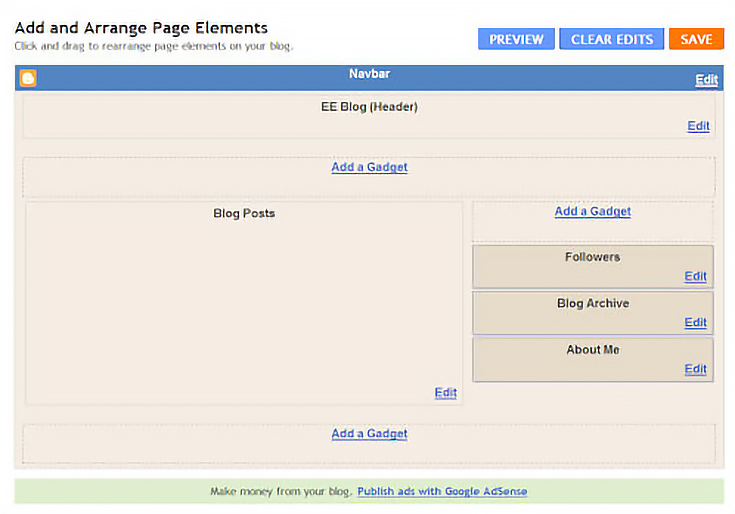
Next to the “Blog Posts” box on the right side of the page are three gadget boxes. You can choose to keep them, or remove them from your blog. You can also click on the “Add a Gadget” box to add up to 20 more boxes by simply clicking on the “+” on the right side of the screen.
You can add outside scripts for things like Twitter and Facebook, a search feature, a link list that differs from your blogroll, a survey poll, an RSS feed, and even a newsletter subscription sign up form.
Once you’ve tweaked your layout, click on the orange “Save” button.
Step 7: Edit your blog’s settings
Click on the “Settings” tab. Here you have the option of editing your basic blog information, choosing how your comments will be handled, setting up an RSS feed, and enabling email and mobile publishing. It’s important to always click on the orange “Save Settings” buttons for any changes you make, or they won’t hold.
At the very least, make sure to go through the “Basic” and “Comments” tabs.
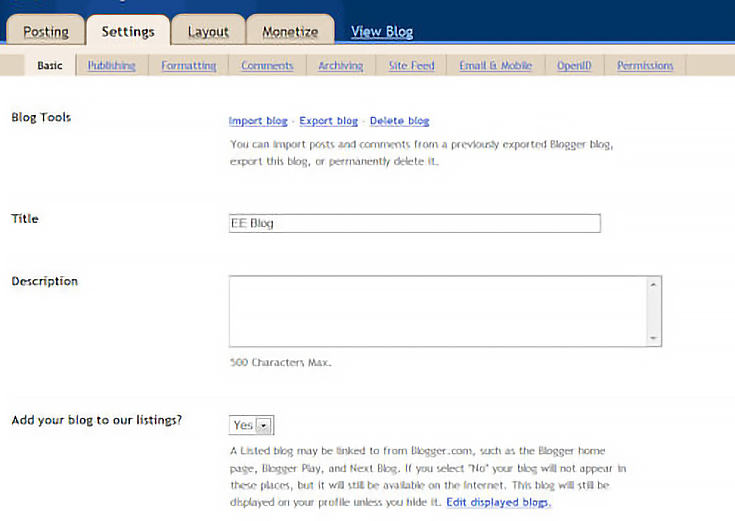
The main thing you need to do under the “Basic” tab is write your blog’s description. This is where you can tell potential readers what your blog is about and why they should visit.
Under the “Comments” tab, you need to decide whether or not you want to allow comments. If you do, you’ll need to decide who can comment on your blog (anyone, registered users, or blog members only), whether the comments will appear on the post page or via a pop-up window (on post page is best), and if you’ll show backlinks (these are links to other blogs who’ve linked to your blog).
Finally, you’ll need to decide if you want to turn on “Word Verification.” This is a great tool for preventing spammers from taking over your comment area.
Step 8: Start blogging
Now it’s time to write your first blog post! Please note, it’s very important that you remember to write a title for your post because Blogger will use the title of your post as the post’s web address.
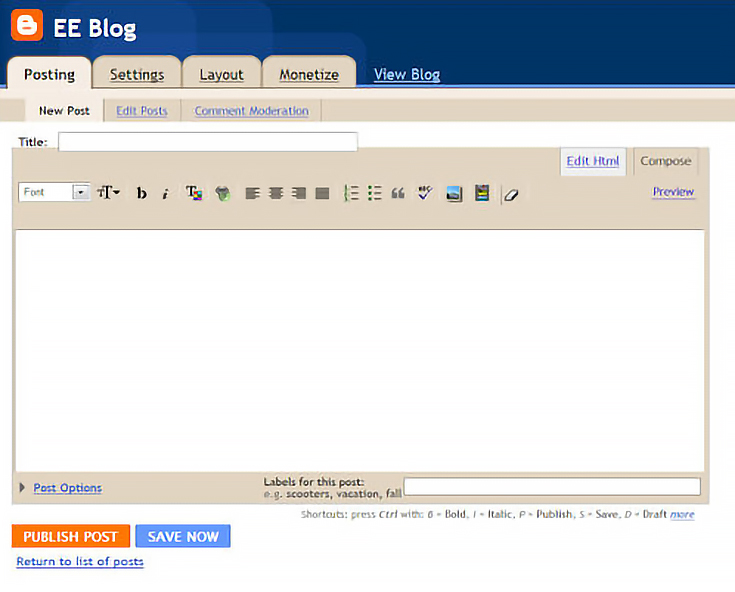
Below the title in the large white text box is where you’ll insert your actual post. I recommend writing your post in Word first, and then pasting it here—if you don’t and your Internet connection is lost, you’ll lose everything you’ve typed so far.
The “Post Options” link at the bottom of the text box is a wonderful tool because it allows you to turn comments off a single post and to set up a scheduled post. In other words, you can write a post today and not have it appear on your blog until next week.
Because Blogger doesn’t give you the option of creating categories for your blog posts, I like to use “Labels” to sort my blog and make it easier for readers to find the topics they’re interested in.
The key is to not fill the “Labels” section with hundreds of keywords. Instead, choose one single word or phrase for each theme. For instance, if you do a weekly art challenge, all posts related to those challenges could have the label “art challenges.”
If, on the other hand, you include how-to tutorials on painting, sketching, and crocheting, you can give each tutorial a different label. Like “painting tutorials,” “sketch tutorials,” and “crochet tutorials.”
Finally, you will have the choice to save your post or publish it. If you save the post, it becomes a draft that will need to be edited and published at a later date.
If you publish the post, it will become live on your blog, instantly. After pressing publish, this is what you’ll see:

Congratulations! You’ve just published your first blog post on your blog.
Keep in mind, the above tutorial is deliberately simple in nature so that you can be up and blogging in less than one hour. If you’d like to personalize your blog even more, I suggest that you pick up a copy of Google Blogger For Dummies![]() by Susan M. Gunelius or Blogger: Beyond the Basics
by Susan M. Gunelius or Blogger: Beyond the Basics![]() by Lee Jordan.
by Lee Jordan.
This post may contain affiliate links.