The pen tool in Photoshop—ever use it?
Using the pen tool can be kind of weird the first time (even downright confusing) but it’s a great tool for artists to know how to use.
For instance, if you’re a sculptor, jewelry maker, or any type of 3D artist and you want to have clean, professional images of your work, it’s often best to remove everything BUT your artwork from the picture.
Using the pen tool, you can perfectly outline your artwork, and then delete everything else around it so that nothing detracts from your art.
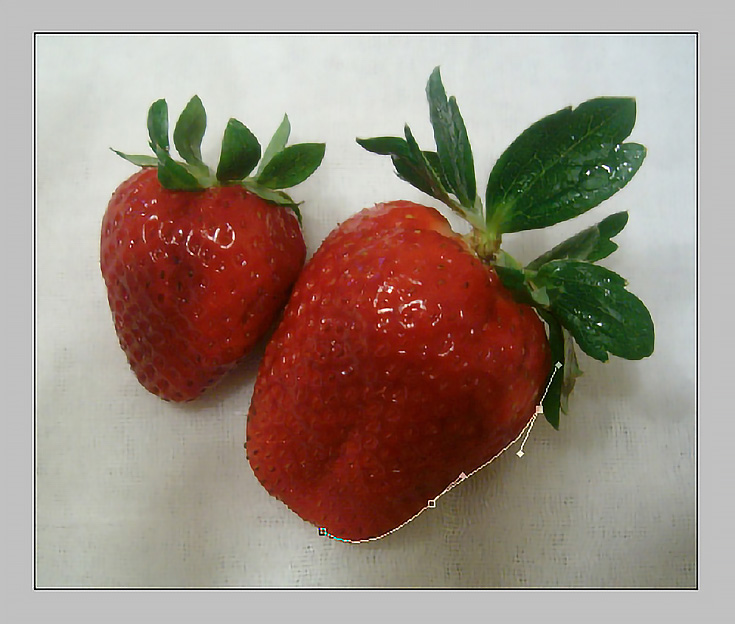
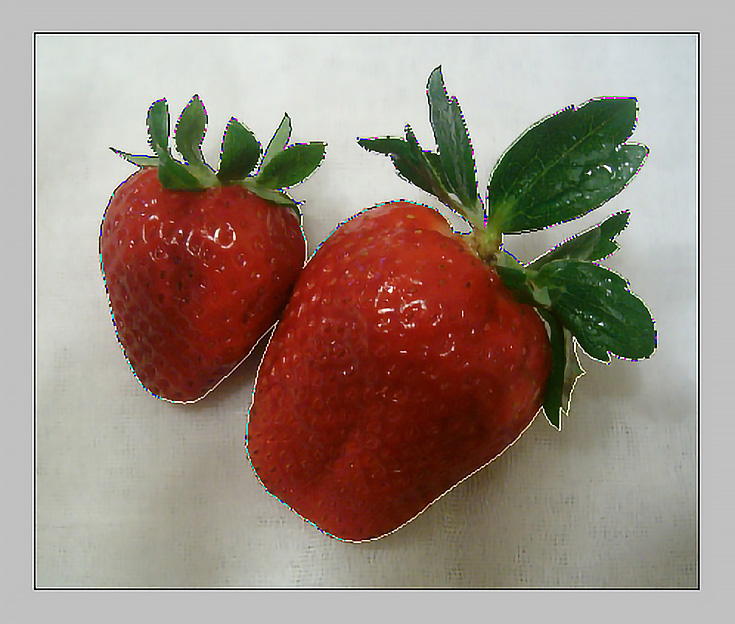
If you don’t know how to use the pen tool, just keep reading—in the following paragraphs I’ll explain how to use the pen tool to outline any type of 3D object. (And I’m going to use this picture of two delicious looking strawberries as an example.)
The first thing you need to do is open up a photograph of your artwork in Photoshop and zoom in a bit, just like I did. You’re going to match the curves and angles of your object as exactly as possible, so getting close helps.
(If you can’t see why I’d want to get rid of that gray/beige background, just wait until it’s gone—the difference is really incredible.)
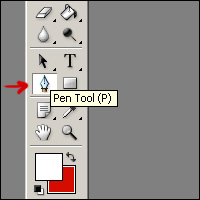
Select the pen tool from your toolbar and pick a spot on the edge of your object—any spot, it doesn’t matter.
Although on second thought, I should probably explain what’s going to happen when you click, before we get into outlining the strawberries.
If you just click once with the pen tool, you’ll create a single “active” anchor point.
Click a second time, and a line will appear connecting that first anchor point to the second one. The second anchor point is now “active” (see how it’s darker) so if you click again, the next line would start from the active point, not the first one.
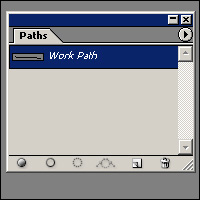
Take a second and check to see if you have your “Paths” window open.
If it is, a new “Work Path” will have appeared. (If you don’t see that window, click on “Window” in the top Menu bar and select “Paths.”
You can double click on the blue section to rename your path if you’d like.
When you do, you’ll be able to start a second path separately from the first. Until then you’ll just have one path the whole time.
Now here’s where it gets fun. . .
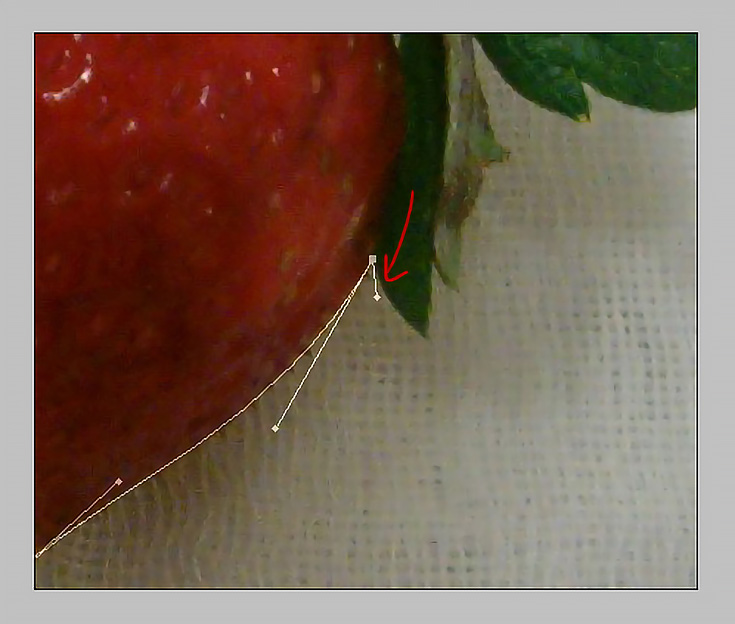
Create a new anchor point, but click AND DRAG before letting up. Something I like to call “handlebars” will appear on your screen.
(Notice how they’re not really a part of the image—they extend outside of the work space.) Click again, and unlike the first straight line, you’ll get a nice curve.
So what happened? Well, the endpoint of the handlebar is acting sort of like a magnet for the line you just created. It’s PULLING the line towards it.
And, if you hold down the ALT key and hover your mouse over that handlebar endpoint, a little “V” will appear. You can use that “V” to click and drag on the handlebar even more, thereby changing the curve.
You can also use the “V” on an existing anchor that doesn’t have handlebars yet and drag out handlebars that way too.
OK, so that’s the BASICS of the pen tool right there. What makes things interesting is that all anchor points can have handlebars on them, pointing any which way, making for some very complex curves.
So let’s get back to the strawberries and put this pen tool to work. Pick a spot to start, then click and drag out handlebars according to the curve you THINK you’ll need.
I’m planning on curving around the bottom corner of the strawberry, so I picked a spot leading into the curve, and dragged out what I thought was the correct distance.
On your next click you’ll find out how well you did—if you picked the right distance for the handlebar, your curve will be perfect. (Don’t worry, you can always go back and adjust the handlebars later too.)
I did all right—and notice how I immediately dragged out a new set of handlebars on the next click, too. You pretty much always want to drag out handlebars so that your curves will smoothly transition into each other.
If I’d have just clicked without dragging out handlebars, I would have had a sharp angle in the middle of my curve. (Sometimes you’ll want sharp angles, of course, but on these strawberries I’ll probably want smooth curves more than angles.)
And of course, if you have to fit into a tight corner, just zoom in and reposition your leading handlebar (using your ALT key of course) to get that handlebar back on track.
Now that you’ve got the hang of it, I’m going to jump ahead to where I’ve completely outlined the strawberries and show you how to finish up the process.
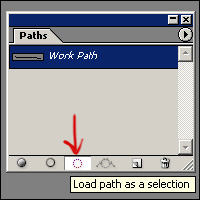
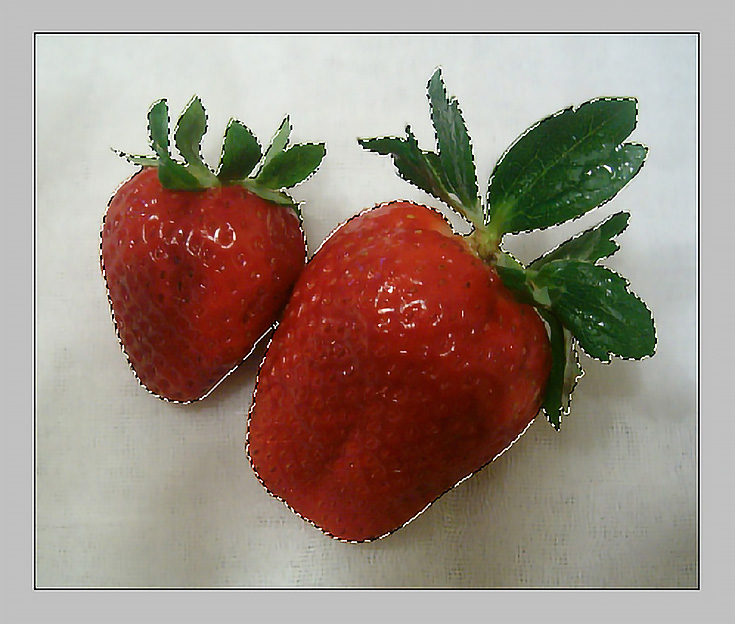
Find your “Paths” window again and click on the button near the bottom that looks like a dotted-line circle.
That should do the trick—you’ll see something like the outline of dotted lines below.
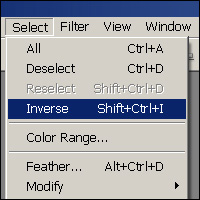
Click on “Select” in the menu bar, and the “Inverse”.
It might not look as though much has changed (after all, the dotted lines are still there, they’re just surrounding outwards instead of inwards) but you’ll know once you press “Delete” whether you’ve done it right.
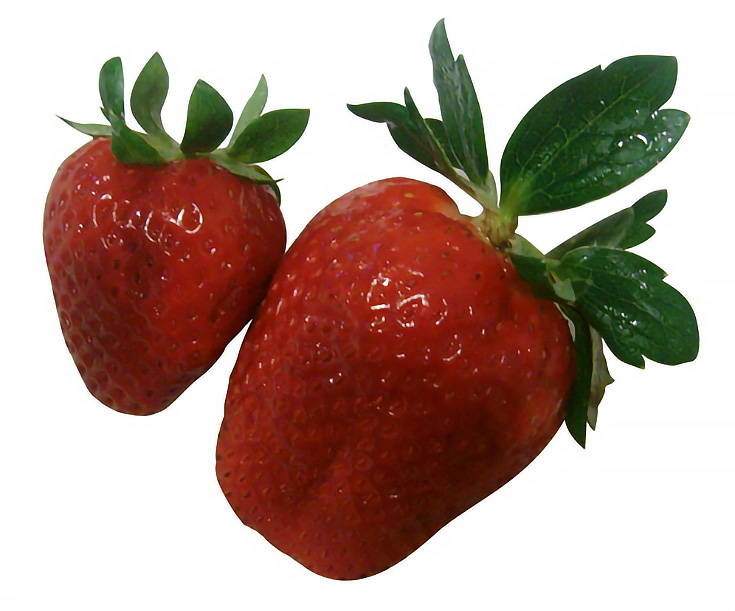
And after deleting everything inside the selection, your image should look like this:
Nice, isn’t it? And it doesn’t even really matter what the object is. . . almost everything looks better on a clean white background.
Naturally if you’re picking up the pen tool for the first time today, it’ll probably take a little while to really get used to it. But don’t give up—after a little practice you’ll be zooming through projects like these in no time flat.
This post may contain affiliate links.

