It may seem unnecessary to write an entire article about the tools of the colored pencil artist. I mean, they’re so basic. Pencils, paper, sharpener, eraser. What else do you need?
The plain and simple truth is that you really don’t need anything else. That’s what makes colored pencils so appealing to a non-artist who wants to try his or her hand at making art. It’s relatively easy—and inexpensive—to get started. Any colored pencil, any sharpener, and any kind of paper will suffice. You can find those almost anywhere.
But what if you’re serious about learning colored pencils? What do you need to buy? And what do you need to know?
Let’s tackle this matter in an orderly, two-part fashion. First, a quick primer on pencils and paper, followed by a look at some of the more unusual tools a serious beginner might want to consider (and might already have around the house.)
Colored pencil basics
Colored pencils range from scholastic grade through artist grade. Artist grade pencils are the highest quality, with the highest ratio of pigment to binder. Scholastic pencils are designed for school use, so are less expensive. If you can’t afford the best, but want something better than scholastic, look for student grade pencils.
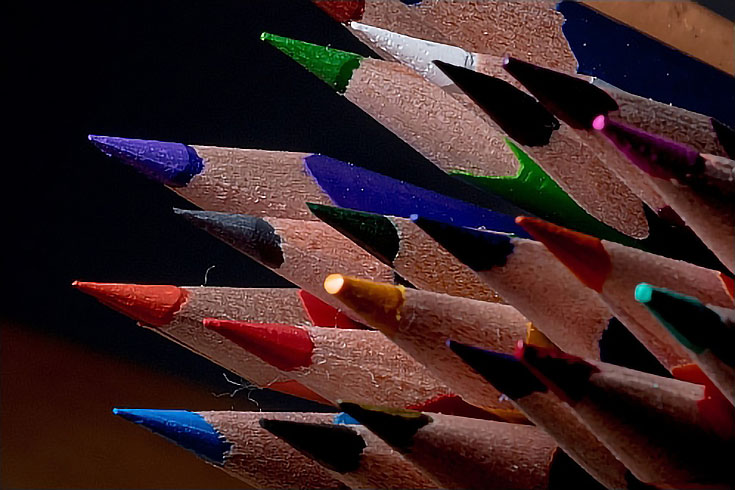
Pencils are manufactured by combining pigment with a binder that allows the pigment to be rolled into sticks and (usually) encased in wood to make the pencil. There are two primary types of binder: wax, which is the most common, or oil.
Prismacolor, Caran-d’Ache Pablo, and Derwent Coloursoft are among the more popular wax-based brands. Wax-based pencils are widely available from art suppliers, craft stores, and even discount stores.
Popular oil-based pencils are Faber-Castell Polychromos, Lyra Rembrandt Polycolor, and Caran d’Ache Luminance. They’re considered by many artists to be a “specialty pencil,” and are not as widely available.
NOTE: Read 4 Ways to Know if You’re Buying High-Quality Colored Pencils if you’d like to learn more.
Paper basics
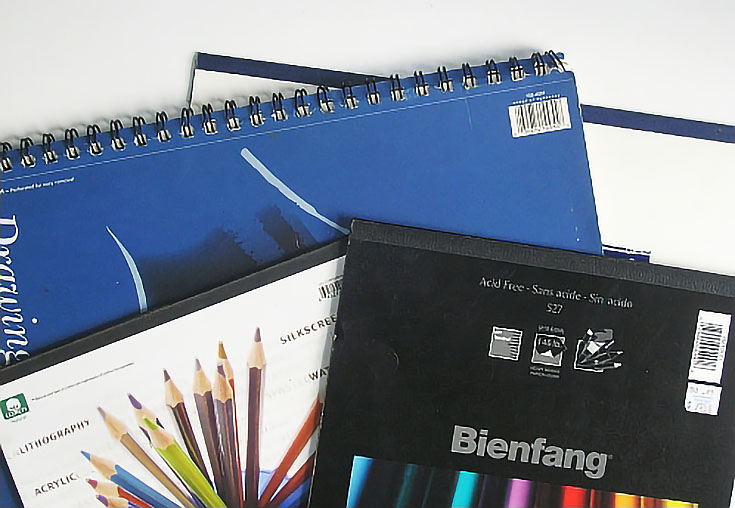
Drawing paper can be purchased in full sheets one sheet at a time, or in pads. Sheets are usually 18×24 or larger. Drawing pads are available in a wider range of sizes from 5×7 to 20×24. Drawing paper purchased by the sheet is generally—but not always—higher quality than the paper in drawing pads.
Drawing papers can be categorized by four major characteristics: fiber, weight, surface texture, and sizing.
Fiber refers to what the paper is made of, and can be cotton or cellulose (wood pulp) or a combination. The more cotton fibers are used, the longer the paper is likely to last.
Weight refers to the thickness (or heaviness of the paper). The thicker a paper is, the more sturdy it usually is.
Surface texture is, quite simply, what the paper feels like. The surface texture is also known as tooth. The rougher the paper, the more tooth it’s said to have. Almost any surface texture works with colored pencil, but you can draw finer detail with smoother papers and layer more colors with rougher papers.
Sizing is added to paper to make it water resistant. The more sizing, the more resistant to water. Sizing is usually used on watercolor paper and doesn’t play a major role in papers made for drawing. However, if you want to try water soluble colored pencils, it’s best to start with water resistant paper.
There’s everything you need to know about pencils and paper to get started. Now let’s take a look at some other tools you might want to consider.
Tools to blend your color
Blenders are used to blend colors once they’re on the paper. The most common blender is a colored pencil without the color. You use them just like the pencils, but instead of adding color, you blend the colors already on the paper. This is called burnishing.
You can also burnish with a colored pencil. If you do, be aware that the color of the pencil you use for burnishing will change the colors already on the paper. If you burnish with a light pencil, you’ll lighten the blended colors slightly. If you burnish with a darker pencil, you’ll darken the blended colors.
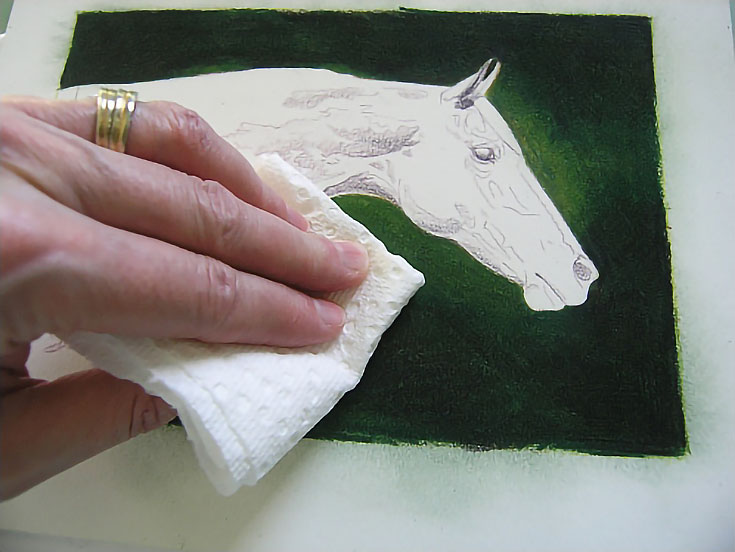
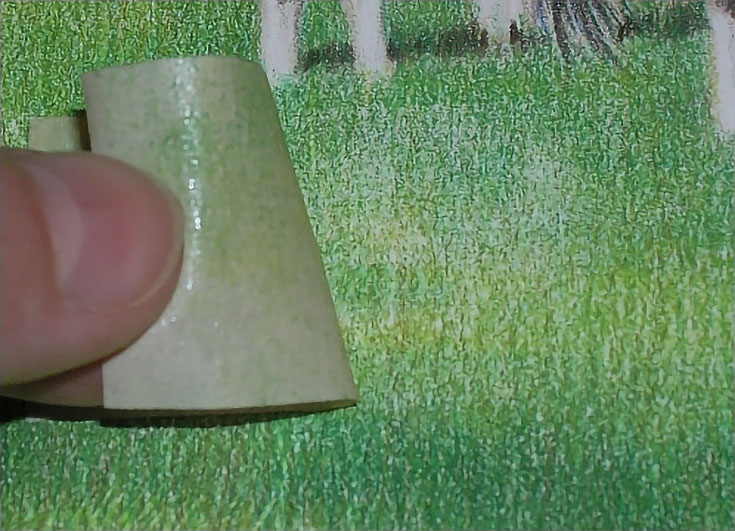
But there other other forms of dry blending (blending without a solvent). Two of my favorites are bath tissue and paper towel. Yes! I’m serious! Fold a section of bath tissue or paper towel into quarters or smaller, then rub the area you want to blend. It won’t make a drastic change, but it will smooth out color.
Of course, you can use rubbing alcohol for blending colored pencils as well as other solvents. But if you’re just getting started with colored pencils, it’s best to learn what you can do without solvents first. You may find that you don’t really need them.
Tools to lighten (or lift) color
Lightening colored pencil once it’s on the paper is no easy matter. For one thing, it’s impossible to completely remove color, and if you used heavy pressure to put color on paper, you’ll have limited success getting it off again. Does that mean there’s no hope?
Not at all!
Some standard erasers work sufficiently to get the job done. I have a White Pearl eraser, a Pink Pearl, and a couple of pencil erasers. But standard erasers are not really made for use with wax- or oil-based pencils, and they may smudge, smear, or otherwise mark your paper in ways that won’t help you.
Better tools for lightening or lifting color are transparent tape and masking tape. Any type will work, but I prefer Scotch brand Magic tape and painter’s masking tape, because I’ve had the best results with those. They are relatively low tack, which means they don’t have a lot of adhesive. Just enough to remove color, but not so much they’ll damage your paper.
To remove color, lightly press a small piece of tape to the area you want to change, rub it gently with a fingertip, then carefully remove it. You may have to do this a couple of times, but you should be able to remove enough color to make small changes.
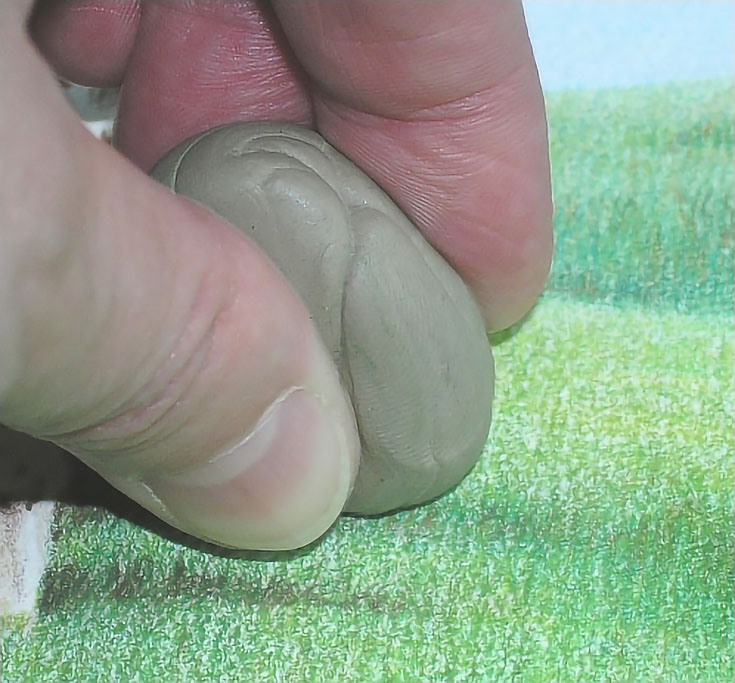
That sticky stuff you use to hang posters also works great for removing color. It’s a little more random than tape, but is less likely to damage your paper. You can also mold it into points, or other shapes to lighten color in small areas.
NOTE: For more info on this topic, read 2 Neat Tricks for Erasing or “Lifting” Color from Colored Pencil Drawings.
And there you have it, six of my favorite colored pencil tools. Sure, there are a lot more I use from time to time, but these are really all you need to get started. Give them a try and see if colored pencils are for you!
This post may contain affiliate links.