Every artist I know is always on the lookout for tips, tools, and techniques to improve his or her work. (I know I am!) But many times the search for new methods causes us to overlook the basics. So, this week, I wanted to share a brief refresher on a few basics worthy of note for any colored pencil artist.
Using hard lead pencils vs. soft lead pencils
It’s a good idea to use pencils with harder pigment formulation in the early stages of a drawing. Prismacolor Verithin pencils, for example, are much harder than Prismacolor Premier pencils.
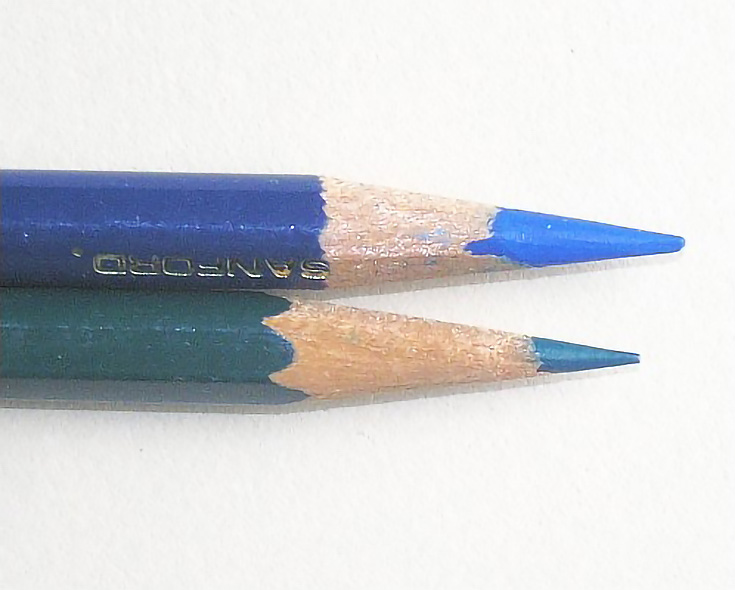
In the illustration below, the red and blue pencils are Prismacolor Thick Lead pencils. The two green pencils are Prismacolor Verithin pencils.
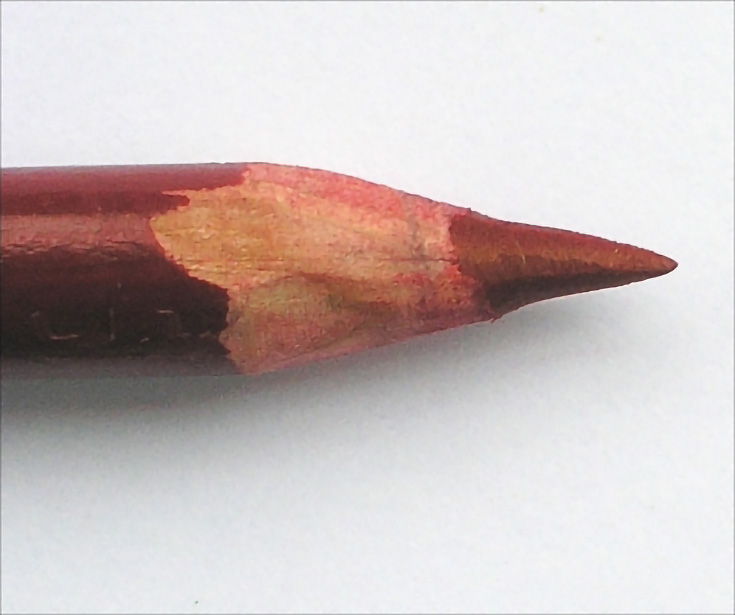
A closer look at a sharpened pencil in each line shows the difference in the size of the lead. The Verithin pencil (green) is noticeably smaller, making it ideal for fine detail.
Verithin pencils and other pencils like them lay down less color even with heavy pressure. Color is easier to lift or erase if you need to lighten an area or remove color altogether. Because they contain less wax than softer pencils, they also leave less wax on your drawing. You can apply multiple layers without worrying about wax buildup or wax bloom.
Most brands of artist grade colored pencils have a line of soft and hard pencils.
Keeping your pencils sharp
It’s important to keep your pencils well sharpened. The surface of most papers is made up of tiny hills and valleys. The difference between the tops of the “hills” and the bottoms of the “valleys” is what is called the paper’s tooth. The rougher a paper, the bigger the difference between the hills and valleys.
The sharper you keep your pencils, the better they reach all of the parts of the paper—including the “valleys”—and the better they cover the paper.
Good-quality electric and hand-held sharpeners are available from most office supply and art stores. Find one that works for you, handles the pencils you use without breaking them, and doesn’t break your budget.
Of course, you can also sharpen pencils by hand. All it takes is a sharp blade, a sanding board or sand paper, and a little practice to get pencils as sharp as or sharper than the one shown above. (See How to Get the Most Possible Use Out of Every Colored Pencil for more information on that.)
Transferring a line drawing
The most common way to transfer a line drawing is by using a transfer paper of some kind (like graphite or carbon tracing paper).
Simply slip the transfer paper between your line drawing and fresh piece of paper. The front of the transfer paper (the transferrable side) should be facing down onto the new paper. Then trace over the lines of the drawing. Use light to medium light pressure to get a good, clean transfer without impressing the line drawing into the art paper.
With light- and medium-weight papers, you can often see lines well enough through the paper to transfer a line drawing without transfer paper, carbon paper, or other transfer devices. The best part? No graphite to muddy the colors or smudge your good drawing paper!
Make sure your line drawing is clean, with dark, clear lines and no smudges. Center the line drawing face down on the back of the paper you’re using for the artwork. Tape it lightly in place with masking tape at each corner. If the line drawing is more than 8×10, place tape at the center of each edge. Press the tape lightly into place, then turn the paper over and trace the line drawing on the front of the paper.
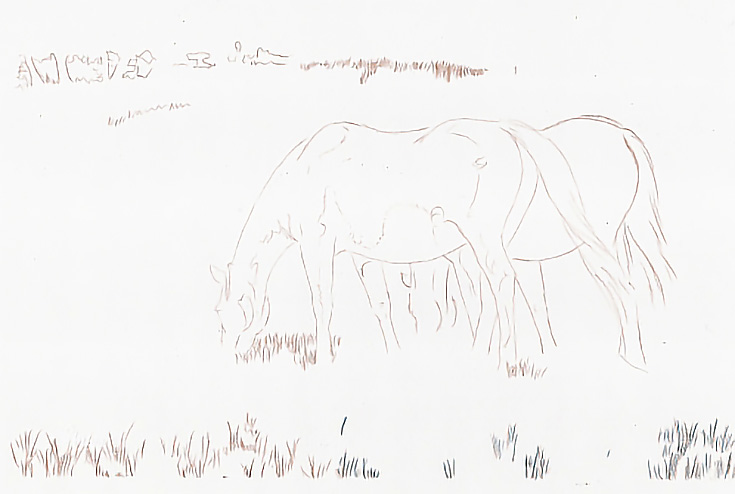
You can transfer the line drawing all at once, or as you develop each area. You can also use whatever colors and techniques are best suited to each area. In the illustration above, I transferred lights and shadows in the grass with vertical strokes. The more distant elements required shorter strokes than those in the foreground.
Improvising your own light box
A light box is an enclosed box fitted with light bulbs. The top is translucent or transparent enough to allow light to show through. This makes it easy to place a new piece of paper on top of a line drawing, and still see the drawing through the back of the clean sheet.
Drawings can then be transferred directly from the back sheet of paper to the top sheet without the use of transfer mediums
Commercially produced light boxes come in a variety of sizes and configurations, from small light boxes you can work with in your lap to large, table-sized light boxes. They are available in prices for every budget, but you don’t have to purchase a light box in order to use the technique.
My favorite light box is my front door window. The door faces south so there is good light whenever the sun is shining. It looks out on a covered porch so I don’t have difficulty with glare. I can work with drawings up to 23 inches wide and 55 inches long.
One caveat on using a door or window for a light box: it’s tedious work transferring large and/or complicated drawings this way because I have to stand at the window and work with my arms up.
The solution? Short sessions of 20 to 30 minutes with frequent breaks. A little walking or light exercise doesn’t hurt, either.
Adding contrast without getting too dark
While it’s important to create solid darks in your artwork, it’s also important NOT to get too dark too early. Every layer of color darkens the shadows and middle tones, whether you’re working on the under drawing or the color phase. Shadows that are dark in the under drawing will be even darker in the final drawing.
It takes practice and training your eye, but you can learn when a shadow is dark enough in the under drawing. It’s always better to stop short of what you think is the proper darkness for the under drawing. It’s much easier to darken shadows later than it is to lighten them.
Even if you’ve used some (or all of) these methods before, I hope you’ve been inspired by this article! Everything above has been excerpted from my book, Colored Pencils: The Direct Method Step-by-Step.
Check it out for more colored pencil drawing techniques!
This post may contain affiliate links.


