In one of my previous articles, I shared two tricks for correcting colored pencil mistakes. Today, I’m continuing that theme by focusing on something even worse—the dreaded stain.
With stains (like so many things) prevention is the best cure. In a perfect world, we’d keep all food and beverages away from our drawings so that any careless slosh, spill or drop doesn’t get on our work. That’s the safest course of action, but it isn’t always the most practical. After all, if you’re prone to working for hours on end, you will have to eat something sooner or later.
You can leave your drawing table while you eat, which keeps your work clean and dry and gives your muscles a chance to move and stretch. . . but if you’re like me, you probably like to keep a snack handy.
One artist I know keeps her tea or soft drink on a table behind her. She works on a swivel stool, so all she has to do is turn around for a sip. That’s a great solution, and with a little practice, it will become second nature.
“But,” you say, “I’ve taken those precautions and still spilled something on my paper. Now I have a stain. Is the drawing ruined?”
It all depends.
The nature of the liquid you spill makes a huge difference in whether or not the paper can be repaired. Water alone will simply dampen the paper but not stain it, and depending on the type of paper it may not ruin your drawing. All you have to do is blot the water as quickly as possible, let the paper dry, and continue work.
Coffee, tea, juices, and many soft drinks will stain and, unless you’re able to find a way to work the color into your drawing, it may be a lost cause from the beginning.
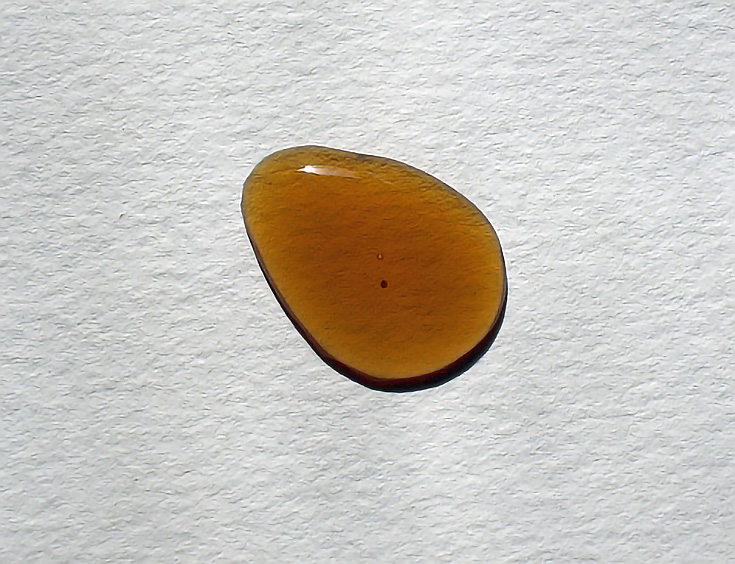
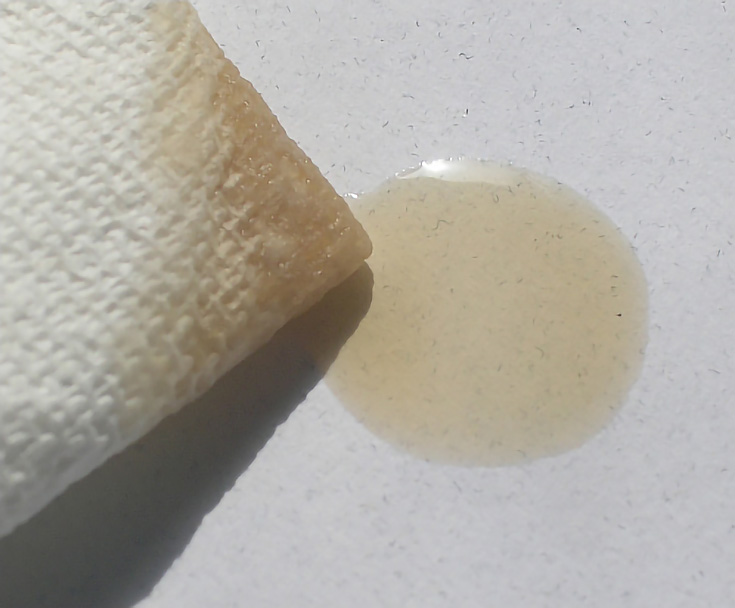
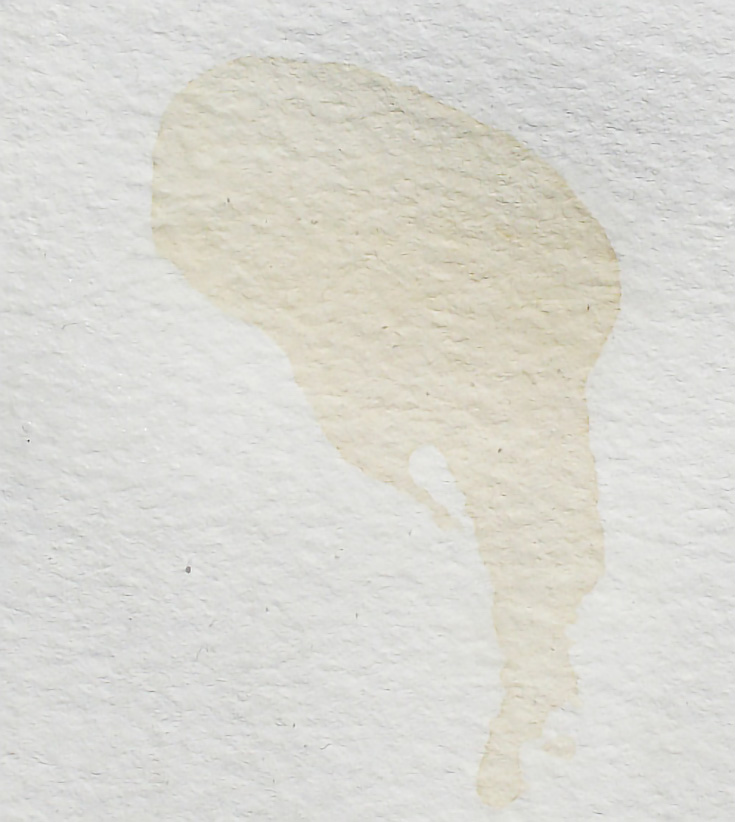
If a stain does happen, don’t panic. There are ways to mitigate the damage and the more quickly you respond to the spill, the more likely you’ll be able to limit the damage. Let’s take look at the most basic method for dealing with a stain—using this spilled coffee (on watercolor paper) as an example.
Dealing with a fresh stain
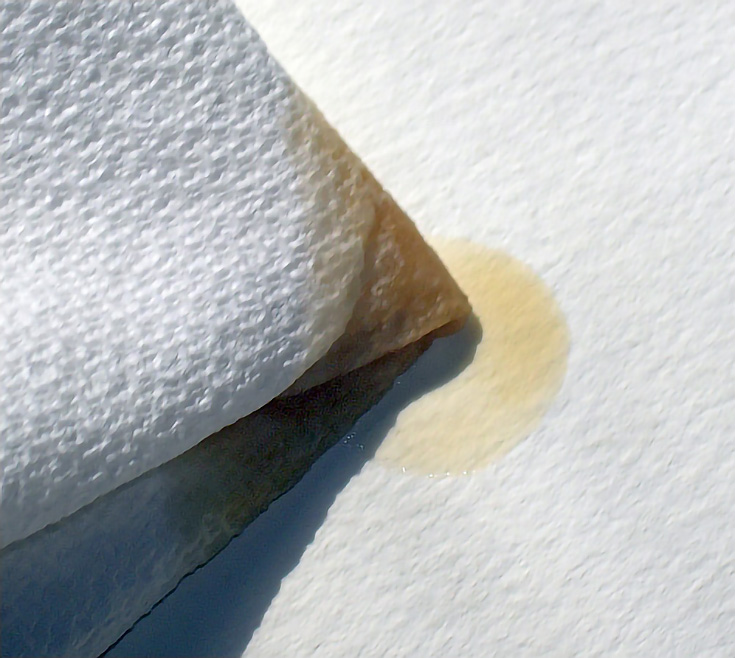
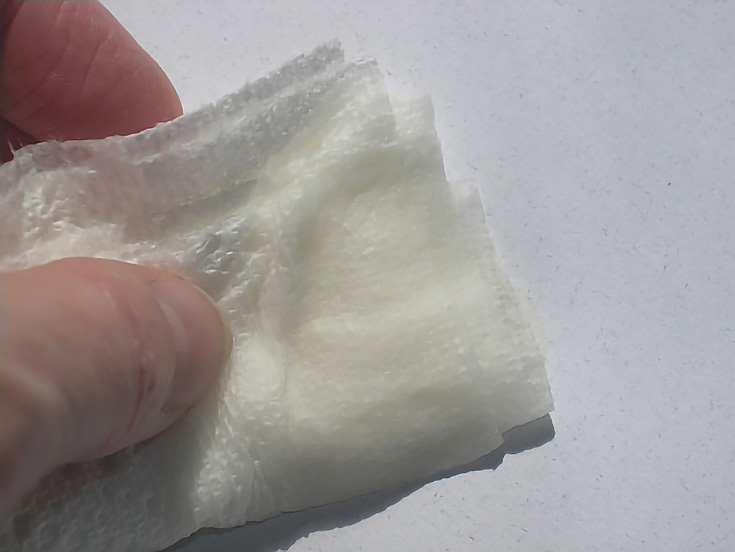
If the spill just happened, blot the liquid with a moist cotton ball, swab, or paper towel. If you use paper towel, fold it into a small square to maximize its ability to remove liquid. Blot the stain until you can’t remove any more liquid, then blot the paper with dry paper towel to remove excess moisture.
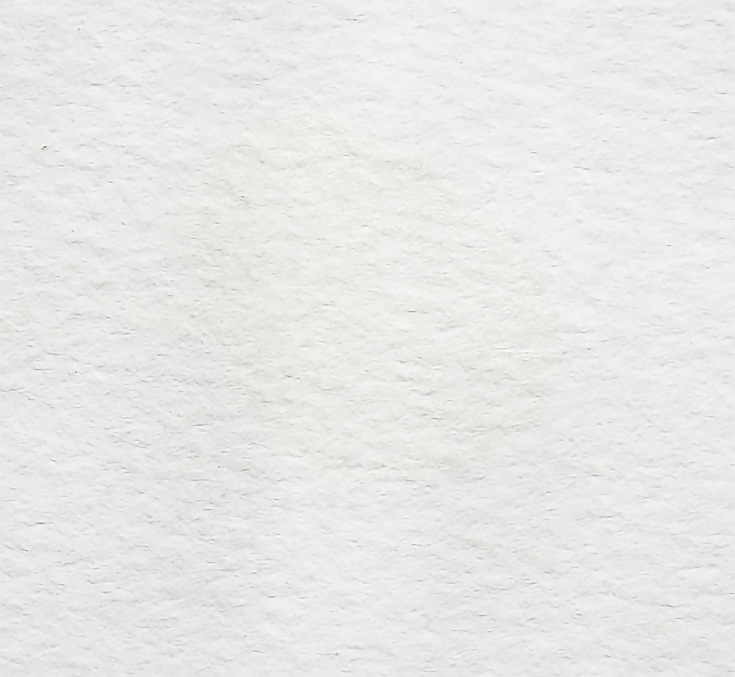
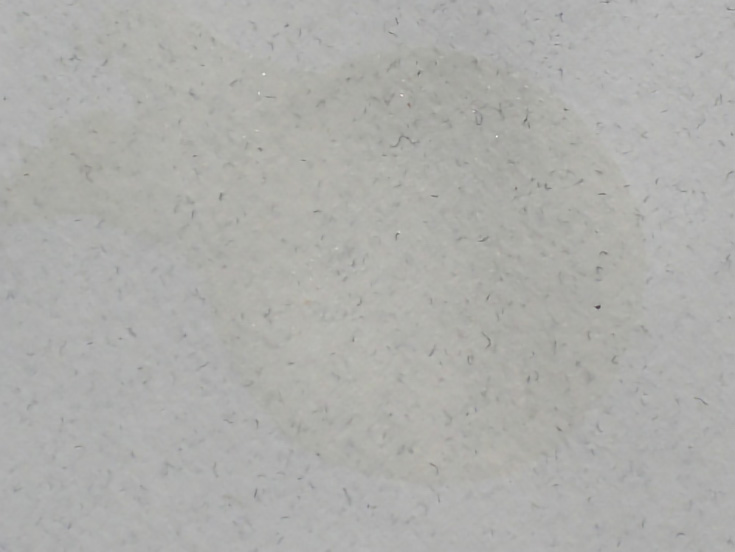
It’s surprising how much stain you can remove with this simple method. Here’s my paper after blotting. Can you tell where the stain was?
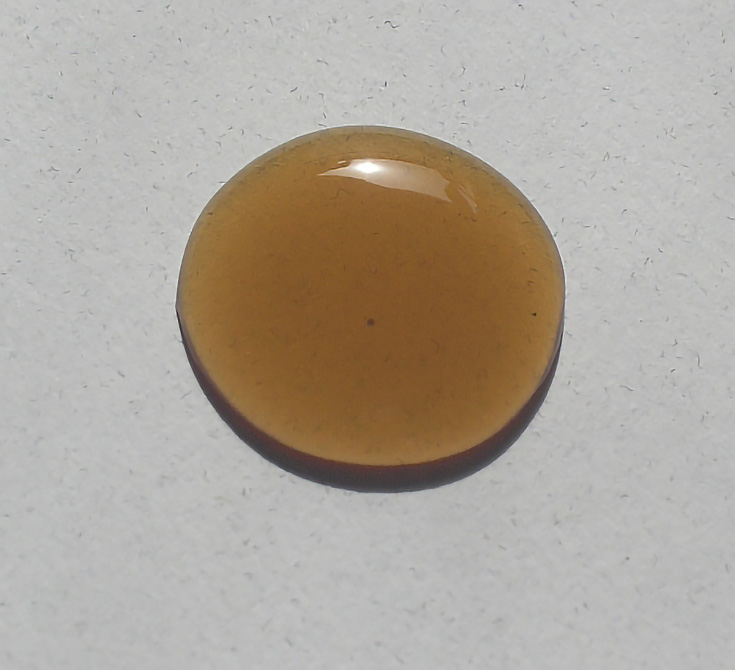
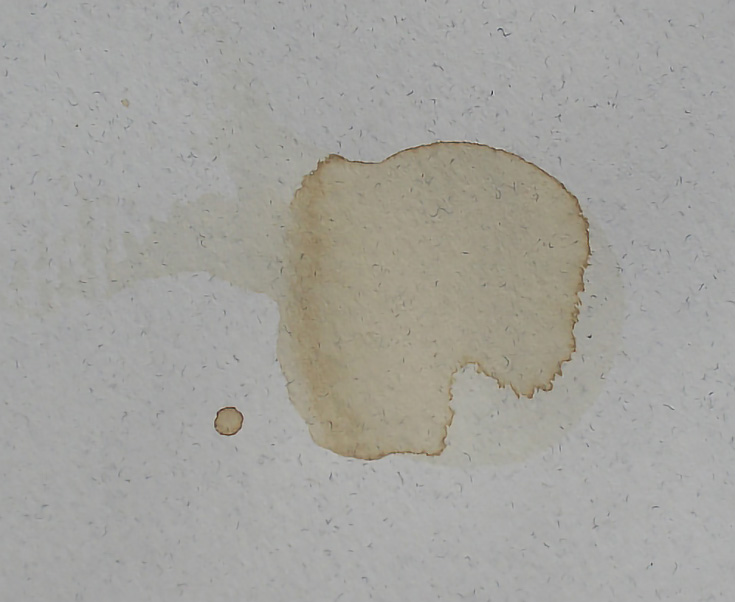
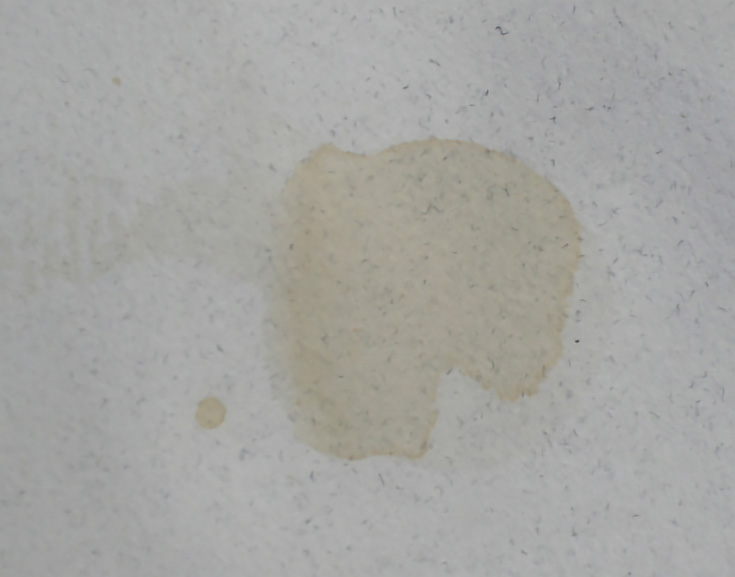
The demonstration above is on watercolor paper. So, what happens if the same spill occurs on drawing paper? (I was curious too.) Here’s the same type of spill on Strathmore Artagain Drawing paper.
Like before, I folded a piece of paper towel and blotted the coffee by touching a corner of the paper towel to the edge of the spill, so it would soak up the liquid.
As you’ll see below, the stain is a little bit more noticeable, but not bad. In the end, the damage is fairly minimal and would easily be covered with colored pencil.
When you’ve removed as much of the stain as possible, let the paper dry, then spray it lightly with workable fixative to restore the tooth of the paper and help colored pencil stick to the paper better.
In both cases (whether you’re working on a watercolor or traditional drawing paper) the key is to act quickly. For my controlled tests above, less than a minute passed between spilling coffee and blotting it. Granted, I had paper towel and water waiting, but even if you don’t, speed is key.
Dealing with a dried stain
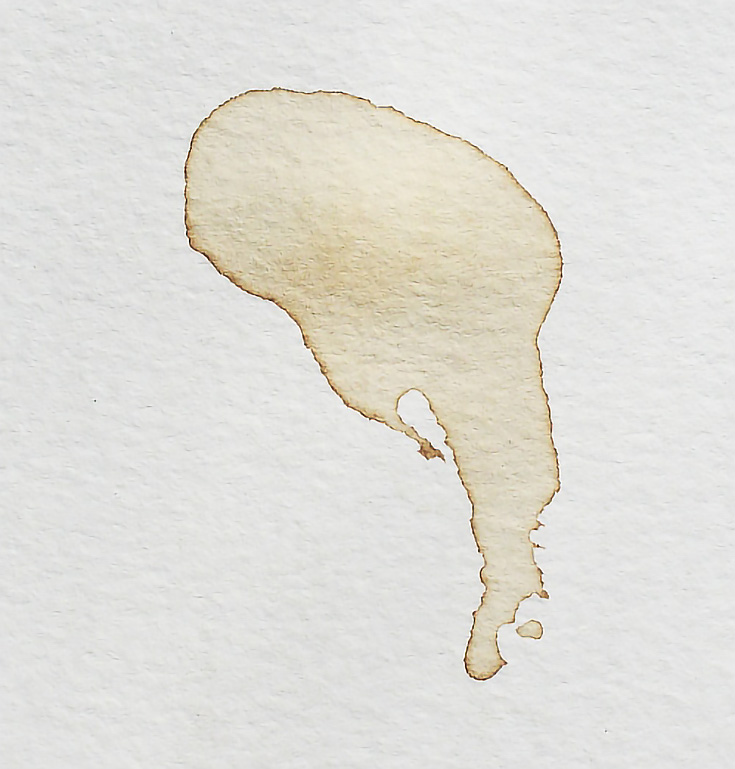
All right, now here’s another coffee stain that has dried completely. It looks pretty hopeless, doesn’t it? Look at that dark ring around the outside of the stain!
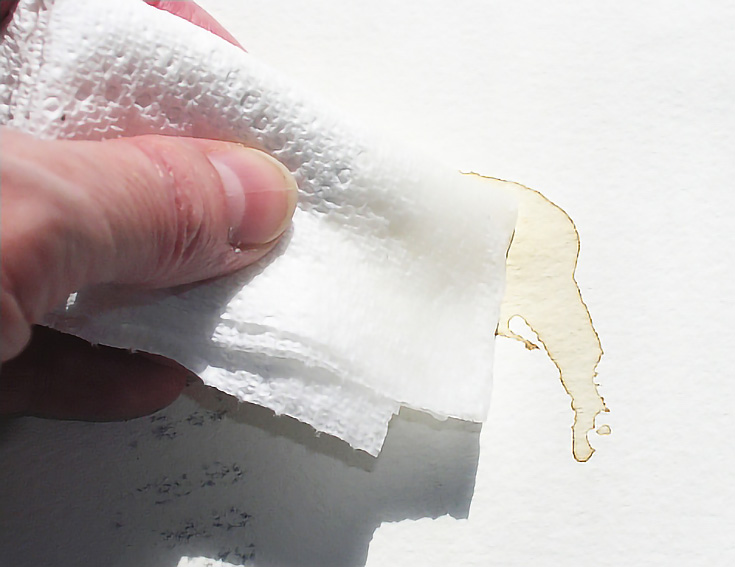
Once again, I folded a fresh sheet of paper towel. This time, however, I dipped it in clean water before blotting the stain.
I pressed the damp paper towel against the stain, then blotted with a dry piece, then continued doing that repeatedly. Because this is on watercolor paper, I even scrubbed a little with the damp paper towel two or three times, blotting with dry paper each time. This is what the stain looked like when I finished.
I used the same method with the drawing paper. The results were not as satisfactory because I couldn’t use either the amount of pressure or the amount of water I used with the watercolor paper. The drawing paper buckled when it got wet, and scrubbing would have damaged the surface of the paper as much as or more than the stain.
So I changed my tactics a bit. I dampened a folded paper towel, pressed it over the stain, then blotted it until no more color came up on my paper towel.
I had some success—the stain was lightened and softened—but it wasn’t removed as completely as the stain on the watercolor paper.
The most important stain-removing tip I can give is to simply act quickly. When I blotted spills immediately, I had no trouble. I just let my paper dry, sprayed it with workable fixative, and continued drawing as though nothing had ever happened.
And if simple blotting isn’t enough?
After you’ve blotted repeatedly and there’s still a stain, don’t worry—it’s not the end of the world. In my next article, I’ll share a few more, shall we say, “aggressive” tips for dealing with tougher spills and stains.
Stay tuned!
This post may contain affiliate links.
