Today I’m going to show you how to paint gorgeous, luminous roses in a realistic way, using watercolor paint and glazing techniques.
As reminder on painting before we get into the thick of it, one of the best ways to learn to create realistic paintings is to start by creating realistic drawings. We created a new guide, How to Draw EXACTLY What You See in order to teach realistic drawing foundations.
Aside from a good foundation, let’s talk supplies.
Assemble your paint, brushes, and paper
You can use any brand of paint that you like, but I’m using Winsor Newton watercolor paint, unless otherwise stated. (I also like to use professional grade paint whenever possible, since student grade paints have less pigment and more fillers, taking twice the effort to get the same “punch” of color. Here’s some more information on buying watercolor paint, if you’re just starting out.)
My standard flower palette is as follows: Aureolin, New Gamboge, Quinacridone Gold, Raw Sienna, Cadmium Orange, Scarlet Lake, Alizarin Crimson, Permantent Rose, Cobalt Violet, Permanent Magenta, Cobalt Blue, French Ultramarine Blue, Marine Blue, Cerulean, Burnt Sienna, and Burnt Umber. You can get most of these in Blick’s 12-color watercolor set here.
I also use Sap Green and Shadow Green from Holbein.
Of course, you’ll also need both round and flat watercolor brushes—I use round brushes to do detail work, and flat brushes to wash larger areas like the background. Round brushes in 12, 8, 6 & 4 are fine. Depending on the size of the painting and the amount of backgrounds space you’ll be covering, just one half-inch flat brush will do.
Lastly, make sure your watercolor paper is of good quality. I use Arches 140# paper for most all my work, and when doing a painting with lots of washes, you’ll need at least 140# paper that has been stretched or taped down. If a paper is not good quality (i.e., not heavy enough) it will not take repeated washes without buckling. I also tend to “lift” color at the end of my paintings to get my values right, and give my work softer edges. Poor quality papers do not stand up well to scrubbing out color.
A quick note on glazing
Glazing is the technique of laying down successive washes and building up color and value in a painting in order to create glowing, luminous color. Because watercolor is transparent, each layer shows through the next, creating rich, complex color mixes.
I use a wide range of colors when I paint glazes, and generally, I don’t mix colors—I just tend to use colors straight from the tube (plus water). The reason for this is because if you are covering a large area it is too hard to mix enough color for more than one sitting. The colors from a tube are always consistent so you always have the right color when you’re ready to continue.
It is very important that each wash you lay down is completely dry before the next one is applied, or the next wash will lift your previous wash and muddy your color. I allow several hours (or overnight) for each layer to thoroughly dry. A hair drier can be used to speed this process, but many times I find that stepping away from the work is also helpful. When I come back I have fresh eyes to see what needs to be done next.
Practice your watercolor washes a few times to get the hang of it before starting on your painting (here is a more detailed tutorial on creating watercolor washes). If I am doing a larger area, I wet the area with clean water first and allow it to dry just until the sheen is gone. The paper will be damp but not too wet, which allows the color to flow and gives some time to work before the paint dries or starts to leave a hard edge.
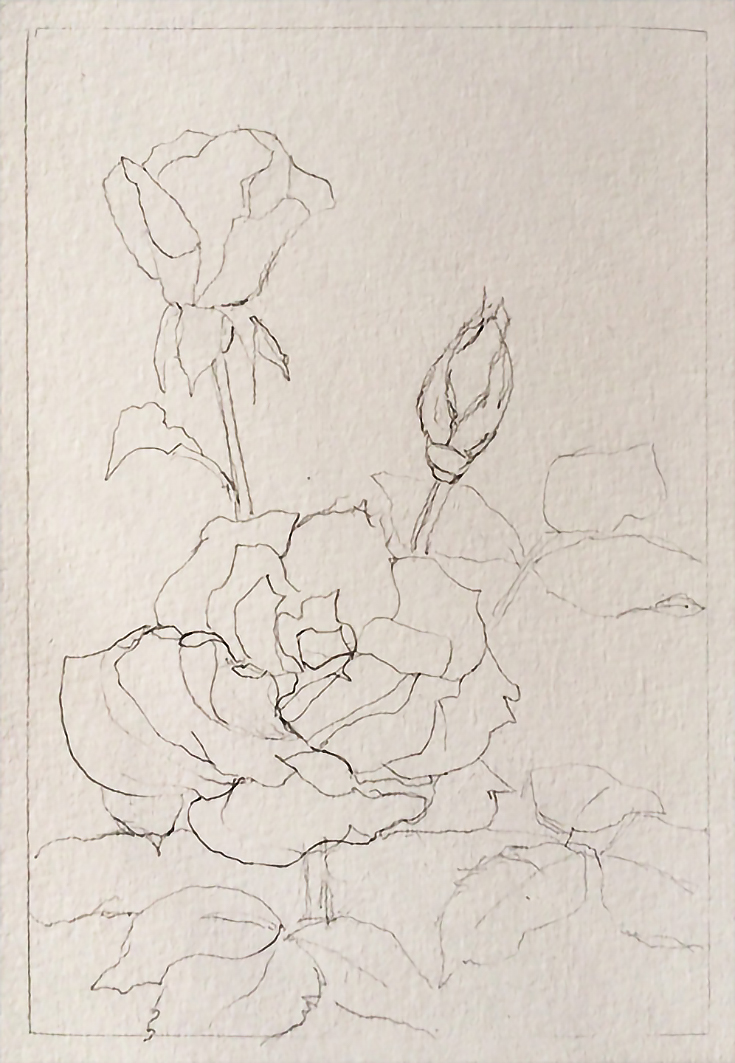
Start with a detailed drawing
When painting realistically, always begin with a detailed drawing. While I didn’t draw my roses exactly petal for petal, I did make sure their overall form was correct, and that their individual leaf and petal shapes were accurate.
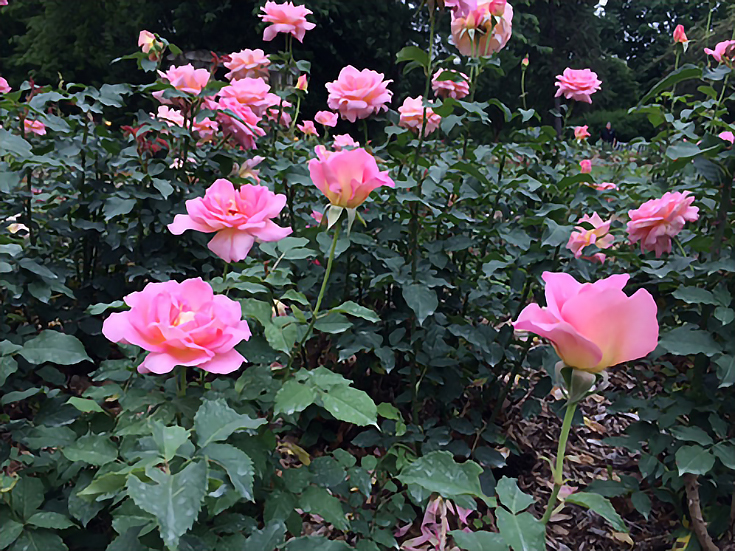
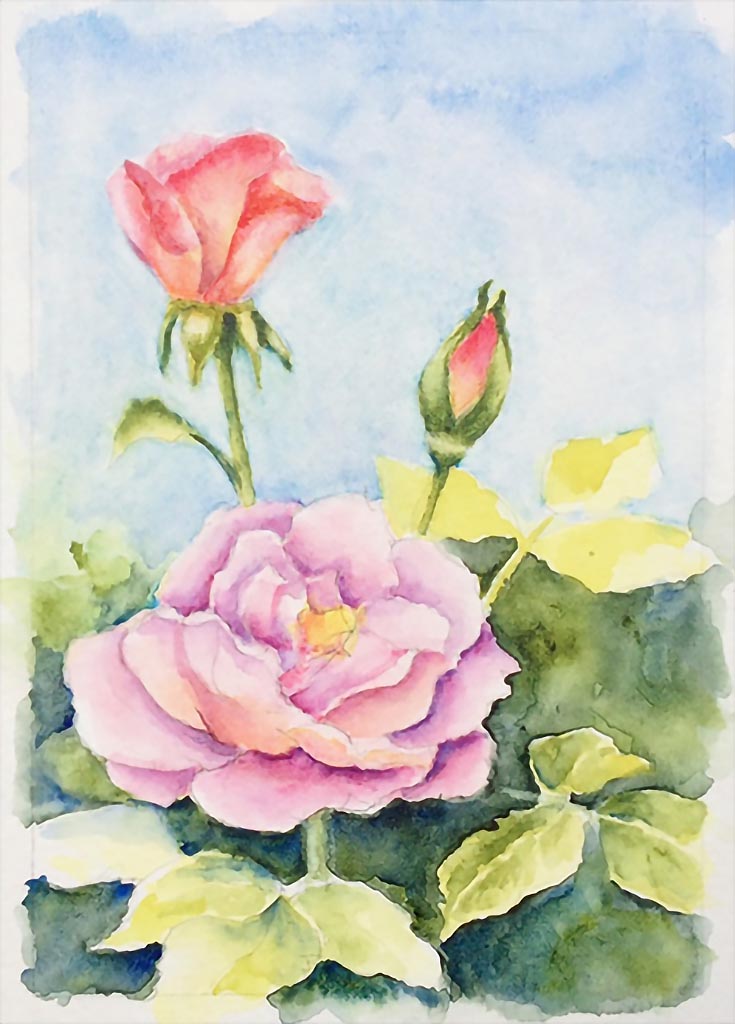
Here’s a photo I took while painting, so you can see what I was working from:
As I drew, I arranged my roses in a pleasing composition on my paper. Remember, you’re the artist; you have the freedom to place the subjects anywhere on the page that pleases you!
Also, if you’re not used to drawing flowers, read this tutorial on drawing roses first.
For this lesson I’ll be referring to the photo I took while painting, but whenever possible, try to paint from life. A photo will never give your eye the wonderful colors you’ll see firsthand from nature.
If you can’t paint from life, make color notes for yourself to help you remember what you saw. These roses, for example, were less pink than the photo shows and more coral with a glowing yellow undertone.
Put down your lightest colors first
I started my painting by putting down washes of my lightest colors. You can always go darker with watercolors, but it’s not easy to remove color without losing that fresh, spontaneous feeling. So think carefully about what colors will be lightest in your scene and start with those.
Remember to also mask (or carefully paint around) any areas you want to keep white.
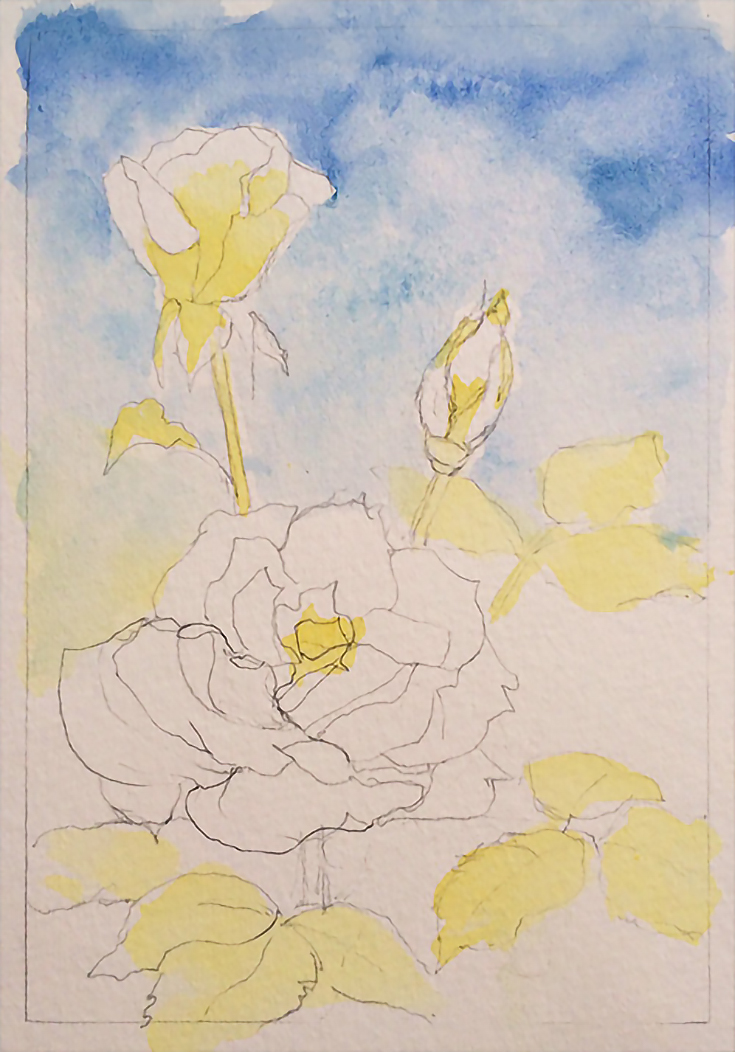
As you can see, I used Aureolin Yellow as an underwash on the roses and leaves, and added Permanent Rose for the underwash on the roses. For the leaves I used some Sap Green mixed with Aureolin Yellow to lighten it.
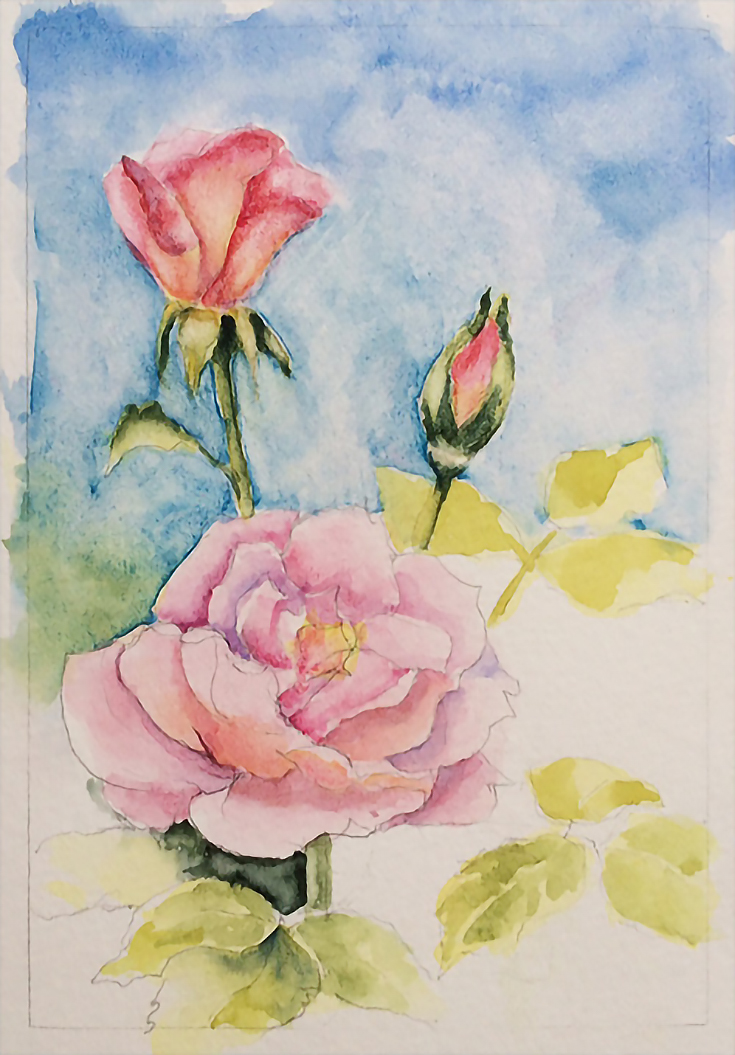
After my initial glaze dried, I begin to detail the roses and leaves with some shadows. I added a light wash of Ultramarine Blue on the flowers and Shadow Green on the leaves, making sure that I wasn’t painting it too dark too fast.
Next, paint in the background
Never neglect the background. A background is usually the largest area of a painting like this and helps support your subject. You may also want to do the entire background first, but either way works.
To finish out my background in the bottom half of my painting, I didn’t just use Shadow Green, but added blues and lighter greens in the same value range for added interest. The shifting color will give the suggestion of leaves, but there will be no detail here.

Remember that watercolor dries 30% lighter, so go in darker than you think you need to for bold darks that don’t need to be reworked. Since there is no detail in this background leafy area, I went in with the value I wanted right away.
Finish up the painting with more color washes
Using light color glazes, I finished my painting by gradually building up the colors and values on the roses and leaves. If you’re concerned that you’re over-working the painting, it sometimes helps to look through a piece of red film or acetate and focus on values for a bit. (The film will stop your eyes from seeing color and let you see just shades of gray.)
Of course, if you are using a photo, you can always use a photo editor to change it to black and white for the same effect. Using either of these tools will help you judge how close to the original values you are, and when you should be done.
I also used the edges of the paper to test my colors and glazes before I use them. No one will see that part of your paper when you’re done, so you may as well use it!

Last of all, I softened some edges on the roses and leaves by taking a damp brush and lightly blending away the hard edge of color. I also lifted off some color in areas where I thought they were too dark. (A word of caution: build your color carefully so you don’t have to lift too much off at the end. It’s rough on the paper and can ruin the layers underneath if you’re not very careful.)
Here’s my finished painting, matted and signed.
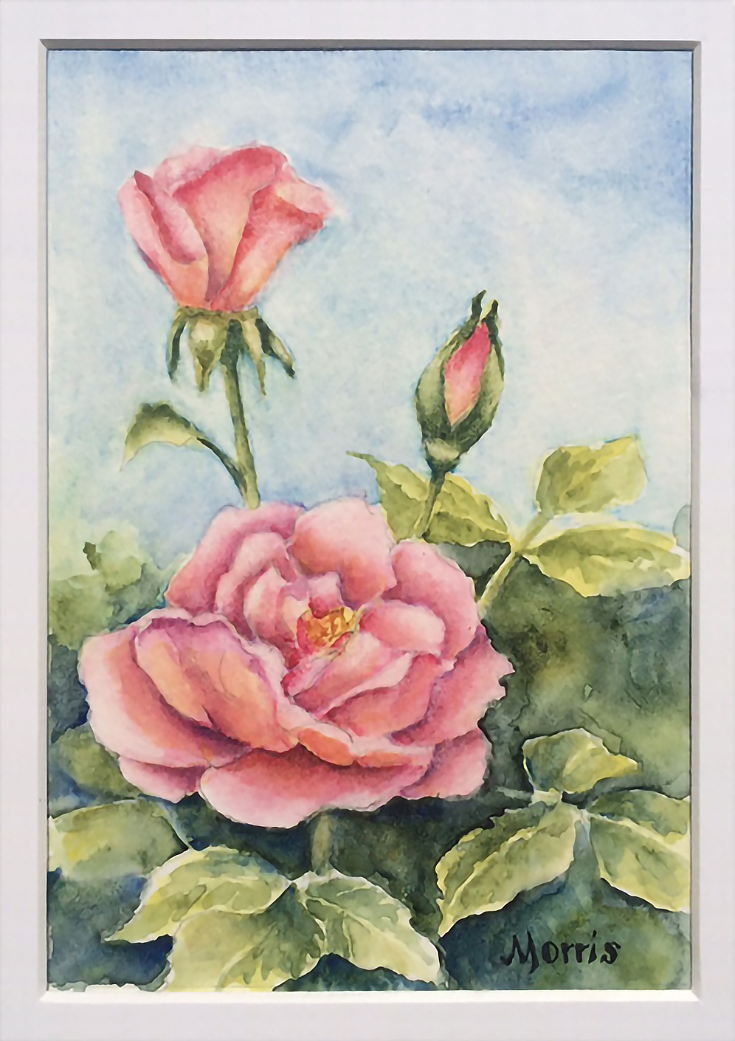
I hope you enjoyed seeing my process, and perhaps even followed along to create a gorgeous painting of your own! Keep an eye out for more of my watercolor tutorials on EmptyEasel in the near future!
This post may contain affiliate links.