When I first began making colored pencil art, I rarely drew on anything but white paper. I loved the selection of colors available in the pencils and white paper seemed like the best way to take advantage of them.
After accepting a few portrait commissions with close deadlines, however, I realized I needed to look for ways to shorten the drawing process.
It didn’t take long to learn the value of drawing directly on colored paper—whether I was doing portrait work, animal drawings, or drawings done on-location, my selection of colored papers became just as important as the pencils themselves.
Here are four different types of drawings where colored paper is a huge benefit:
1. Quick sketches
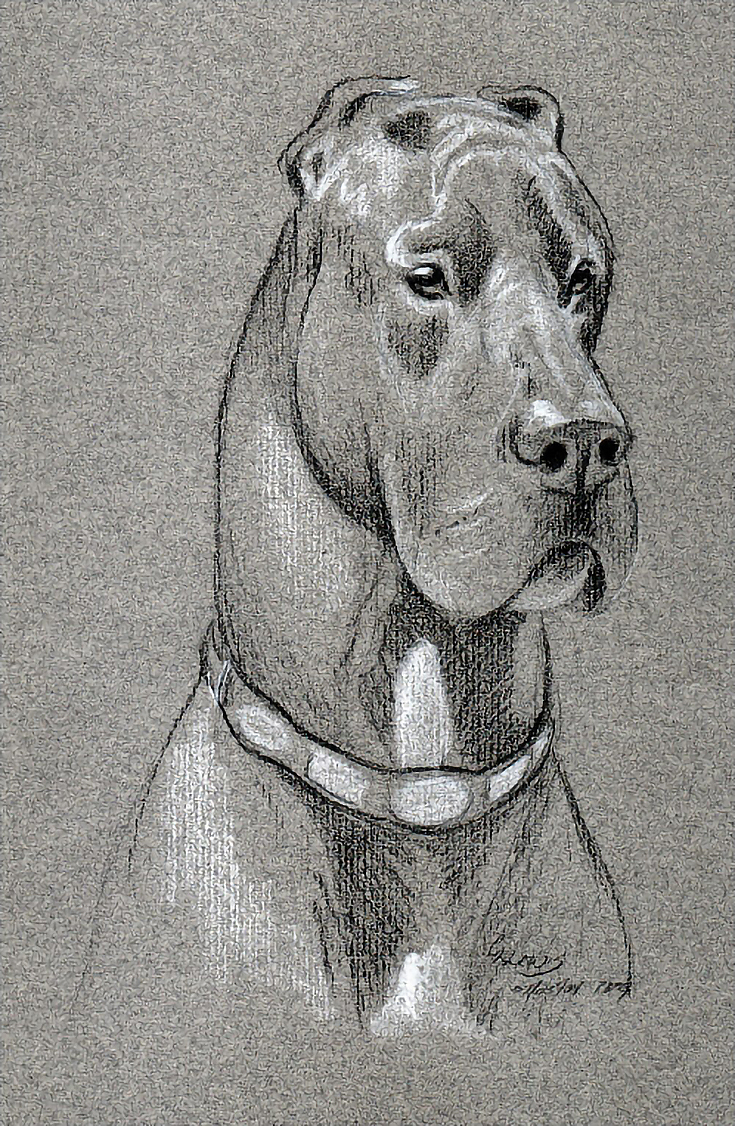
The drawing below is what I call a quick sketch. It was drawn on location at a horse show. Because horses (and dogs) come in a variety of colors, I took a collection of colored papers in a range of earth tones, neutral colors and, of course, black and white. Each quick sketch was drawn on the color best suited to the subject and I was able to do enough quick sketches (each taking about an hour) to pay for my space at the horse show.
The dog I drew here was black so I chose a medium gray paper. The only pencils used were black and white, but those were the only colors needed to create a good range of values and a likeness to the subject. I could have used a lighter or darker gray paper, but chose a shade dark enough to make the white highlights sparkle and light enough to show the shadows, which I drew with black.
TIP: Quick sketches like this are an excellent way to generate income. Quick sketches can be done in any medium, but colored pencils have several clear advantages: they don’t require drying time, they’re highly portable, and all you need is a good hand-held sharpener, a drawing board, paper, pencils, and an eraser or two. I pre-cut paper for 8×10 portraits before the show and traveled with light-weight, clear plastic envelopes to package the finished quick sketches. The quick sketches were quite popular and at $25 per quick sketch, it didn’t take many to pay for the show.
2. Vignette-style portraits
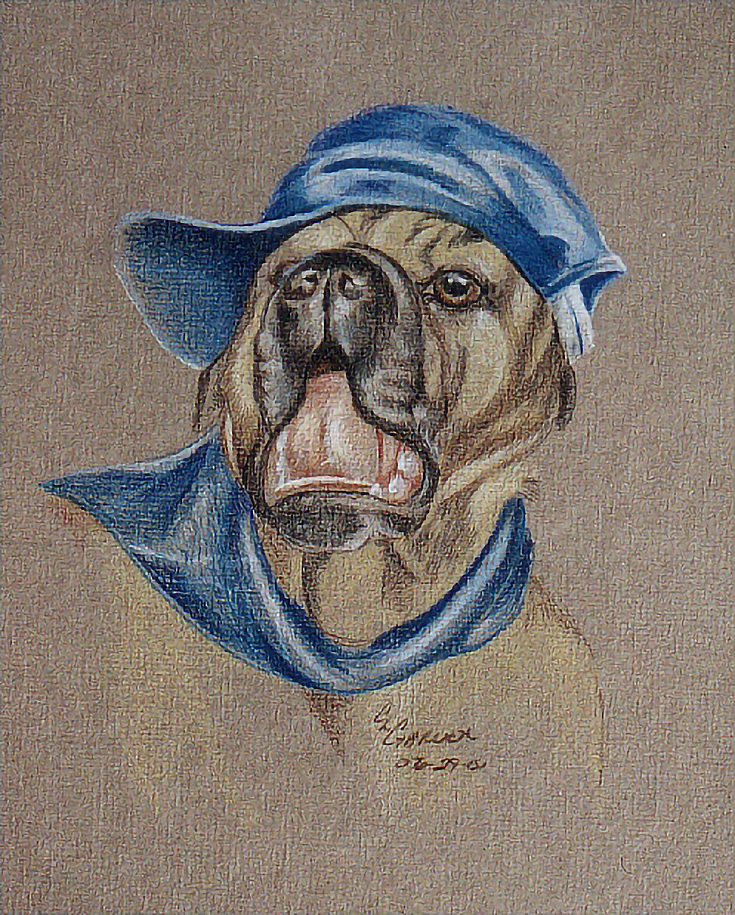
A vignette style portrait is one with a plain background, such as is shown below. All the attention is on the subject. I’d been doing vignette style portraits in oils for years, but found colored pencils very well suited to the task because I could finish the background by choosing the right color of paper.
This portrait is more detailed than the quick sketch above, but it still took less than a week to complete because the paper color provided both the background and the base color for the subject. No work was needed on the background so only highlights, shadows, and non-earth tone colors were needed to draw the subject.
3. Portraits with a background
Even more effort was put into the next portrait, but a color of paper was chosen that once again provided the base color for both the subject and the limited background.
In addition, since this portrait was done posthumously, the gray paper contributed by creating a feel of memories still recent enough to be colorful and lifelike, but already shadowed by the grayness of loss.
4. Margin to margin drawings
Using colored paper can also aid in creating margin to margin drawings. The effects are less dramatic, but choosing a paper color that enhances or supports your drawing can save a considerable amount of time in completing the drawing.
This drawing, for example, was drawn on a light tan paper. The color of the paper provided a neutral color, which was also warm in tone for both the green background and the red horse.
I drew a complementary underdrawing for this piece, so the color of the paper reduced the amount of work necessary. Allowing the paper to show in the highlights on the horse also reduced the amount of time and effort necessary to complete the drawing.
As a result, it took much less time to complete the drawing than if I had needed to entirely establish the warm tones, color, and value with pencil work.
Here are a few bonus ways to use colored paper
The drawings above share one thing in common: they all used a colored piece of paper similar to the color of the subject. Those choices contributed to the speed with which each drawing could be done because the color of the paper substituted for color that would otherwise have had to be applied with pencils.
But that’s not the only way to use colored papers with colored pencil!
Colored paper is also ideal for setting the mood of a drawing. Muted colors work very well for drawings featuring subdued lighting such as rainy landscapes or gray skies, drawings at night, or drawings with dim lighting.
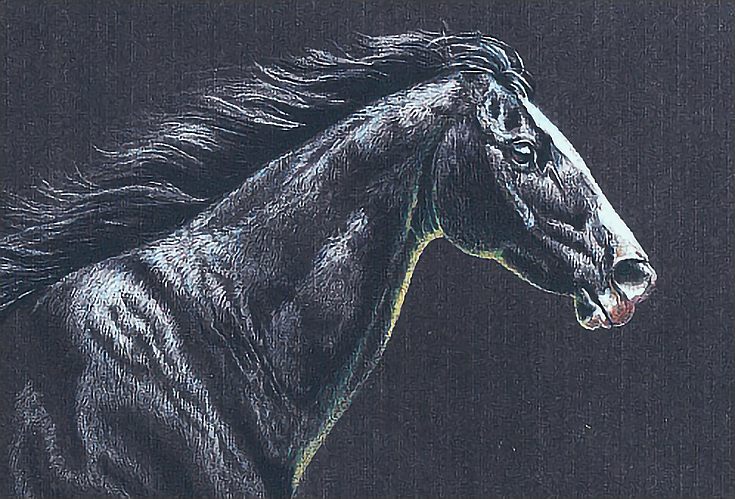
Bright papers like reds, oranges, and yellows provide an excellent foundation for drawings you want to be vibrant or full of light or life. Try a bright paper with a festive subject, for example. And don’t forget to try black or dark papers with any subject you might otherwise draw on white. Working on black forces you to look at your subjects in new ways by forcing you to draw highlights and work around shadows instead of drawing shadows and working around the highlights.
For an extra challenge, try drawing a black subject on black paper:
There is an endless variety of effects you can achieve by combining subjects, paper colors, and techniques. I’ve showcased only a few of the possible options here.
So before you start your next colored pencil drawing, take a look at the papers available to you and consider all the colors available. Then, take a little time to experiment—you may be surprised at what you come up with!
This post may contain affiliate links.


