Soft pastel is a medium that lends itself naturally to loose, impressionistic paintings, and can be used to create particularly soft, peaceful nature scenes. Pastel works well when layered with lights and darks, which makes it a great choice for depicting the play of light, shadow, and color on still water.
When I think of Impressionism and reflective water, I think of Monet’s Nymphea (water lily) paintings. I couldn’t resist trying to make a few water lily paintings myself, and along the way discovered some methods and techniques for overcoming the challenges of painting a floating mass of plants in a body of murky, reflective water.
If you’d like to follow along yourself, you’ll need some textured pastel paper in a dark or neutral tone, soft (chalk) pastels, paint board, painter’s tape, and spray fixative (optional).
Step 1. Block in all major shapes of your composition
Select your subject and tape your paper to your board. Working from your reference (or plein air), identify your composition and use a middle value pastel to sketch in your basic shapes, shading in some of the deeper darks and highlighting a few of the brighter lights.
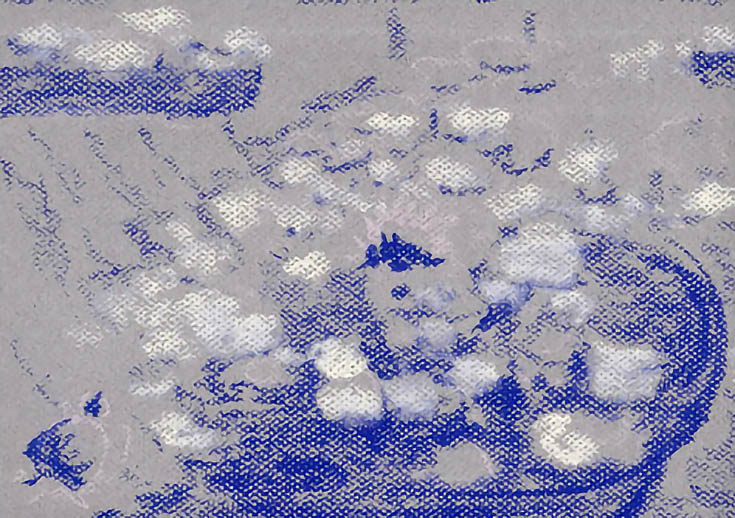
Tip: Lily pads are basically a mass of nearly flat disks atop your water’s surface. Before you begin your drawing, identify the shape of the entire mass you will be drawing and note the light and dark areas (in some cases, it helps to squint at your subject so you get a quick impression of it).
Although your lily pads will vary in size, they will generally get smaller as they recede from the eye. As you sketch and shade, focus on shading in the shadows under the lily pads rather than drawing in each individual pad.
For now, lightly shade in water only where the deepest shadows will eventually go. Keep your touch with the pastel light at this stage.
Step 2. Add basic warm and cool colors
Begin working in your basic color scheme, alternating warm and cool colors and contrasting light and shadow. Using horizontal pastel strokes, begin painting the water areas, layering lights over darks. Take your time as you work in your water—too many layers will result in a muddying of the colors!
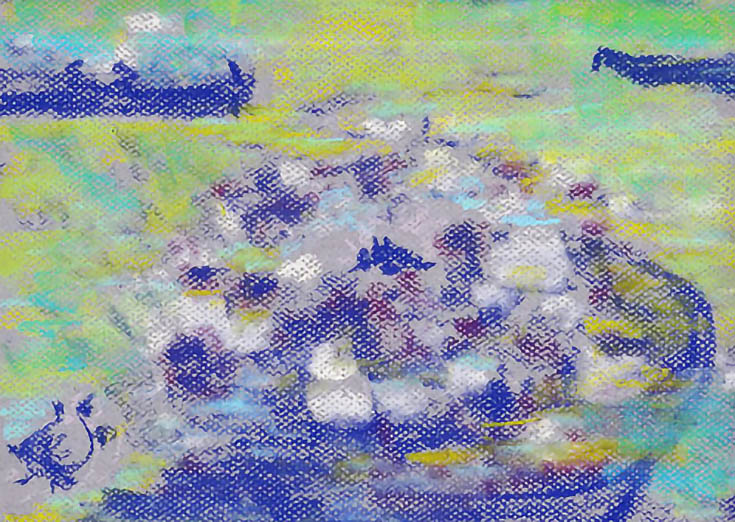
Tip: If you want to paint water that looks like it’s full of plants, make sure you add some green to your water areas (I layered turquoise and gold strokes to get the green tones seen in this tutorial).
If you use fixative, after this stage is a good time to give it a light spray and let it dry completely (always follow precautions and directions given on the can of fixative). Remember that for safety reasons, you should never blow excess dust off of your pastel. Stand your board up and gently thump and shake it to release the pastel onto some paper or over the trash can.
Step 3. Create shadows and highlights
Define your lily pads by adding sharper lines to the edges and darkening the shadows underneath them. Darken your deepest shadows below the water’s surface, and use horizontal strokes to add various shadows and lights to other areas of water. Brighten any lights and work in vivid colors, varying the colors of the individual lily pads while still concentrating on the floating mass of lily pads as a whole.
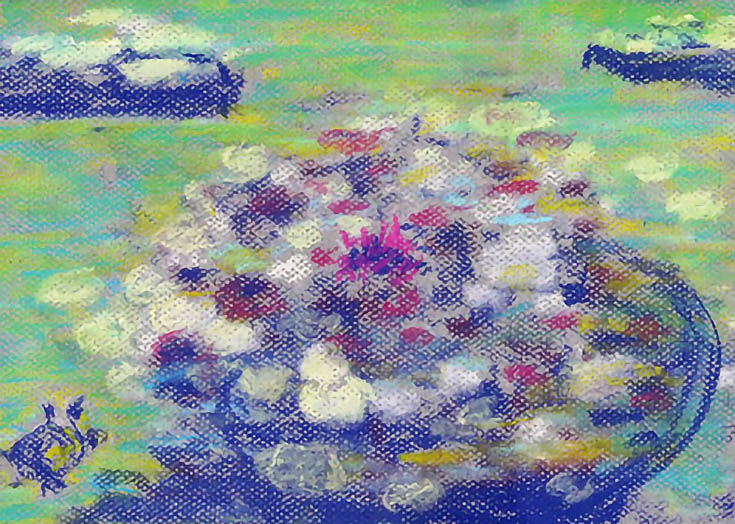
Tip: Lay a pastel stick on its side and, varying your touch, use a gentle scraping motion to apply areas of pastel to simulate water floating over the shadows underneath the surface, or to depict the sky’s reflection on the water.
If needed, give your pastel one last light spray of fixative and let it dry again (keep it extremely light, or skip the fixative altogether if you’re not sure—too much fixative can quickly ruin a pastel painting).
Step 4. Apply final details
Use sharper lines to define the features of the lily pads, including open angles and stems. As you work, vary the angles and stems so that they do not follow a linear pattern.
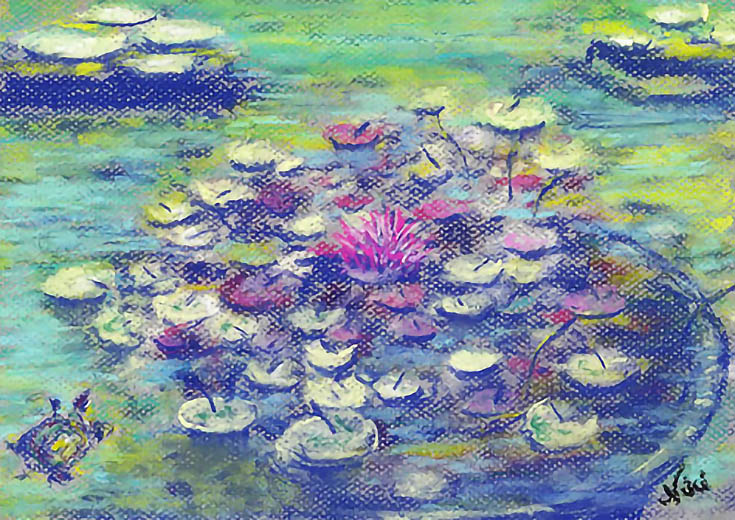
Remember again to focus on the floating mass of lily pads as a whole, squinting if necessary to identify basic lights, shadows, and shapes if you need to.
If you’re including any other items such as flowers or animals, bring them into focus with more detail. Give your final piece a final touch of a few scrapes of pastel to show the water floating over the shadows underneath, and you’re all finished!
Once you’re done, don’t forget to sign your painting, then frame your pastel under glass so it’s ready to hang!
This post may contain affiliate links.