Colored pencils are wonderful tools for creating artwork of all types. . . if you’re doing a vignette-style composition, however, the last thing you want is to spend a lot of time on the background.
Today we’re going to explore a few of the background treatments that have worked well for the type of portrait art I make.
Colored supports
The first, and most obvious choice, for a fast and easy background treatment is a colored support. I balked at trying colored paper for a while because I wasn’t sure how it would work with colored pencils, but I shouldn’t have worried—it’s great!
(And that was years ago when my choices were pretty much limited to regular paper and mat board.)
Today, there are a wide range of papers and mat boards available in acid-free, archival versions that not only look great but that help preserve your work for years. In addition to a rainbow of colors, you also have a choice of textures from very smooth (ideal for detail work) to high-textured surfaces. Other options are sanded papers, pastel and printmaking papers, even wood and other rigid supports.
To give you an example, here is a colored pencil painting on gray mat board. I added some slightly darker tones to the corners, but it would have worked even without that.
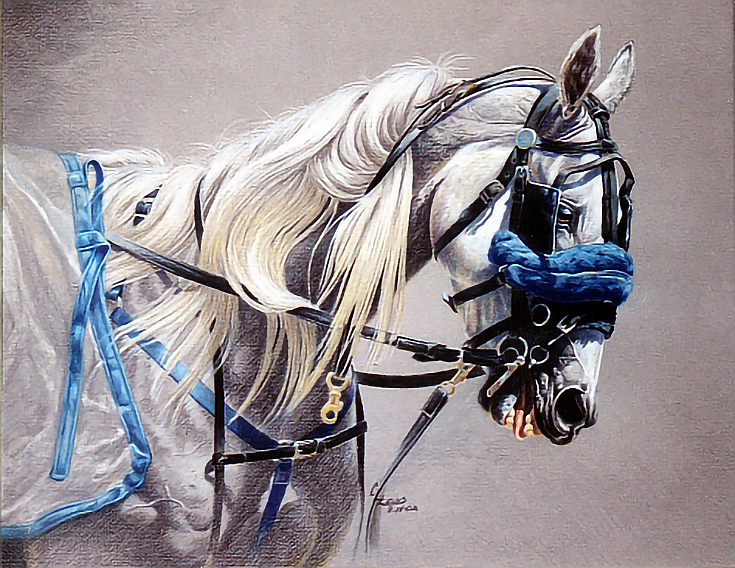
An additional bonus with mat board is that you can use the same color and type of mat board when you frame the piece, thereby creating a unified work of art with museum quality framing.
Light tints
Colored pencils are ideal for creating “whisper soft” tones and tints.
My favorite drawing paper is white, but I rarely leave a white background in my finished work anymore. The closest I get is a lightly tinted background like the one below.
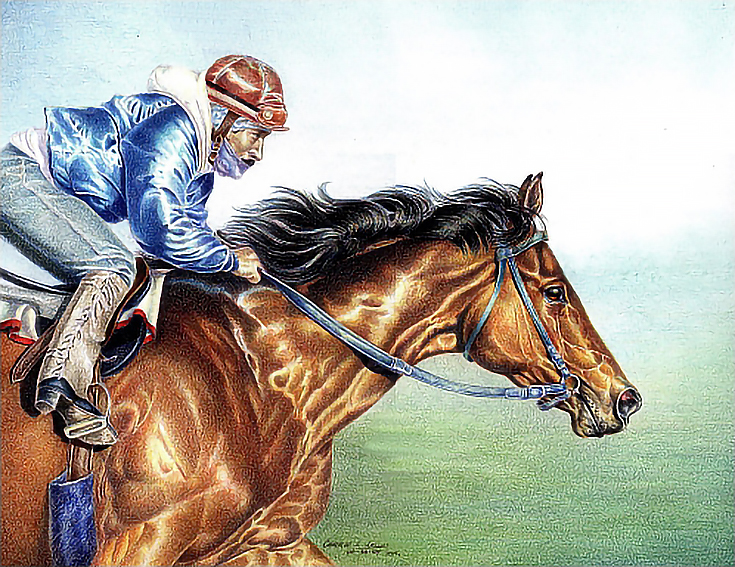
Use a well-sharpened pencil and apply color with the side of the pencil using very light pressure—no more than a 2 on a scale of 1 to 10. You want to almost breathe the color onto the paper.
To get an even lighter “tint” or stain, use paper towel or a cotton ball to blend the color. Fold a piece of paper towel into a small pad and rub it over the area. Use light pressure for minimal blending or heavy pressure for more blending. Depending on the pressure, it may look like you’ve removed a lot of color, but don’t worry. The color that is left will look almost like stained paper. You can then deepen the color either by repeating the process with the same color or with another color.
Another option is to burnish the color you want to use on a piece of scrap paper, then rub it with a cotton ball or piece of clean cloth to pick up color. Rub the drawing paper with the cotton ball or clean cloth. Not much color will come off on the drawing paper, but it is possible to create tinted color fields with an almost ethereal look.
Saturated color
Sometimes a dark, bold color is just what the doctor ordered.
Beginning with the paper of your choice, layer color over the background. You can begin with heavy pressure and use only one or two colors, or you can layer multiple colors and use heavier pressure with each color.
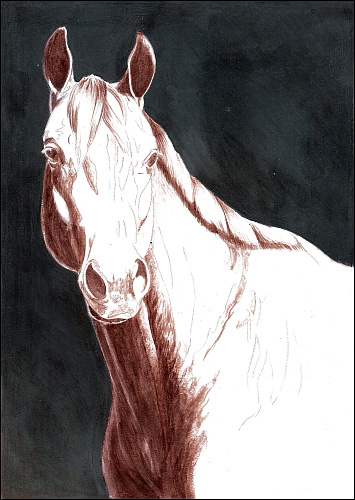
With the unfinished image below, I used six colors beginning with the lightest (Limepeel) and ending with Black. Each color was applied with slightly more pressure and I concluded work by burnishing with the lightest color.

Keep your brush handy as you layer color like this. Heavy pressure produces pencil crumbs, especially in the later layers. You don’t want to smear or smudge the white areas of the subject, so brush the painting frequently to clear it of colored pencil crumbs. When you finish, you will have a highly polished, richly saturated background.
Watercolor colored pencil
Water soluble colored pencils are wonderful tools for paper tinting, whether you put it on wet or apply it dry and wash over it. You can tint the paper with a single color, producing a soft, “blooming” tint, or layer several colors for a more saturated tone.
Because you’re still using colored pencil, all the usual methods of application apply. Layering with light pressure and multiple layers, burnishing, or a combination can be blended with water to create a variety of effects.
Watercolor “tricks” can also be used to create random patterns and interesting designs. For example, try sprinkling a bit of salt into the wash on your paper and see what happens.
Mixed media
Ink or acrylic paint are also great ways to tone a background. In both cases, you have numerous colors from which to choose. Simply paint the background with your color of choice and let it dry thoroughly (I prefer overnight drying times myself).
India ink, which was used in the illustration below, is transparent, so you’ll need to apply multiple layers to get an even color field.
And whether you use ink or acrylic, make sure your support is sturdy enough to withstand the dampness without excessive buckling, especially with larger pieces.
Just for fun
If you’re interested in creating some fun-loving, random color fields as backgrounds, here’s a technique that I guarantee will never to produce the same effect twice.
Fill a large plate or pan with a half inch of water. Drop watercolor paint or acrylic paint into a couple places, then lay your paper onto the water. Don’t let it sink in. . . you just want just enough surface contact for the paper to pick up the swirls of color in the water. I’ve tried this with acrylics on ACEOs and the effect can be delightfully random.
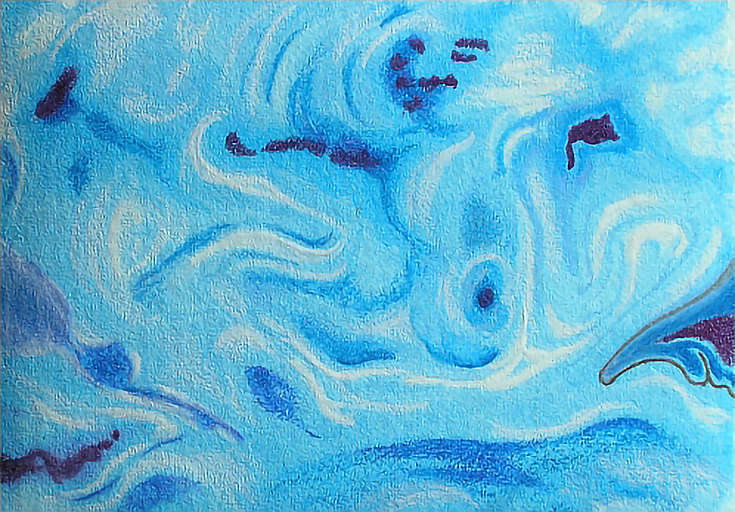
The abstract image shown above began with blue acrylic paint and was finished with colored pencil highlights once the paper dried.
Most of the backgrounds shown in today’s post were fast and easy. The only ones that required more than an hour or two were the wet media options, and they just needed extra time to dry.
If you want to simplify the process even further, plan to do several backgrounds at a time. Multiple sheets of paper or mat board can be prepared for work in one afternoon, leaving you with a ready supply whenever inspiration strikes or a client calls.
This post may contain affiliate links.