I use Prismacolor Pencils a lot. The colors are vibrant, and they are beautifully transparent when I use a tortillon to blend them, allowing the colors below them to show through. After going through quite a few store-bought tortillons over the years, I decided to make my own. Here is my process.
How to make a tortillon
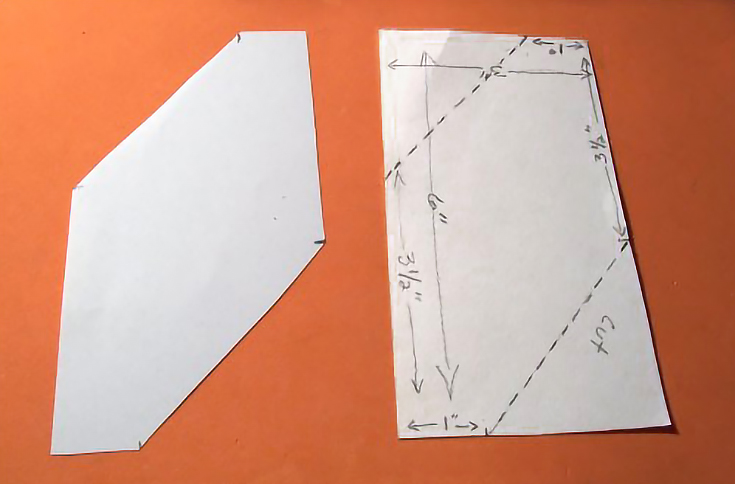
First, I always use a template. You can see it below, on the right. It shows the dimensions that your tortillon paper should be (6″ tall by 3″ wide).

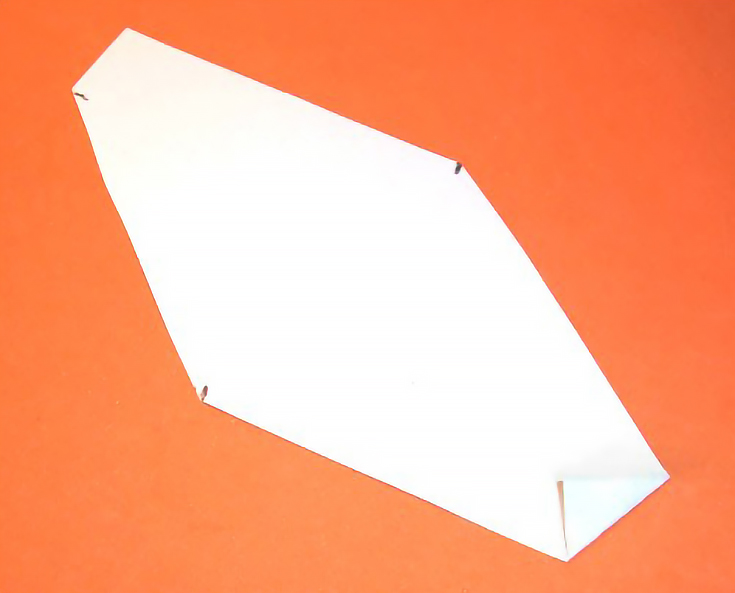
The paper on the left has been marked according to my template, and is ready to be cut. After two cuts, it’s ready to be rolled.
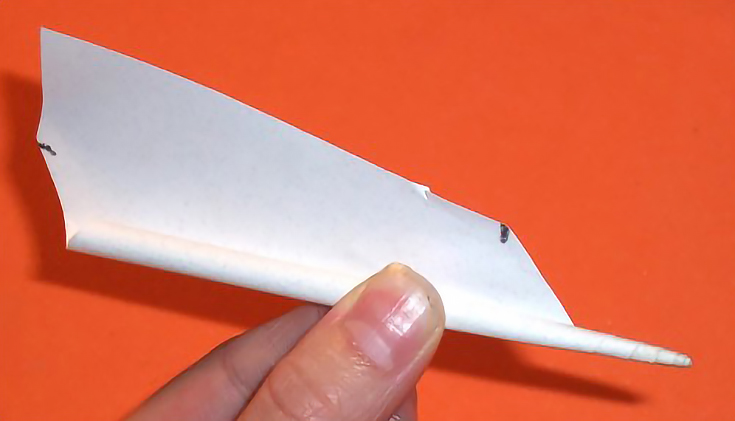
When you roll a tortillon, you don’t start off by curling the paper. Instead, you start with a fold. So make a small fold in the corner (as shown below).
Then, fold that first fold in half two or three more times to make a dense, sharply-pointed “sliver” of paper that you can start rolling the rest of the paper around.
Once you begin rolling, keep the paper at an angle so that the point will stay small. If the angle is not extreme enough, the end will not come to a point.
When you are finished rolling the paper, secure it with tape. Then, cut another piece of paper based on your tortillon template. Take the rolled tortillon and position it at one end of a second cut piece (seen below).
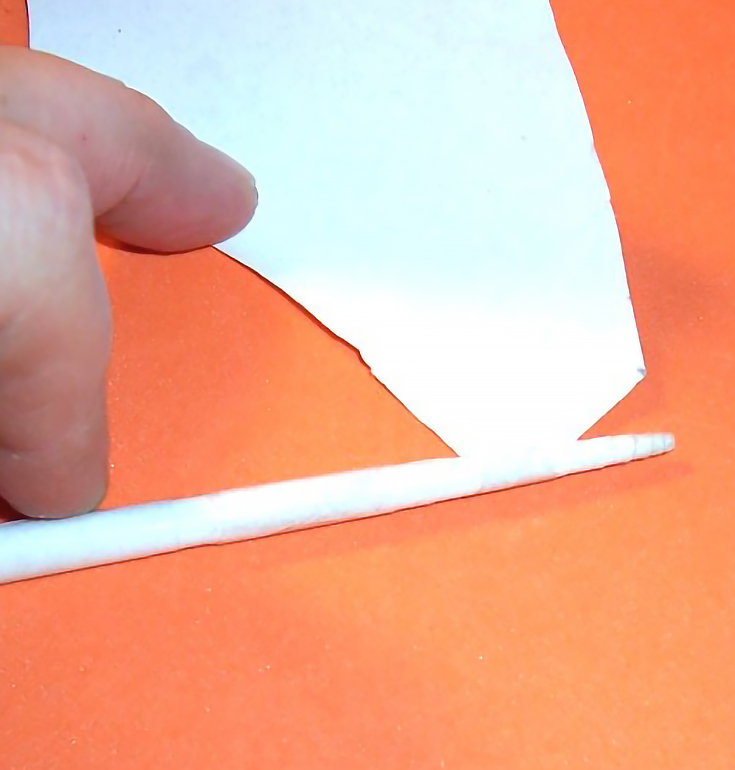
You will be rolling the first tortillon inside the second piece of paper, just to make your final tortillon a bit thicker and easier to handle. I use a tiny piece of tape to secure the corner of the second piece of paper before I start rolling it.
Once you are finished rolling the two pieces together, it should look like this:
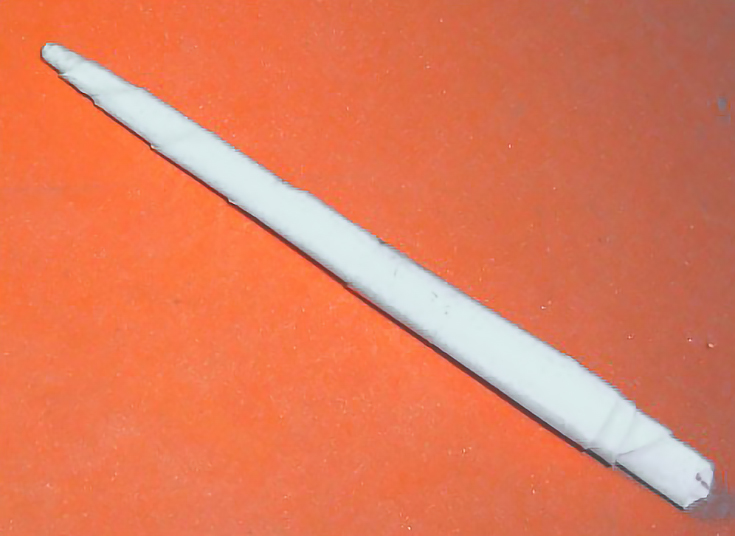
Use a final piece of tape to secure the completed tortillon. Now it’s ready to use!
NOTE: I sometimes use a piece of fine sandpaper or an eraser to keep the tip of my tortillon clean as I use it. It just depends on how much blending of colors you want.
Enjoy!
This post may contain affiliate links.