To consistently produce quality photos or fine art prints using Adobe Photoshop, you will want to become familiar with bleed and crop marks. The following tutorial will show you how to create crop marks and set up the appropriate bleed for your prints.
What are bleed and crop marks?
Every professionally printed photo or fine art print rolls off the printing press with a white border around the edges. Crop marks are simply lines on your computer screen which show you where the paper will be cut after it is printed.
In other words, everything outside of those crop marks will be trimmed away, including the white border. If your image does not extend all the way past the crop marks, then your final product will have a strip of white showing. (Something you’ll want to avoid.)
Using Photoshop you can easily create a bleed area to make sure your artwork extends all the way to the end of the page (past the crop marks). This will ensure that there are no unseemly white sections showing up on your final product
How to add bleed and crop marks to an image
To create an image in Photoshop with the the correct bleed and crop marks, you have to think ahead.
Let’s say you are working on a photo that will be printed 7 inches wide by 5 inches tall. In order to have a bleed area, the actual image you send to the printer must be slightly bigger than 5 inches by 7 inches.
Your commercial printer will tell you how big your bleed area should be—make sure to ask if they don’t! A common size is 0.125 inches, so we’ll assume you are going to have a bleed area of 0.125 inches.
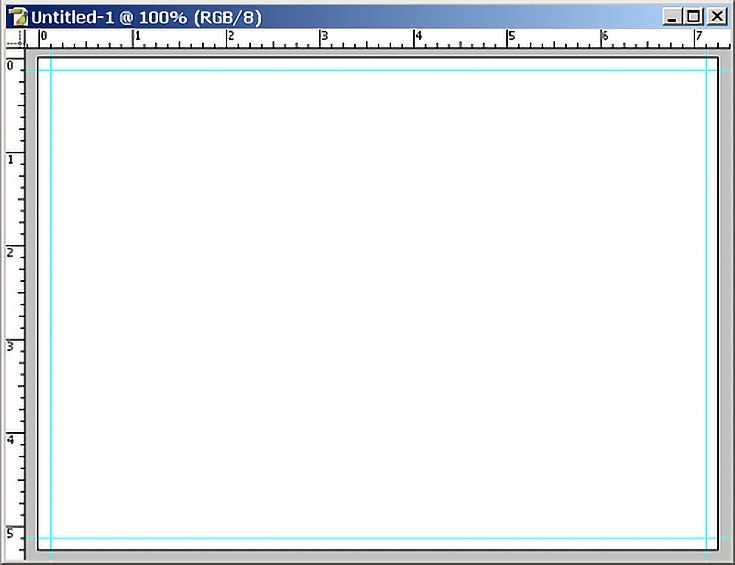
The first step is to make your working area in Photoshop (called the “canvas”) 0.25 inches taller and wider than you’d like your final product to be. In this case you would create a new canvas that is 7.25 inches wide by 5.25 inches tall.

Drag out guidelines 0.125 inches from each side—that’s where your crop marks will be, and where your bleed area begins.
Open up the file that you’ll be printing and copy that image onto the new canvas. It should extend past the crop lines into the bleed area.
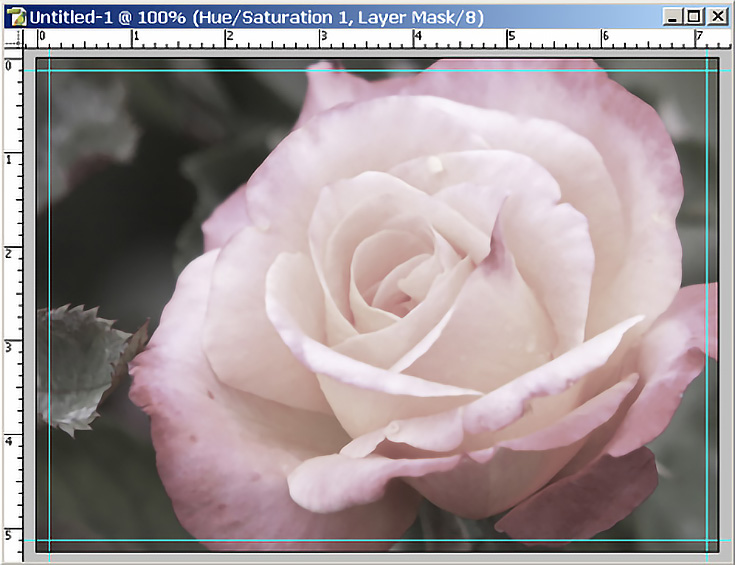
Remember, everything inside those guide lines will show up on the final product. Everything outside will be trimmed off.
If you’d like to get an even better visual idea of your bleed area, go to Photoshop’s File menu and click on the “Print with Preview” command. Put a checkmark in the box that says “Show More Options” then place a checkmark in the “Corner Crop Marks” box and click the “Bleed” button.
Once you specify what size you want the bleed area to be (in this case 0.125 inches) Photoshop will show you a print preview of your image with the bleed area and crop marks in place.
Kaitlyn Miller writes for Printplace.com, an online printing company that offers postcard printing, business cards, posters and more.
This post may contain affiliate links.