If you’ve ever taken photos of your art that turned out to have angled or curved edges, you’re not alone. It’s actually pretty tricky to photograph paintings or other 2D art without causing some distortion.
Luckily you can fix most of those problems in Adobe Photoshop with the free transform tool and the liquify filter. Keep reading to learn how.
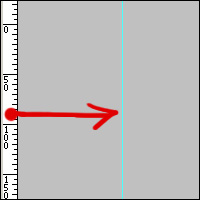 Before anything else of course, you’ll need to find out if your photograph is even distorted, so open the photo in Photoshop and create four guidelines at the edges of your painting.
Making guidelines is easy, just click and drag outward from the white rulers found at the sides or top of your screen.
(And if you don’t see any rulers, press “CTRL” and “R” on the keyboard to make them appear.)
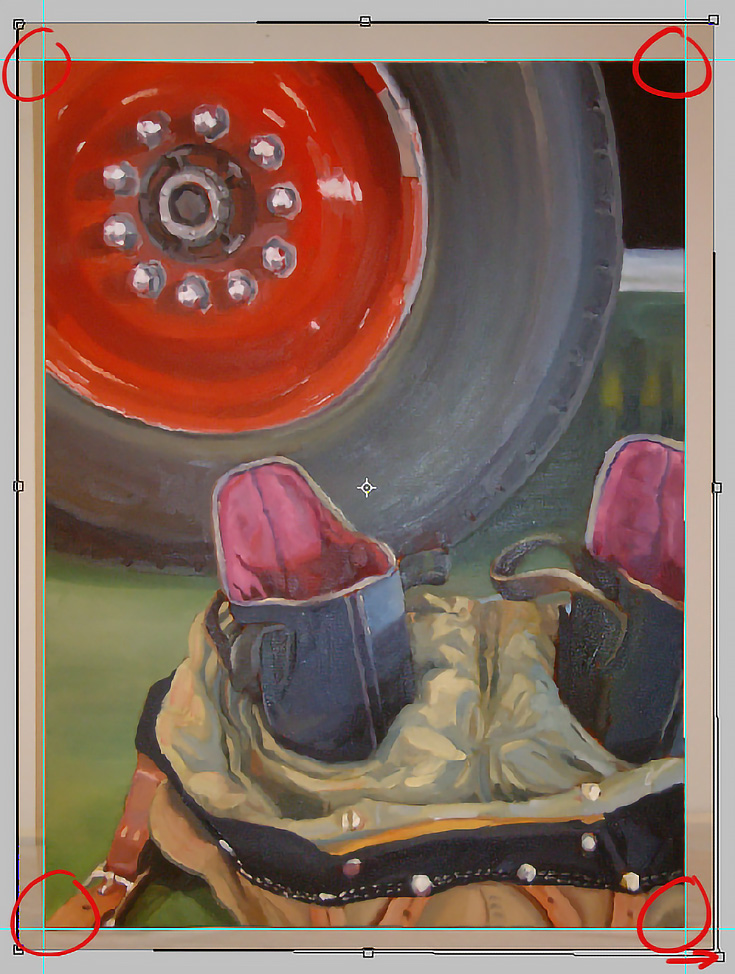
Once you get those guidelines in place it’s pretty easy to tell if there are any problems with the edges of your artwork inside the photograph.

In the photo above, I had two corners that needed a little help. Your image may be better or worse than this one, but the solution will be the same. . . and the first thing you have to do is put the image on its own layer.
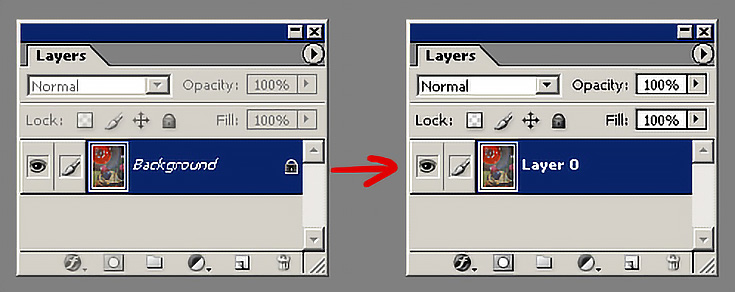
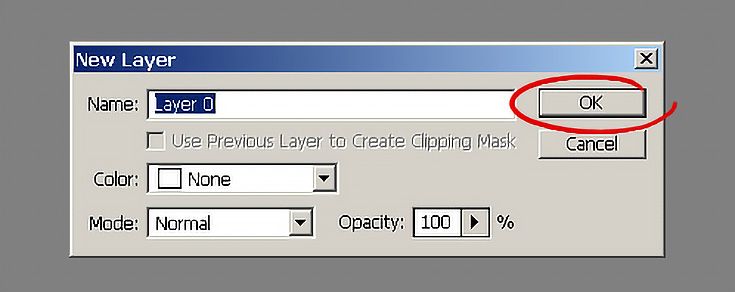
If you see “Background” and a padlock next to the thumbnail image in the “Layers” window, double click on the blue area and a “New Layer” box will pop up. Name it if you’d like, or just press OK and you’ll see the results shown above.
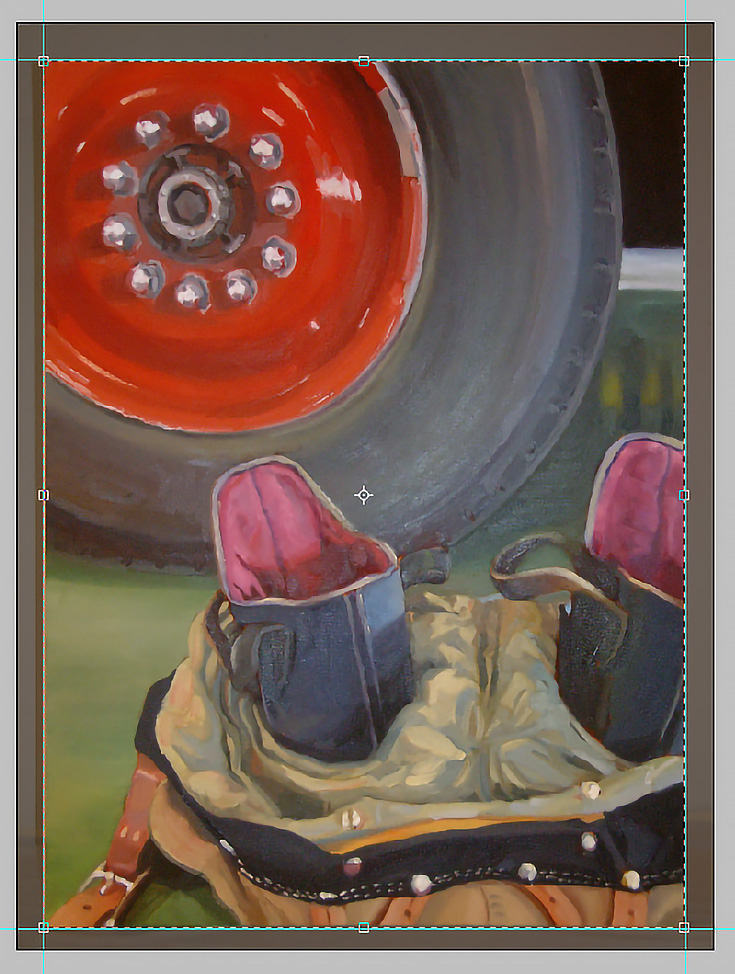
Now that your image is on it’s own layer, you can fix those ugly corners. Select “Edit” from the menu bar and then click on “Free Transform” in the dropdown box.

You’ll see an extra border appear around your image, with small boxes at each corner. Those little boxes are what you’ll use to change the shape of your image.
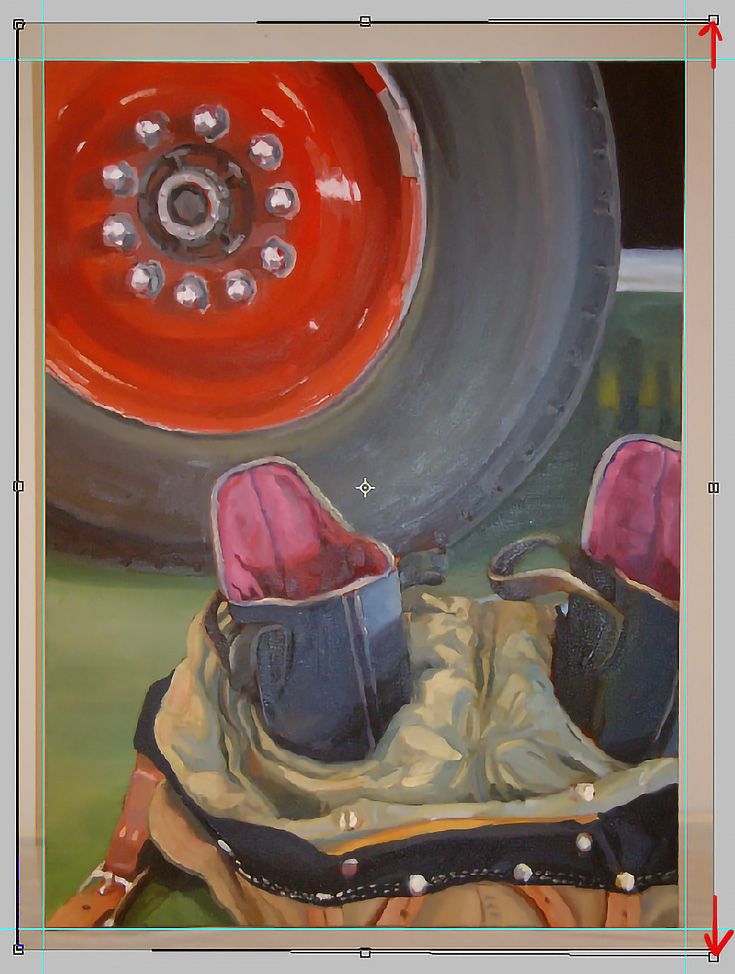
All you have to do is hold down “CTRL” and “SHIFT” while clicking and dragging on the corner you want to fix. Align the edge of the painting with your guideline (you may want to zoom in to see better) and repeat at each of the other corners as needed.
Since the bottom corner of my example photograph needed to be moved down AND to the right, I used my first click to align it with the bottom edge and then clicked and dragged it again (horizontally this time) to align it with the right edge.
Once you’ve checked to make sure all the corners are perfectly square, you’re ready to crop the image. Find the crop tool in your toolbar (or just press “C”) and drag open a box that perfectly matches your guidelines.
Once you’re satisfied, press “ENTER” and the image will be cropped.
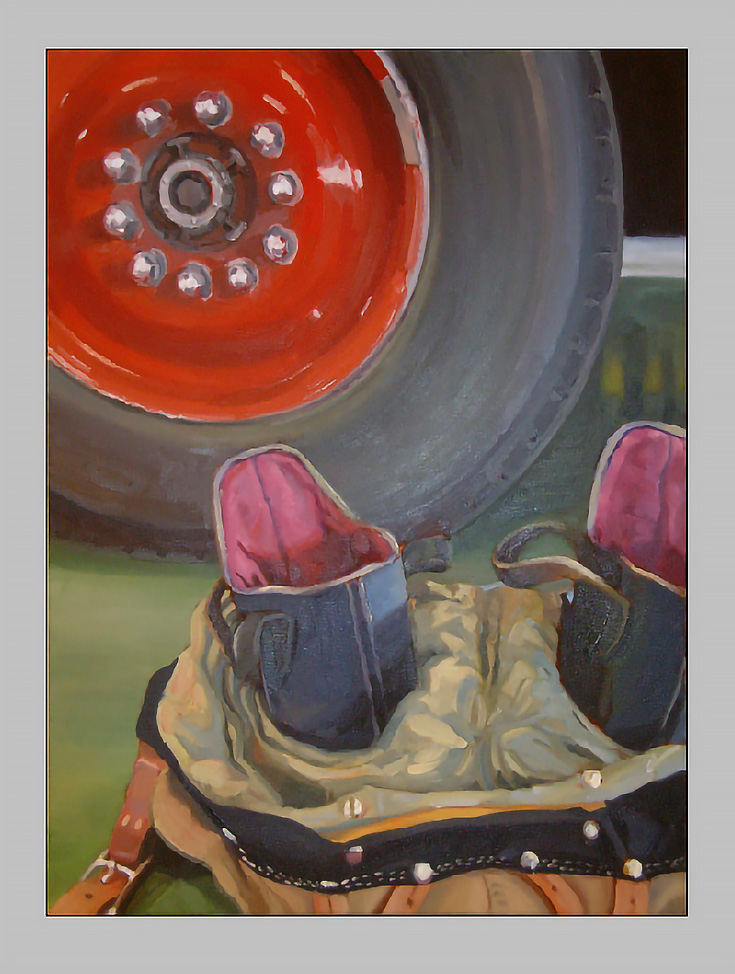
And now look at it—the edges are all perfectly square.
Of course, some images are harder to fix than others. If you start off with a painting that looks bubbled out, or bowed inward (like the examples below), the Free Transform tool can’t really help.
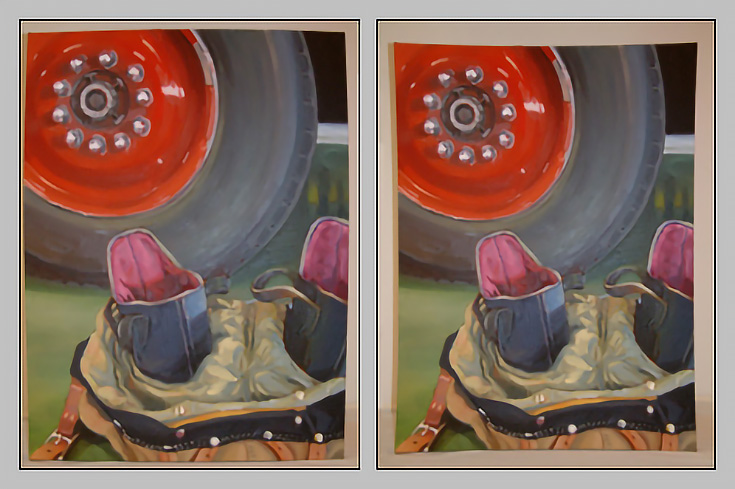
You COULD just crop the image inside the curved lines, but that wouldn’t necessarily solve the problem—the center of the painting would still be distorted and you’d be losing big slices of your art too.
Personally I’d recommend going back and photographing your art with these tips in mind, but if you have to fix it in Photoshop there is a way. Select “Filter” and click on “Liquify” in the drop-down box.
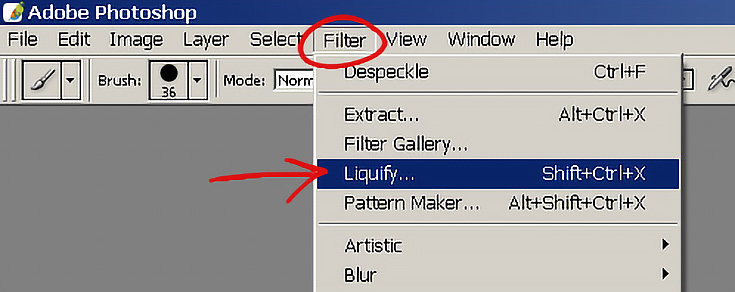
After a few seconds, an entirely new box will pop up with a lot of stuff in it, but there are actually just a few things you need to know.
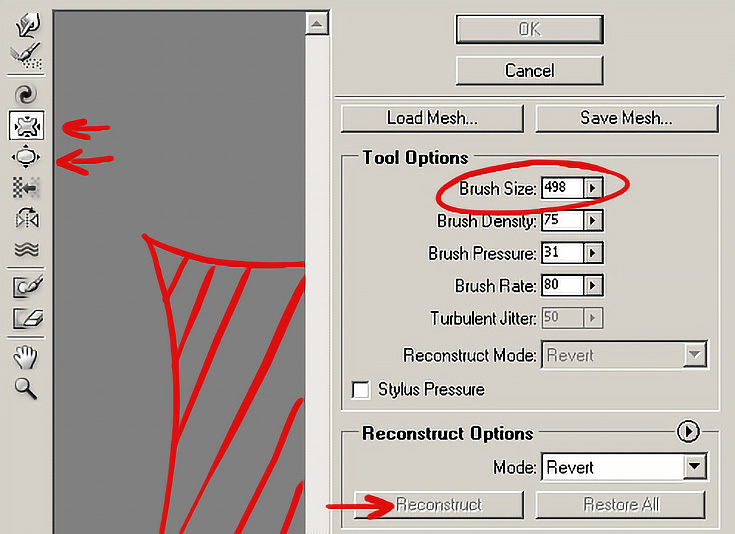
For example, on the left side you’ll have to choose whether your artwork needs to be pinched inward or bubbled outward. On the right side, make sure the brush size is pretty large—try to make your brush almost as big as the painting.
Then just click on the center of your artwork and watch as the edges curve inward or outward, depending on which button you selected. (That curved red square with diagonal lines represents the artwork, by the way. )
Experiment a bit, and if you don’t like how it’s turning out you can always click on the “Reconstruct” button which will revert your image to it’s original shape.
Once your painting is all squared up, click OK, give it a final crop, and you’re done!
This post may contain affiliate links.