Painting on location is an exhilarating challenge. It also helps develop observation and decision-making skills, and last week I headed out to Veritas Vineyards (a beautiful winery in Afton, Virginia) to record my own experiences painting on location.
If you’ve never painted outdoors before (or “en plein air” as the Impressionists would say) it’s a wonderful complement to any artist’s indoor studio work. I personally use plein air sketches and studies to develop larger paintings in my studio, along with the many, many photos I take on site.
Of course, as an outdoors painter you need to be willing to paint smaller than normal and deal with annoyances like bugs, sunburn, and the changing light—but that’s part of the challenge that makes painting on location fun!
I hope you’ll enjoy the following demonstration and try out some of my suggestions the next time you’re painting outdoors.
Choosing a scene to paint
I can’t stress enough how important it is to choose a scene that excites and interests you, because when you do it’s much more likely that you’ll produce a better painting. Not only that, but it’s best to find a comfortable and workable location as well. For example, if you set up in a spot where the sun shines directly on your canvas, you’ll be seeing sunspots the whole time and your paintings will end up dark and muddy.
Luckily I came upon a shady, secluded spot at Veritas Vineyards just off the main road past the winery’s tasting room and became excited about this scene:
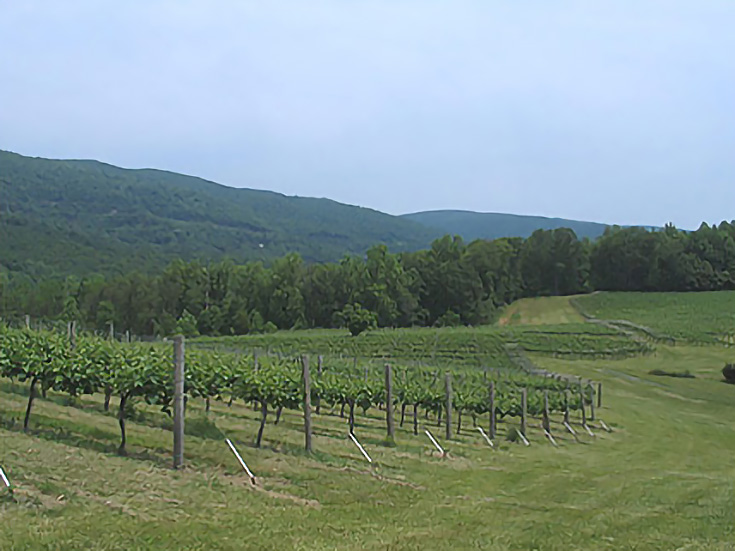
Okay, so it loses something in my photograph, perhaps! But what I liked was the abstract shapes and patterns formed by the sweeping lines of the vines and ground.
I should mention that the light was constantly going back and forth behind cloud masses, making painting with consistent lighting very difficult.
Shifting lighting conditions can change the colors in a landscape dramatically, so I needed to make a decision early on about which lighting condition I wanted to go with and then commit that to memory in case the sun went away completely!
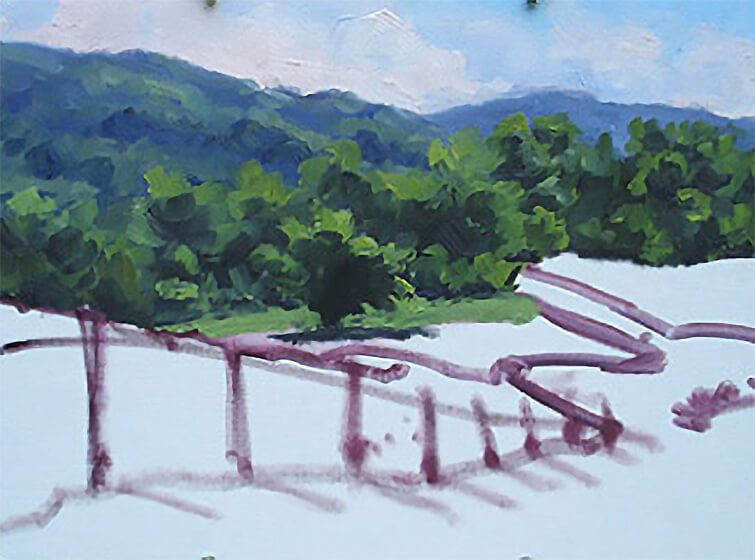
Creating a rough sketch
My paintings begin very inauspiciously, I’m afraid, but all I wanted to do at this point was plan my layout and get the main elements of the scene down in abstract shapes.
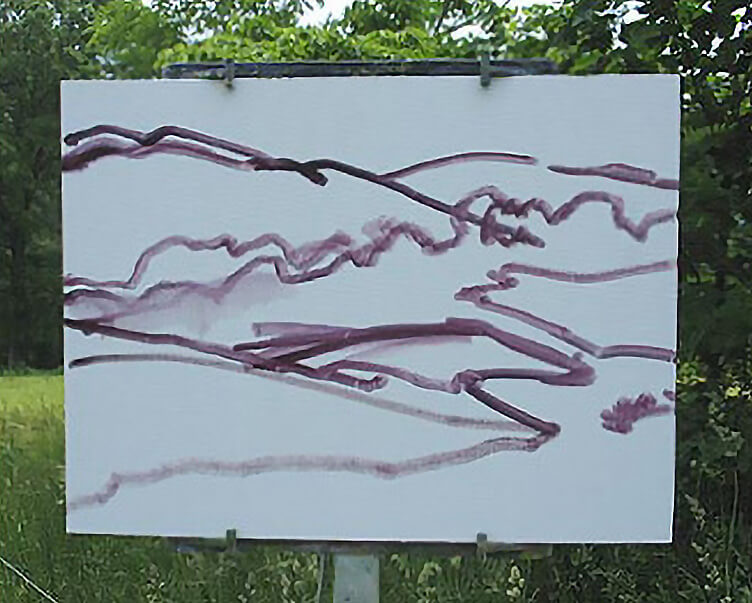
I usually draw with more detail in the studio, and if anyone were to come upon my plein air paintings at this stage they would hardly be impressed! The marks mean something to me, though, and I guess that’s what matters.
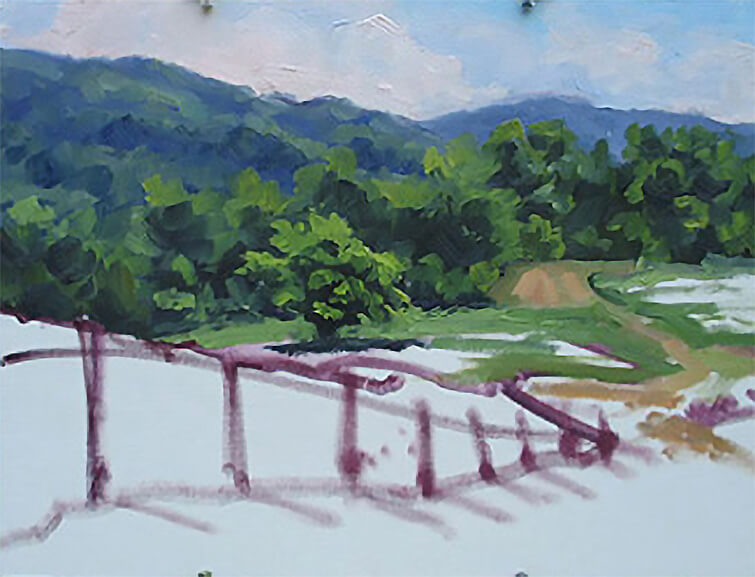
Painting in the sky, mountains, and trees
I like to lay in the sky as early as possible in my process. The sky is usually the source of light and generally appears to have the lightest tonal value in most landscape paintings. By laying in the lightest value first I can more easily judge value relationships (the relationship between lights and darks) for the rest of the painting.
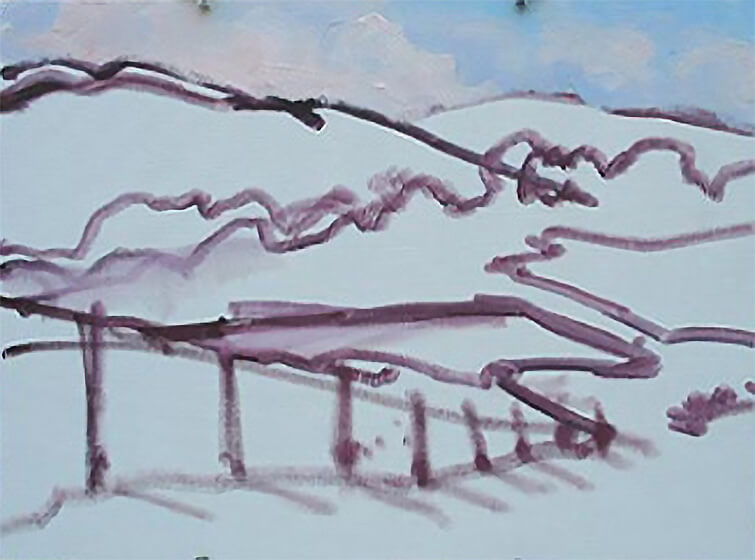
With my sky in place, I could see how dark the mountain range should be, so I began to block in the distant mountains and trees, still with very little detail.
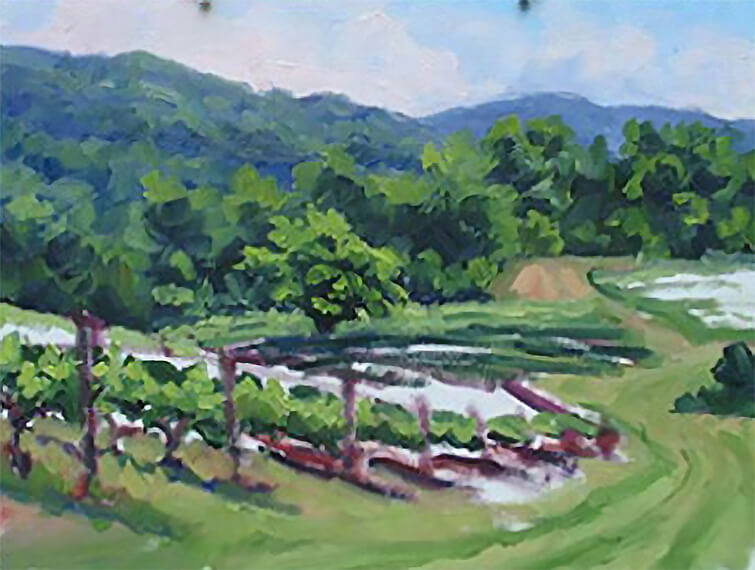
Adding interest (a focal point)
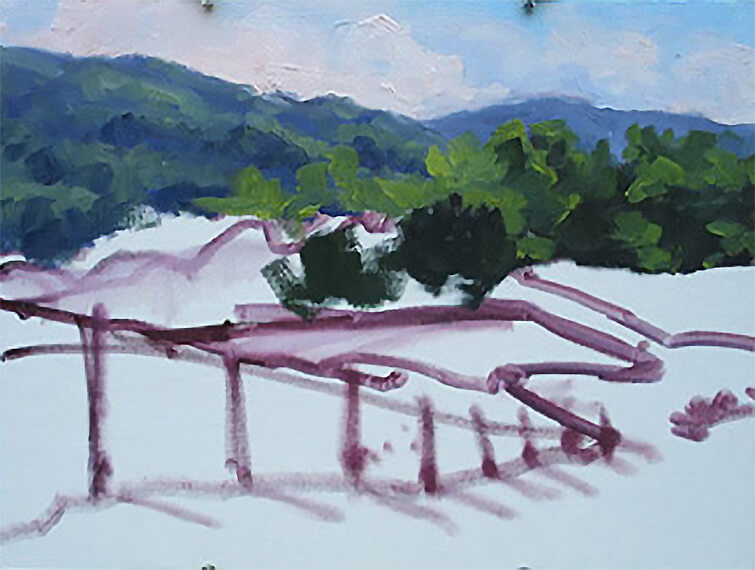
With the mountains and trees in place, I decided I needed a focal point. The eye likes to zoom in on something when looking at a composition, and until then I’d been focusing more on the abstract shapes of the vineyard to move the eye around the painting. That movement is important, but I wanted something more.
I looked again at the scene in front of me and noticed a little tree in the field. To be honest, I don’t know whether I’d noticed it before or not, but I decided to play up this element and use it as my focal point or center of interest.
It was then that the light began to really fade, and some pretty threatening clouds were beginning to gather behind me. I decided I’d better not dawdle around any more if I wanted to get this painting finished so I mixed large piles of the various colors that I could see in the rest of the landscape to speed the process.
I then added a little more detail to the focal point tree than I did the background trees, which helped to push the little tree forward more in the picture plane.
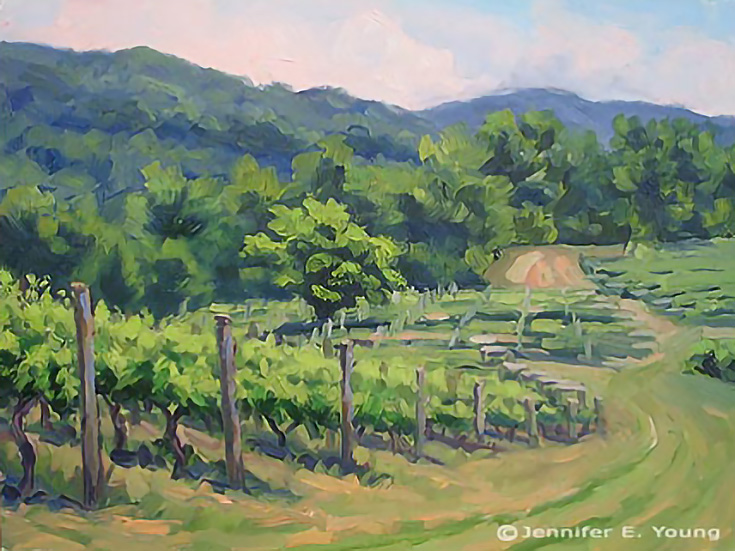
I really had to look hard to see the subtle variations in the green shades, but once I started painting in the ground and the vineyard, my picture began to take shape.
Finally the clouds called off their threats and I was able to relax a little and put the finishing touches on my painting right there on the spot.
Here’s the final painting, entitled Vineyard Patterns .
See more landscape paintings by Jennifer Young at www.jenniferyoung.com or read additional articles at her painting blog .
This post may contain affiliate links.