Several months ago I wrote about how to make your own stretcher bars for paintings, but only briefly talked about how to stretch canvas over them.
Some people think stretching canvas is difficult, so they never try it—but today I’ll take you through each step of the process so you can see how easy it really is.
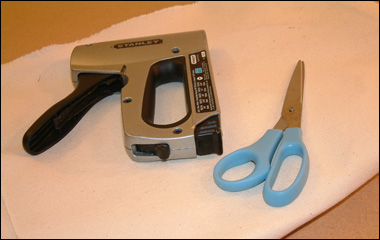
And apart from the stretcher bar frame itself, you’ll only need unprimed canvas (I’m using #10 cotton duck) a hand-held staple gun, and some scissors.
You can buy your canvas at most fine art stores, either in large rolls or pre-cut into sheets and sold by the square feet. If you’re sure that you’ll use it all up, getting a roll is usually much cheaper, although it can be harder to find a place to keep it.
If you see primed canvas, don’t buy it—you want un-primed and you’ll prime the canvas yourself once it’s stretched.
Now, the very first thing you need to do when stretching a canvas is measure how much canvas you need.
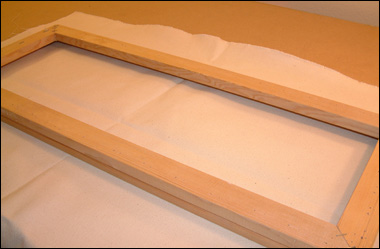
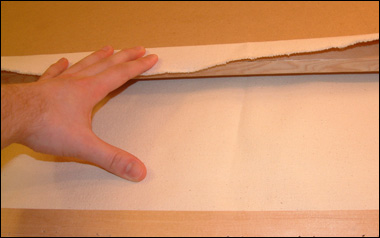
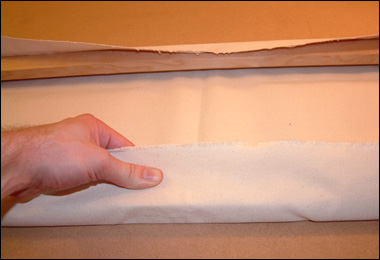
It’s sort of like wrapping a Christmas present: just lay the stretcher bar frame face down on the canvas, and fold up each edge to make sure you have plenty of canvas overlap on the bar.
Use scissors to cut out an appropriately sized piece, and then get your staple gun ready. This is where the real fun begins.
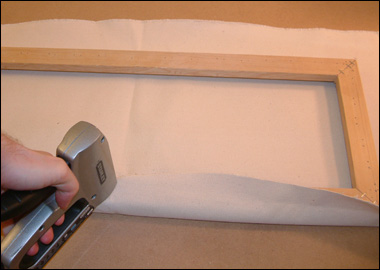
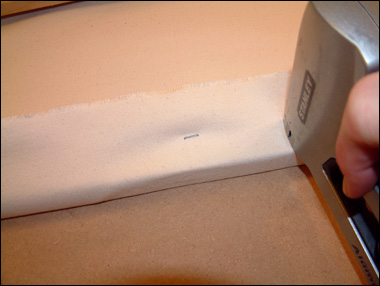
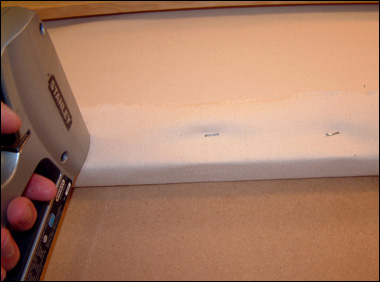
Fold the canvas over the stretcher bar on one side (I usually pick the long side) and put in your first staple. Try to center yourself horizontally so that the first staple goes in at the halfway point on your stretcher.
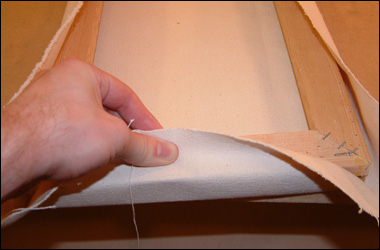
Then spin the canvas around so you’re holding the opposite side, and grab onto the canvas with both hands. Place the canvas between your thumb and forefinger while bracing your other fingers behind the stretcher bar.
Pull as much of the canvas as you can towards you, and trap it against the edge of the stretcher bar as you fold it around and over. Keep the canvas taut with one hand and use the staple gun to staple it in place with the other.
Now that you’ve got two opposite sides stapled, rotate the canvas 90 degrees and do the exact same thing for the third side—grab, pull, and staple.
Repeat the process for the fourth side too. Get the canvas as tight as you can, and I have to say, if it’s your first time it’ll be quite the finger workout.
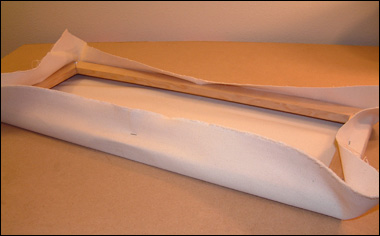
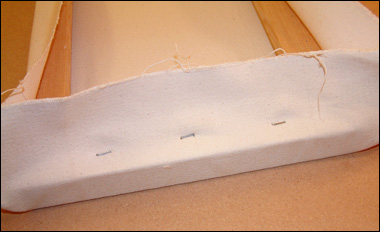
Once the fourth side has it’s staple, your canvas should look something like this:
At this point, only the CENTER of the canvas will be tight, so head on back to the first side and pick a spot 2 or 3 inches to the right of your first staple.
The image doesn’t show it, but you’ll need to grab, pull, and staple just like you did the first time.
Then move to the left of your first staple, and do it again.
Follow the same pattern as you did before, moving to the opposite side first, and then on to the other two facing sides.
Do this several times, rotating the canvas until there are staples running down each side.
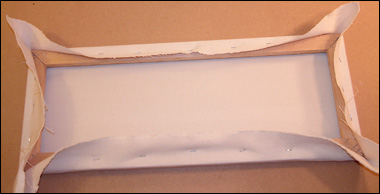
If you have a very long canvas like this one, stop stapling the short sides when you get close to the corners. Keep alternating just on the long sides until you catch up.
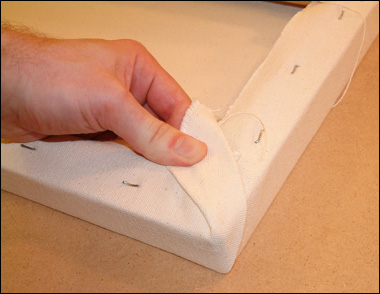
Once you reach the corners, you’re almost done—basically you just need to fold the corner flap to one side or the other.
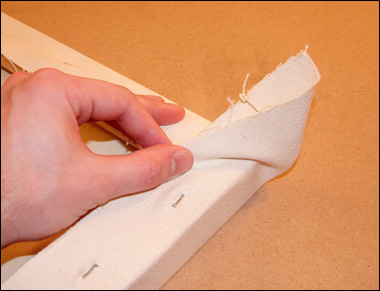
Here you can see that I just grabbed the canvas corner, pulled a little so it was nice and tight, and then turned it on its side to make it lay flat.
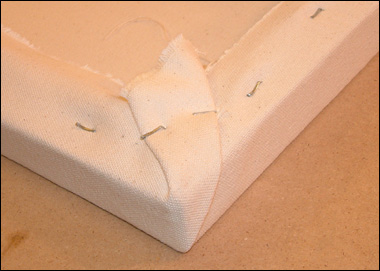
And despite the corner fold’s thickness, you should still be able to staple through it to the wood.
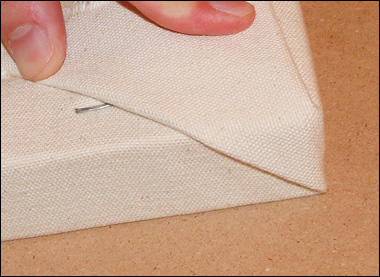
Here’s a closer view my corner fold. You can see how one edge of the canvas has a 45 degree folded line, and on the other edge there’s no fold at all.
Pick which edge you think would work best with your own painting. In this case I had the folds show on the short sides, but you may want something different.
Once you’ve stapled down all four corners, there’s nothing left to do—you’re done and ready to prime your canvas!
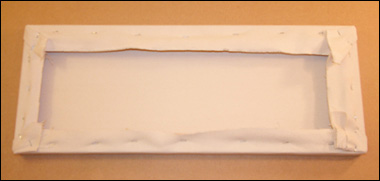
For now, though, here’s what the back of the canvas will look like:
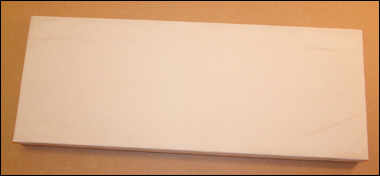
And here’s the front (sawdust lines and all.)
Stretching canvas is really easy once you get the hang of it, so I hope this tutorial helped you realize that you CAN get started stretching your own canvas if you want to.
(PS, once your paintings are finished, check out EmptyEasel’s new art website service for artists at HandsFreeArtistWebsites.com. It truly IS the simplest way to get your art on the internet.)
This post may contain affiliate links.
