Some of you may recall my tutorial on brush illustration for beginners last year. That technique, using a brush marker with pressure and release, is how all my brush-lettering students begin. Most of them enjoy brush illustration so much that they think of other things to “draw” as well.
Today’s tutorial shows you how to continue using your brush illustration skills for springtime art projects. Everyone loves bunnies, flowers, food and kind wishes!
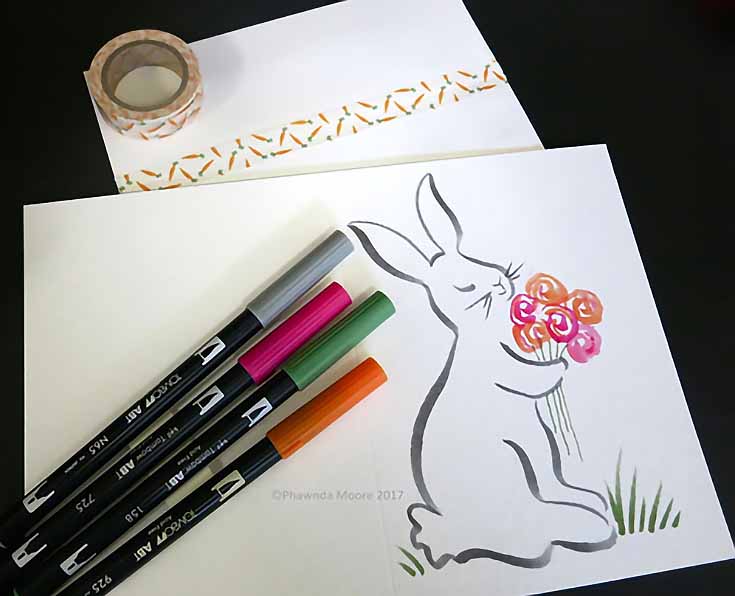
Here’s how to make this easy illustration for cards, tags, gift boxes, and more.
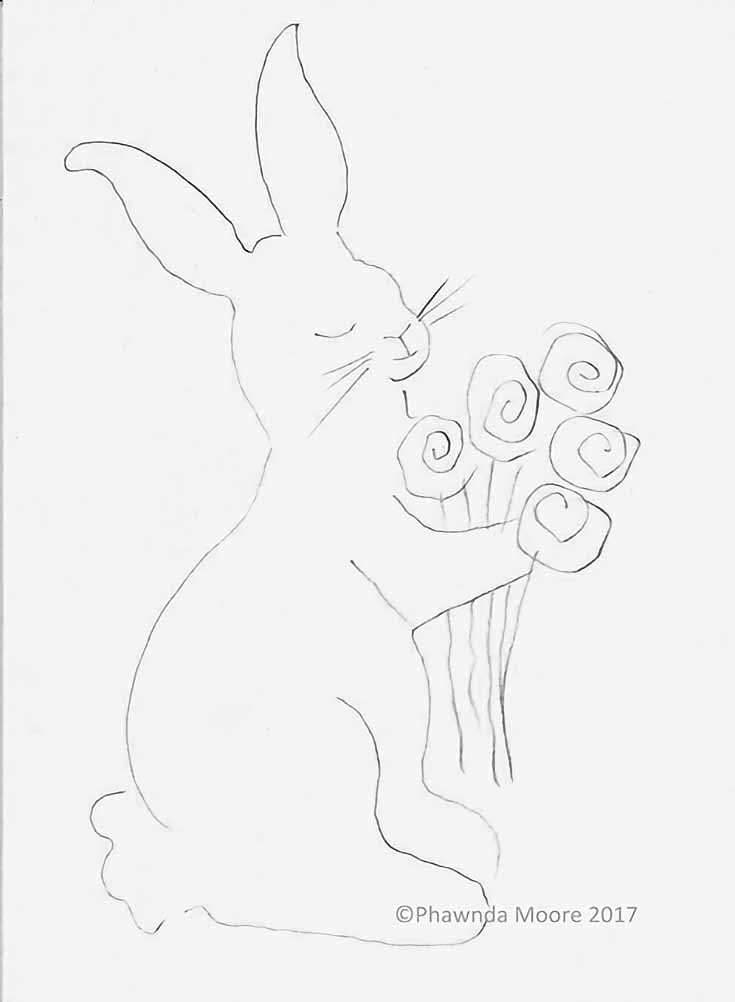
1. Draw your outline lightly on the card
If drawing terrifies you, as it does most, some good sources are coloring books, copyright-free clip art, or perhaps you have a reference photo. Focus on the outlines because that’s all you need. Sound easier?
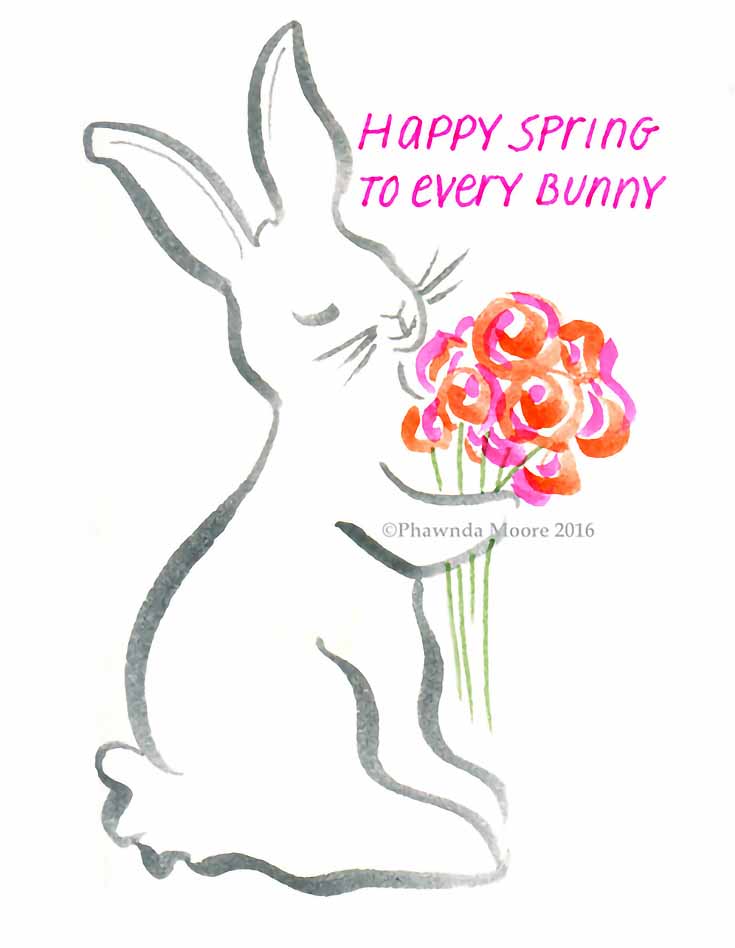
2. Add brush strokes to your drawing
NOTE: Chinese calligraphers draw images (known as ‘characters’) with a dual purpose. One is to develop their manual dexterity, the second is to express their poetic nature. Both are good ideas to remember as you create with a brush.
Once you’ve drawing the outline, pick up your brush. Use pressure (heavy) and release (lift, just barely touching the paper) to create thick-to-thin outline strokes.
Add flowers (pressure-release in circles), grass (pressure-quick lift), and stems (bullet end of Tombow marker).
3. Plan your envelope and and spring-themed greeting
Here, I discovered carrot-designed washi tape! I may do another card with the bunny holding a carrot! I then wrote “Happy Spring to Every Bunny” with the bullet end of the marker. You could also personalize the greeting with “Some Bunny Loves (You) or the recipient’s name.
Even if you don’t do calligraphy with your brush markers, most are good for illustration. And the time spent has another benefit, that of becoming more skilled at using the tool—perhaps down the road for the alphabet, too.
Thanks for joining me today! Check in on my Facebook page and give it a ‘like’!
This post may contain affiliate links.


