What is pyrography?
The word "pyrography" basically means writing with fire. Many people refer to pyrography as "woodburning," however woodburning is technically done on wood, whereas pyrography can be done on any receptive surface (including wood).
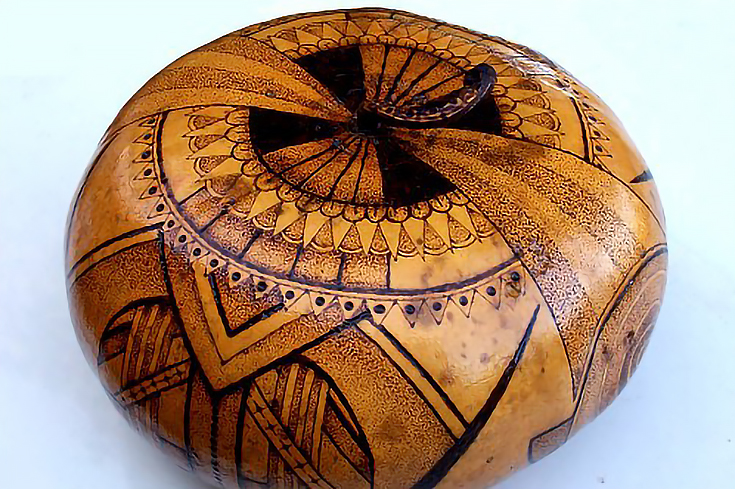
Here is just one example of pyrography, done on a gourd:
Whatever it is that you’re burning, you will always need a woodburning tool. It doesn’t have to be expensive either—you can burn with an inexpensive woodburning tool just as well as you can with a professional burning system.
Inexpensive woodburning tools:
I use woodburning tools by Walnut Hollow. They are thicker than the burning pens used in a professional burning system, and must be held a lot further away from the burning tip. This makes them a bit more awkward to use, but like any tool, the more you work with it, the easier it gets.
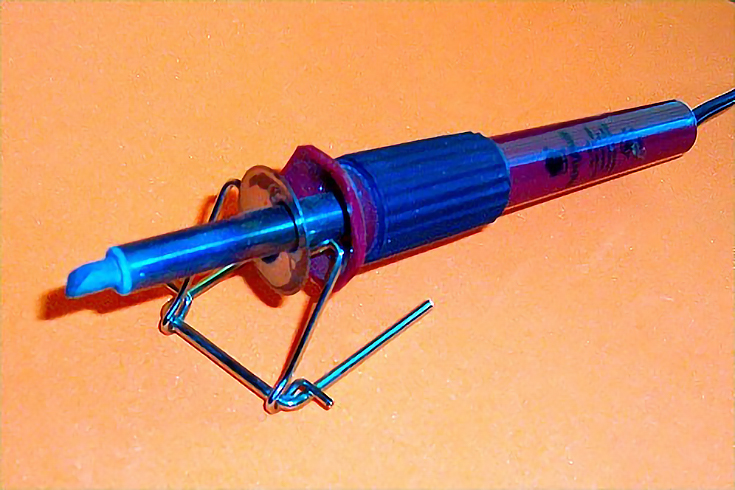
This particular Walnut Hollow tool doesn’t have a regulated temperature gauge, which means that it will get very hot quickly, and then gradually cool down. The trick is knowing when the surge of heat will start so you can lift the tool off of the surface quickly, or work the design a little faster.
If you don’t pay attention, it could even burn a hole right through your piece.
You will always get a few different tips with your burner that you can use to create different lines and marks on your surface. In addition, you can purchase a wide variety of burning tips that are sold separately.
Since this tool gets so hot and doesn’t cool down very quickly, taking the time to change tips can be frustrating. To speed things up, I suggest using needle nose pliers to take the hot tip off and screw a new tip on.
Professional Burning Systems:
There are many different brands of professional woodburning systems on the market. Beside the Walnut Hollow pens, I also use Nibsburner’s Blue Ribbon system.
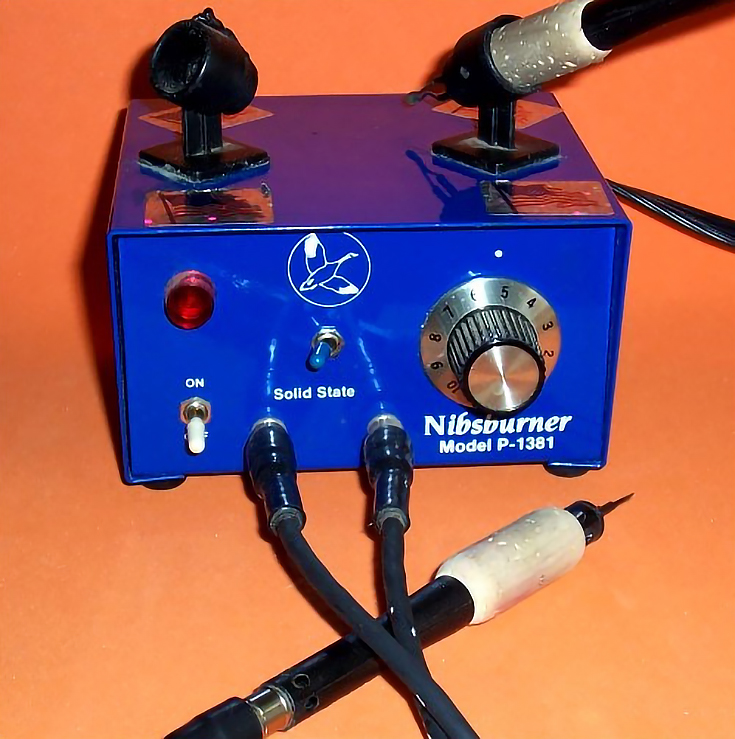
This Nibsburner comes with two pens that are plugged into two separate ports. There is a toggle switch that allows you to switch back and forth between the two pens, both of which are thinner, and much easier to hold and control, than the Walnut Hollow tool.
You can buy a wide variety of different tips for these pens, and everything in the system is replaceable. (So if you have a pen that doesn’t work anymore, you won’t need to replace the entire system.)
When I use this system for burning paper, I set the temperature between 3 and 5.5. The heat is steady, always remaining at the same temperature I set it at. When you turn it off, the pens cool almost instantly. After a minute or so, you will be able to change the tips with your fingers and not worry about being burned.
A little bit on the process of burning:
While burning, you may notice that your lines slowly start to look lighter in color. This is something that happens as carbon builds up on the tip. Keep some sandpaper (medium grade) nearby and take a few quick swipes at it with the tip, making sure to get all of the carbon off. You can do this without having to unplug, or turn off, the tool to cool it down. Just work quickly so you don’t burn up your sandpaper.
Another thing: you do not need to press down hard onto the paper (or any surface you are burning), the tool will do its work best when you work with a light touch. If you press too hard, you will destroy your tip.
Coming up in a future articles on pyrography, we’ll explore burning paper and other surfaces. Stay tuned!
This post may contain affiliate links.