Your art blog is more than just a place to show your artwork, announce upcoming shows, and share your life as an artist. It’s also your way of explaining to visitors where to buy your art, how to contact you for commission work, and what your terms of service are.
That’s where pages come in handy.
Once you create a static page on your blog (not a blog post, mind you, but a standalone blog page) you can link to it from anywhere on your blog so that your visitors have easy access to that important information.
Below are some quick, simple steps for creating static pages on your art blog.
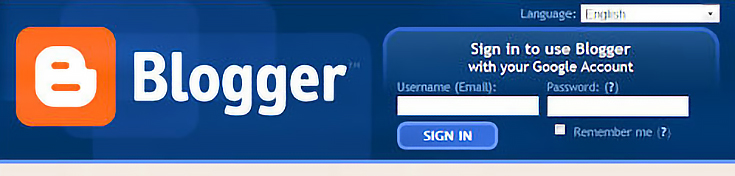
Step 1: Start at Blogger.com
Go to blogger.com and sign in to your account.
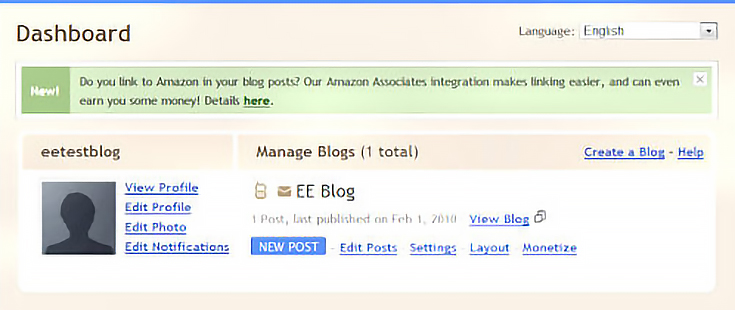
Even though you’ll be creating a page, click on the blue “new post” button.
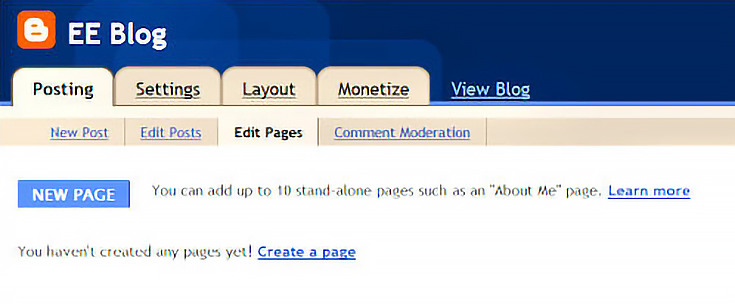
Once you’re on the “new post” page, don’t write anything yet. . . instead, click on the “edit pages” link just above the text box.
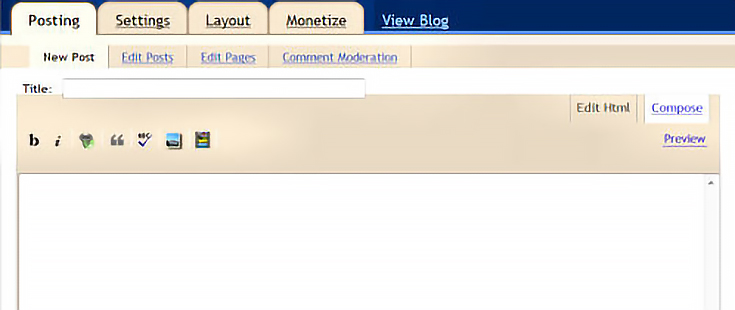
Once you click on the “edit pages” button, you’ll be taken to a page asking you to “create a page” so just click on the “create a page” link.
Once you click on the “create a page” link, you’ll see a text box that looks very similar to the “create a new post” text box you just left.
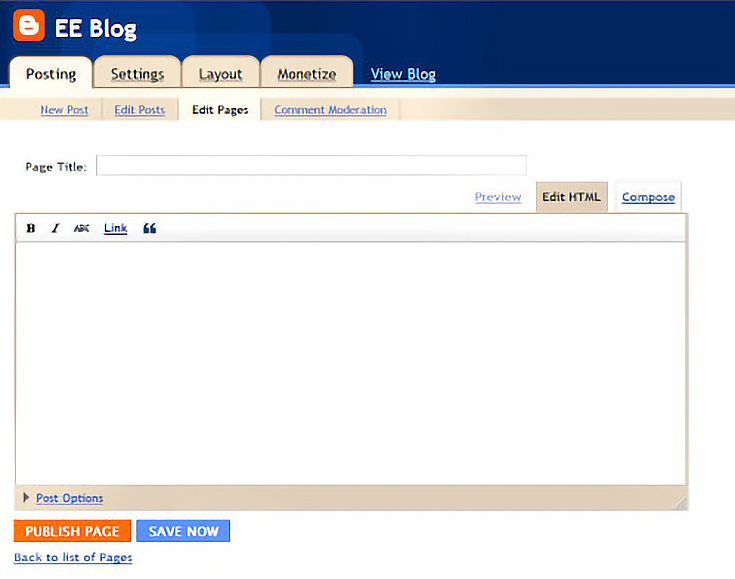
It’s here that you will create your static page.
Step 2: Create a static page
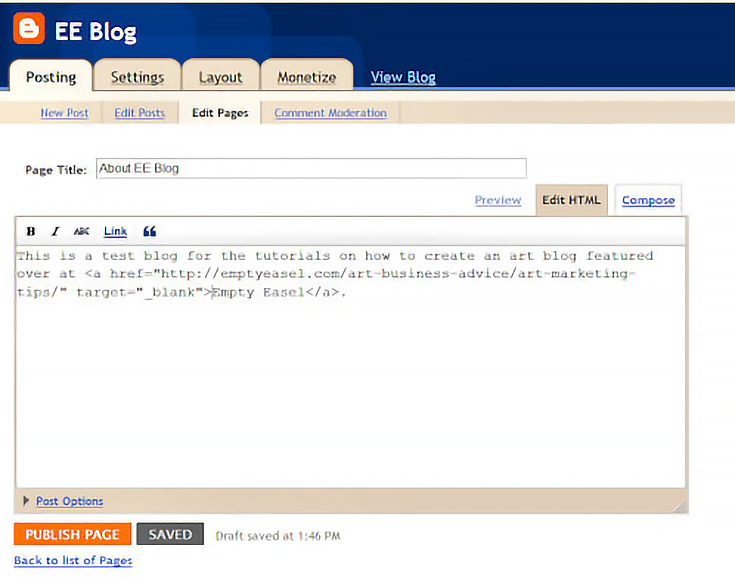
At this point you can create up to 10 individual pages. This is a great opportunity to share information you normally wouldn’t share in a blog post.
For the purpose of this tutorial, we’re going to create a really brief “About” page. Type a short, concise title as the title will become the active link on your blog’s sidebar. Then write your text and click the orange “publish page” button.
Once you click on the “publish page” button, you’ll be taken to a new screen which will ask you where you want your page to appear.
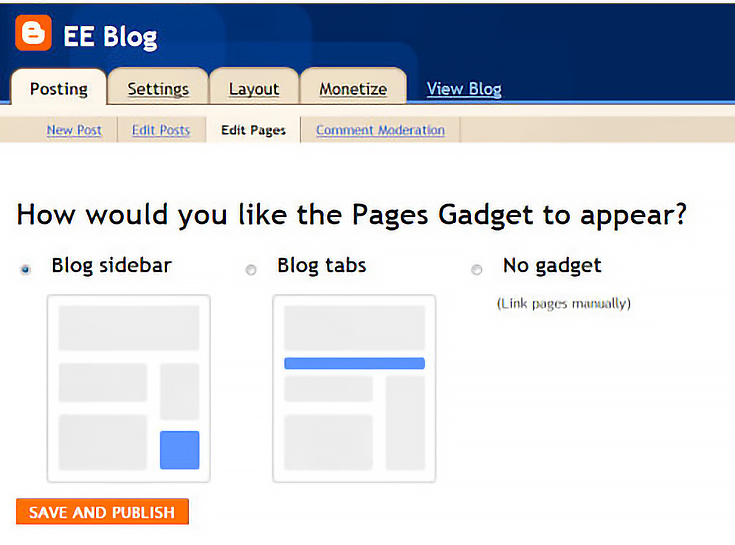
As you can see, your pages can either be at the top of your posts or as a box on the sidebar. Click on the little circle next to the set-up you prefer, then click on the orange “save and publish” button.
For the purpose of this tutorial, I’ve chosen the sidebar. When your page successfully saves, you’ll be taken to a page that looks like this:

Step 3: Relocate Your Page Box
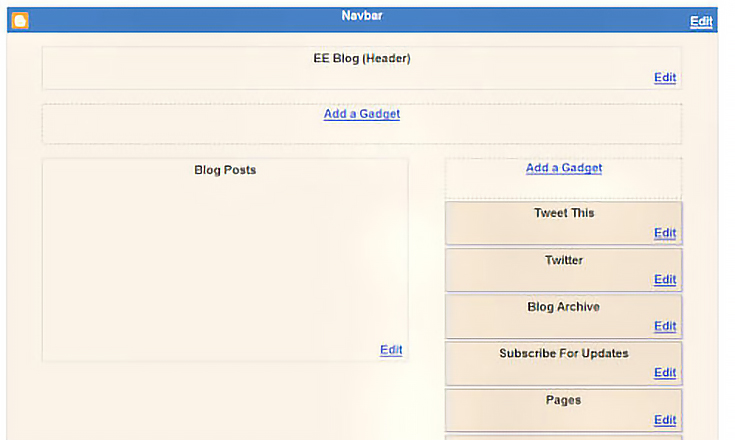
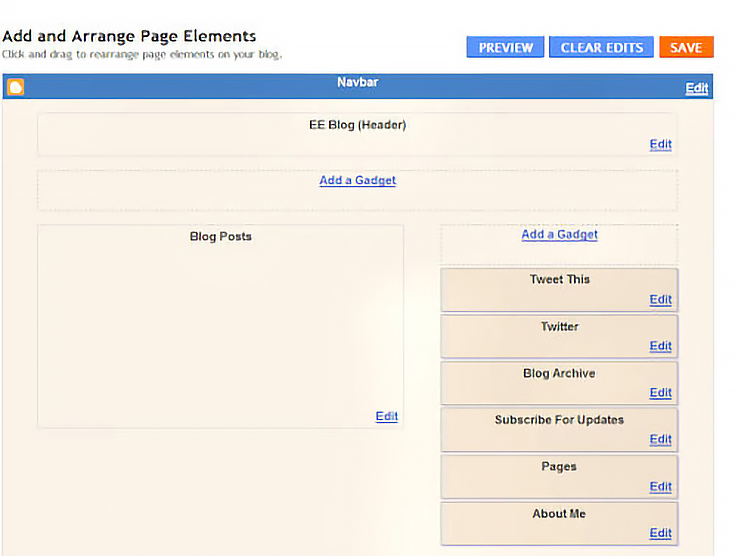
Once you’ve successfully published your page, click on the “layout” tab at the top of the screen. Doing so will take you to the following page:
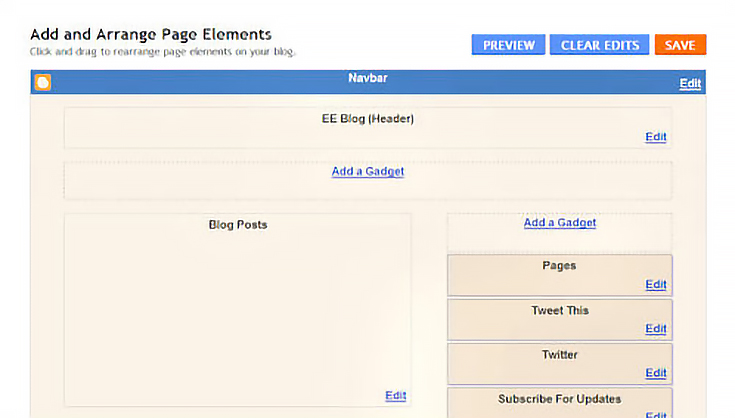
Notice the “Pages” box at the top right of the screen. This is where your new static pages are located. You, however, have the option of moving the box anywhere on the right column. Simply click on the “pages” box, hold down the left button on your mouse, then drag the box where you want it to go. Like this:
Once you’ve moved the box where you want it, click the orange “save” button at the top right of the screen.
Congratulations! You’ve just created your first static page. Now you can go back and create whatever other static pages you need to flesh out your blog.
Bonus tips: Try creating static pages that. . .
. . .tell readers what the blog is about and who you are as an artist—also known as the “About Me” page.
. . .tell readers where to buy your art, complete with active links to your Etsy, eBay, Imagekind, Zazzle, or other online shop—also known as the “Sales” page;
. . .tell readers your policy on reviewing products and lets them know about your affiliate marketing links, like Amazon—also known as the “Disclosure” page;
. . .spell out the legalese regarding any contests, drawings, or give-a-ways you host on your blog—also known as the “Contest Rules” page;
. . .share your media coverage—also known as the “Publicity” page; and
. . .offer quick answers to questions you receive on a continual basis—also known as the “FAQ” or “Frequently Asked Questions” page.
If you’re not exactly sure what to put in your pages, take a look at other art blogs and see how they do it. That’s one of the best ways to learn.
This post may contain affiliate links.