Hanging artwork can be a baffling process. . . but since it’s the first impression that people will have of your art, it’s very important to learn the right way to do it.
So whether you’re preparing for a show in a coffee shop, hanging work in your studio, or just putting up some art in your home, follow these simple guidelines for a professional result:
Basic tips for hanging art
In general, artwork should be hung so that the center of the painting is at eye level to the “average” person.
Make sure to purchase the appropriate wire for the weight of your art, or use D-rings for heavier works. Check the manufacturer’s recommendation on the package to make sure that your hardware supports more weight than your artwork actually weighs.
You will also need a pencil, level, measuring tape, wall hooks (not nails), and hammer.
Installation instructions:
Choose the section of wall on which your artwork will be displayed.
If you want your artwork to be centered in the middle of that section, then measure from left to right and draw a vertical line at the midpoint. Otherwise, just draw a stright line up and down wherever you’d like your painting to hang.
Let’s call that vertical line, “Line A.”
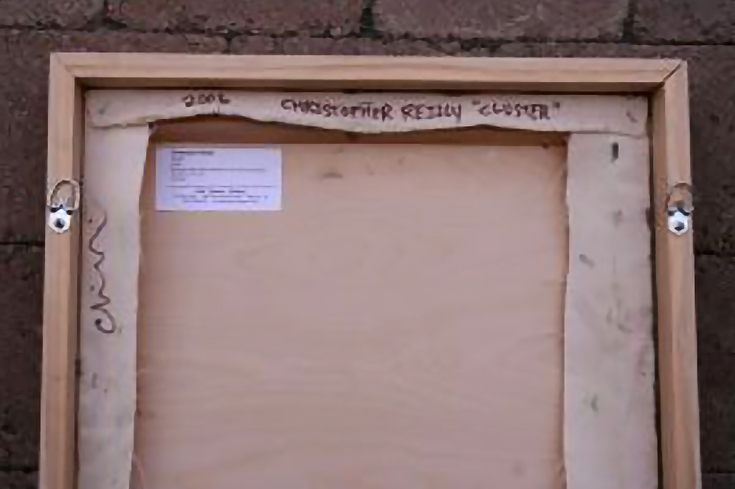
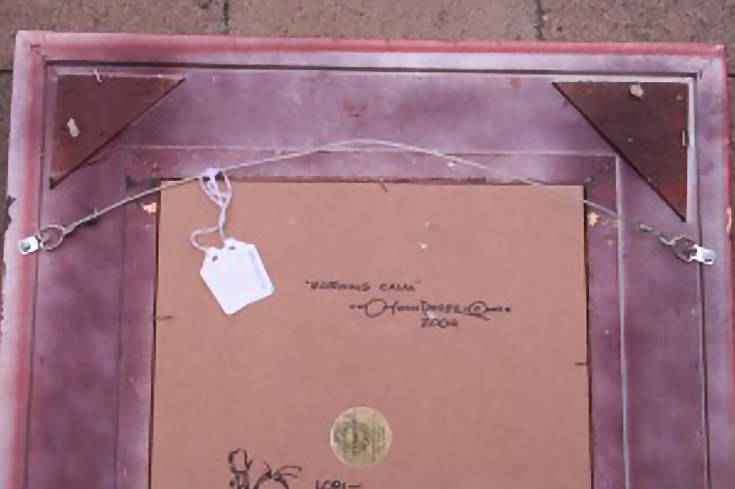
Screw the hardware into the back of your picture frame. Your D-rings should be somewhere between the top and the middle of the picture (like in the image below). Test it to make sure that everything is secure.
While the artwork is turned over, measure the art from top to bottom and mark the center point. Then measure from the center point to the top of the D-rings. Whatever number it is, add it to 60 inches. That will be your “hanging height.”
Of course, if you’re using a wire to hang your image, then measure from the center point to the top of the tightened wire before adding 60 inches.
Go back to your wall and find “Line A” again. Measure from the floor upwards until you reach your “hanging height” and, using a level, draw a horizontal line across Line A.
Let’s call this horizontal line, “Line B.”
If you’re hanging your art from a wire, the point where Line A and Line B cross is where you’ll hammer in your wall hook.
However, if you’re hanging your art from D-rings, go back to your painting and measure the distance between the D-rings then divide that measurement in half. For example, let’s say that the distance is 20 inches, so you divide it in half to get 10 inches.
With that number in mind, go back to your wall and find the spot where Line A and Line B cross. Make a mark 10 inches to the left of that intersection and 10 inches to the right. The distance between those marks should be 20 inches, or the distance between your D-rings.
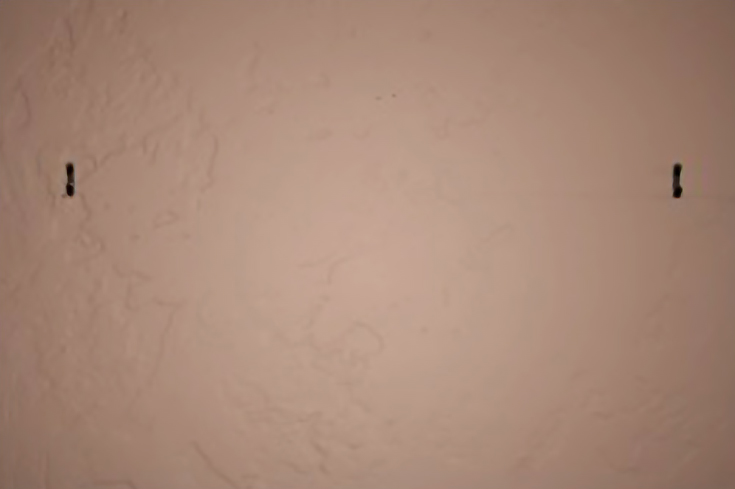
Position the bottom of the wall hooks on your marks and hammer them in place.
Lift the art onto the wall hooks and check that the art is level. You’re done!
As you gain experience in hanging art, you’ll learn where the appealing “eye level” is and you’ll be able to skip some of the measurements listed above. Until then, however, following these guidelines will always ensure a professional presentation of your artwork, whether at home or in a gallery.
For more articles from Lori McNee, please visit her blog, Fine Art Tips.
This post may contain affiliate links.