If you want to create soft, blurred backgrounds in your photographs, you will need to reduce your depth of field. Luckily, there’s more than one way to do that. You can change your aperture, adjust your length of lens, or just move closer to your subject.
In today’s article I’ll cover all three methods for reducing depth of field, and I’ll also include some visual examples to show how your photos will change using each one.
Changing aperture to reduce depth of field
When you change your aperture, your depth of field changes too.
Take a look at the diagram below. Each f/stop value has a corresponding focal area. The higher the f/stop value, the larger your focal area will be.
|–f/2.8–|
|———–f/5———–|
|————————-f/10———————-|
|————————————–f/16————————————|
Here’s another way to explain it: imagine that each of those f/stop values were actually your subject matter, and that you were taking a photo from the left side of this page. The dashed lines would represent how much of the page would be in focus in front and behind your subject when you snapped your photo.
Using a wider (lower) aperture, like f/2.8, will give you a nice background blur. Smaller (higher) apertures, like f/16, will keep more of the shot in focus.
Check out the difference that aperture makes in these next four shots. The first was taken with an aperture of f/2.8, the second f/5, the third f/10, and the fourth f/16.

As I increased the aperture value, the background blur decreased. Out of those four photos, the picture with the best background blur is the first picture with the lowest aperture, taken at f/2.8.
Aperture is not the only thing to keep in mind when setting up your shot, but I would say that it does have the biggest effect on depth of field.
Adjusting lens length to reduce depth of field
When trying to achieve blurry backgrounds, another factor to consider is the length of lens that you’re using.
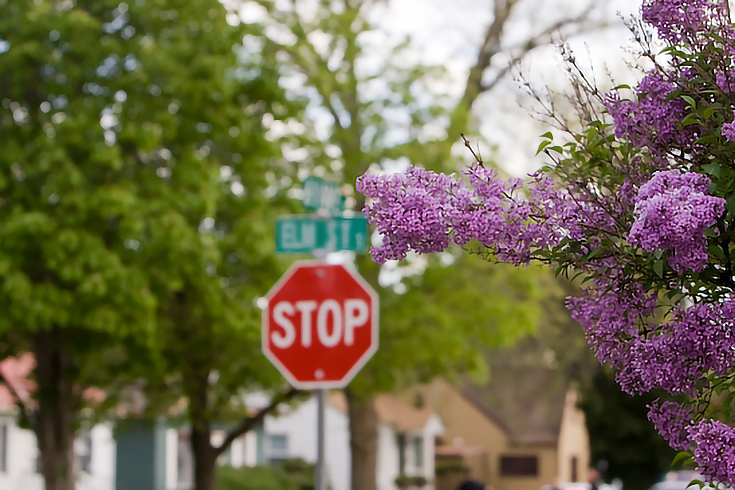
In these next two photos I used the same aperture of f/5—I only changed the focal length of the lens. In the first photograph I used a 70mm lens length.
In the second photograph I used a 200mm lens length.
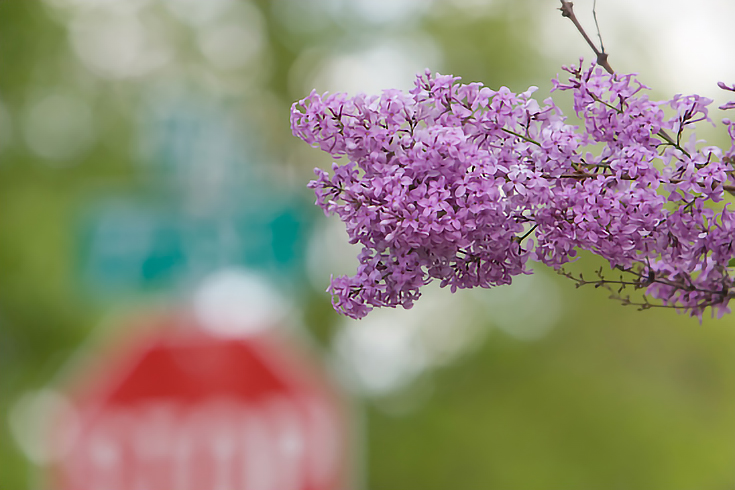
I didn’t pick these pictures because I thought they were great photographs but because I wanted you to see the relationship created between near and far objects when different length lenses are used. Essentially, background blur increases when you increase the focal length of a lens.
Moving closer to reduce depth of field
The last method for manipulating depth of field is to simply change your distance from subject. Look at the difference between these next two photographs—in both of them I used the same focal length (50mm) and the same aperture (f/2.8).
The first shot is taken from about five feet away.
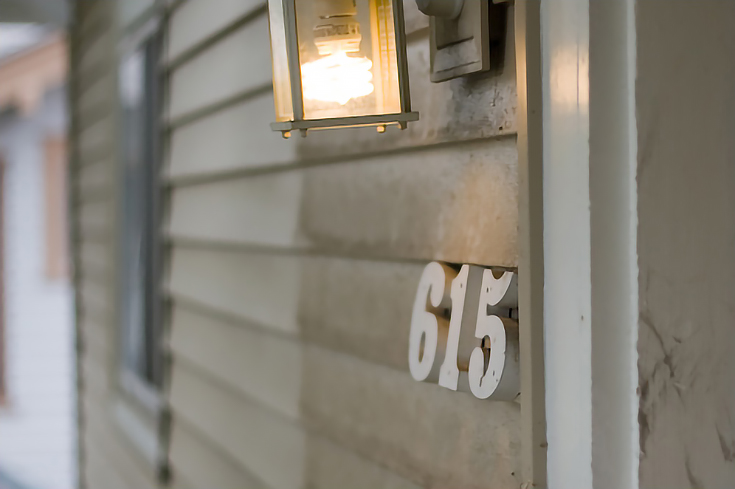
Notice how the background begins to blur as you look farther away from the numbers. In the second picture I was standing about six inches from the subject using the exact same camera settings.

The result is obvious: my depth of field was smaller and the background blur increased simply because I moved a lot closer to my subject.
So. . . to recap:
When you want to create a softer, blurrier background in your photos, use a wider (lower) aperture value, switch to a longer lens, and get in close to your subject.
If you can remember those three simple guidelines you’ll be well on your way to capturing some great photographs. Good luck!
This post may contain affiliate links.