I always wished I could draw. I longed to be able to capture on paper what I saw out in the real world.
Inspiration would strike and I’d try again. . . only to end up with the same result: a drawing that looked more like the flat, two-dimensional hieroglyphs you’d find on an Egyptian tomb, not anything I’d witnessed in real life.
I was convinced that I simply wasn’t born with any “artistic” genes or talent, in spite of the fact I am named after one of the Muses—goddess of art and inspiration.
Then, at the age of 42, I ended up in a drawing class for beginners.
That is where my glimmer of hope of learning to draw was reignited. I discovered that drawing was a teachable skill, that one could be taught how to translate the 3-D world onto a two-dimensional piece of paper.
In this article I want to share with you some of the basic points I came to understand and how they helped me learn to draw.
Here are the 4 basic drawing tips I learned:
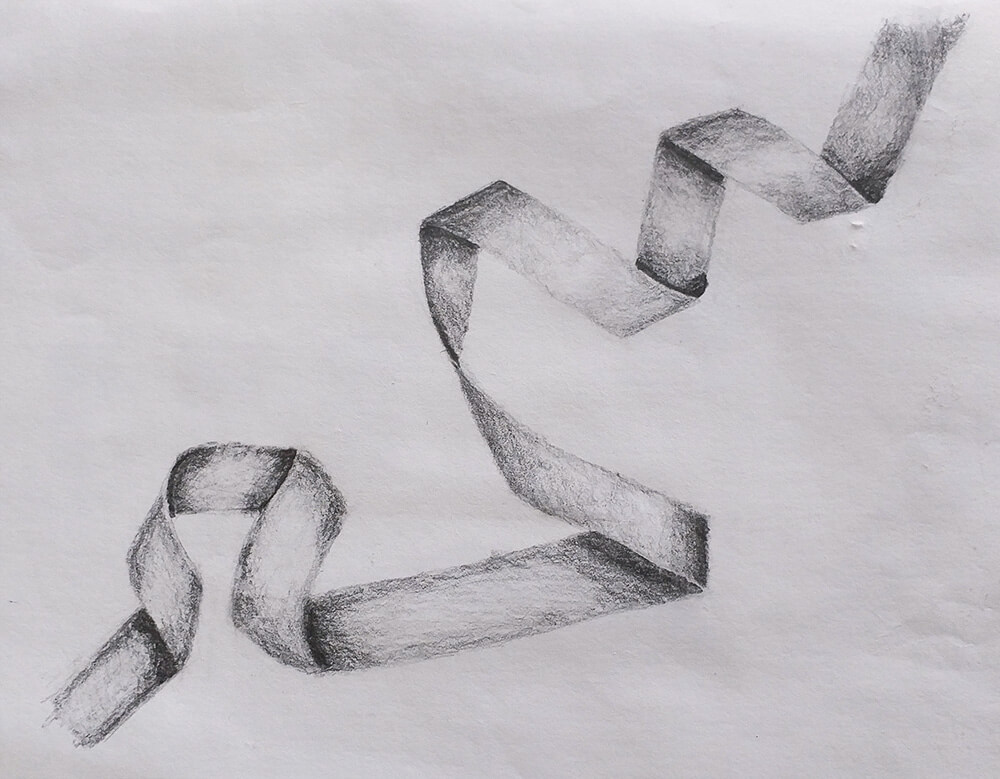
1. Shading is what creates realistic depth
Shading helps create depth, and dimension by using two main elements: light and dark. In between these two, you have countless shades of gray.
Different gradations between the “lightest light” and “darkest dark” convey the shape, size and volume of an object. When you’re shading, you are basically conveying how much light is hitting a surface or not.
In general, anything that is projecting outward, will tend to be hit by more light and thus will be lighter in tone. Conversely, any parts receding or curving away, will be darker. The harder it is for light to reach an area, the darker the tone.
What made the biggest difference, though, was learning that sometimes it is necessary to exaggerate the darkness or lightness of an area on your paper.
The human eye struggles to distinguish the countless shades of gray that exist and this is where artistic license comes in. Even when it doesn’t look like it, you’ll want to include a greater variety of shades/tones and deepen your darks as well as lighten up your lights.
You can see this in the ribbon study below. The areas that arc forward are light; the underside and concave areas are darker.
2. Cast shadows are formed by the absence of light
I had never realized the importance of cast shadows.
Cast shadows are created when an object blocks light from hitting another object or surface. They are the darker areas that result on those surrounding surfaces.
What I hadn’t realized, though, was that shadows are rarely completely black.
Why?
Because light reflecting off of objects in the surrounding environment are reflected back into the shadows.
Once I started noticing, I could see this was true. I learned to save my “darkest dark” for the area right beneath an object; where it’s closest to the ground or surface.
In the example below, the various citrus fruit are blocking the light from reaching parts of the table. Also, because less light reaches the crevice where the orange touches the table that area becomes darker as it goes deeper.
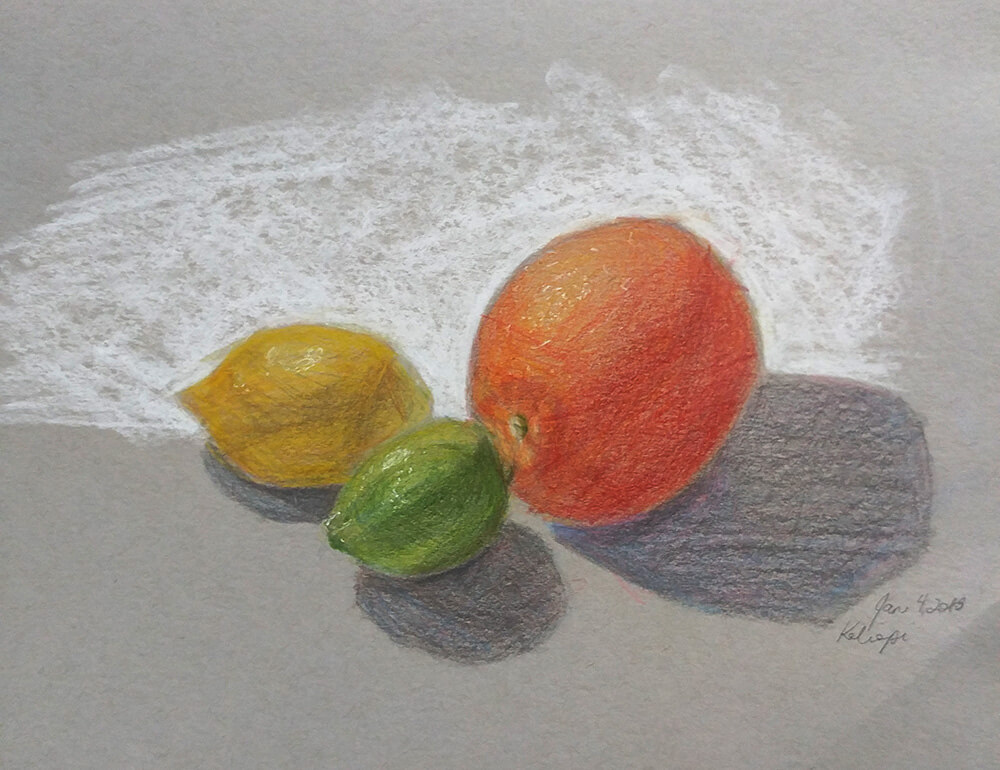
Adding a shadow—especially a cast shadow—instantly implies 3-dimensionality.
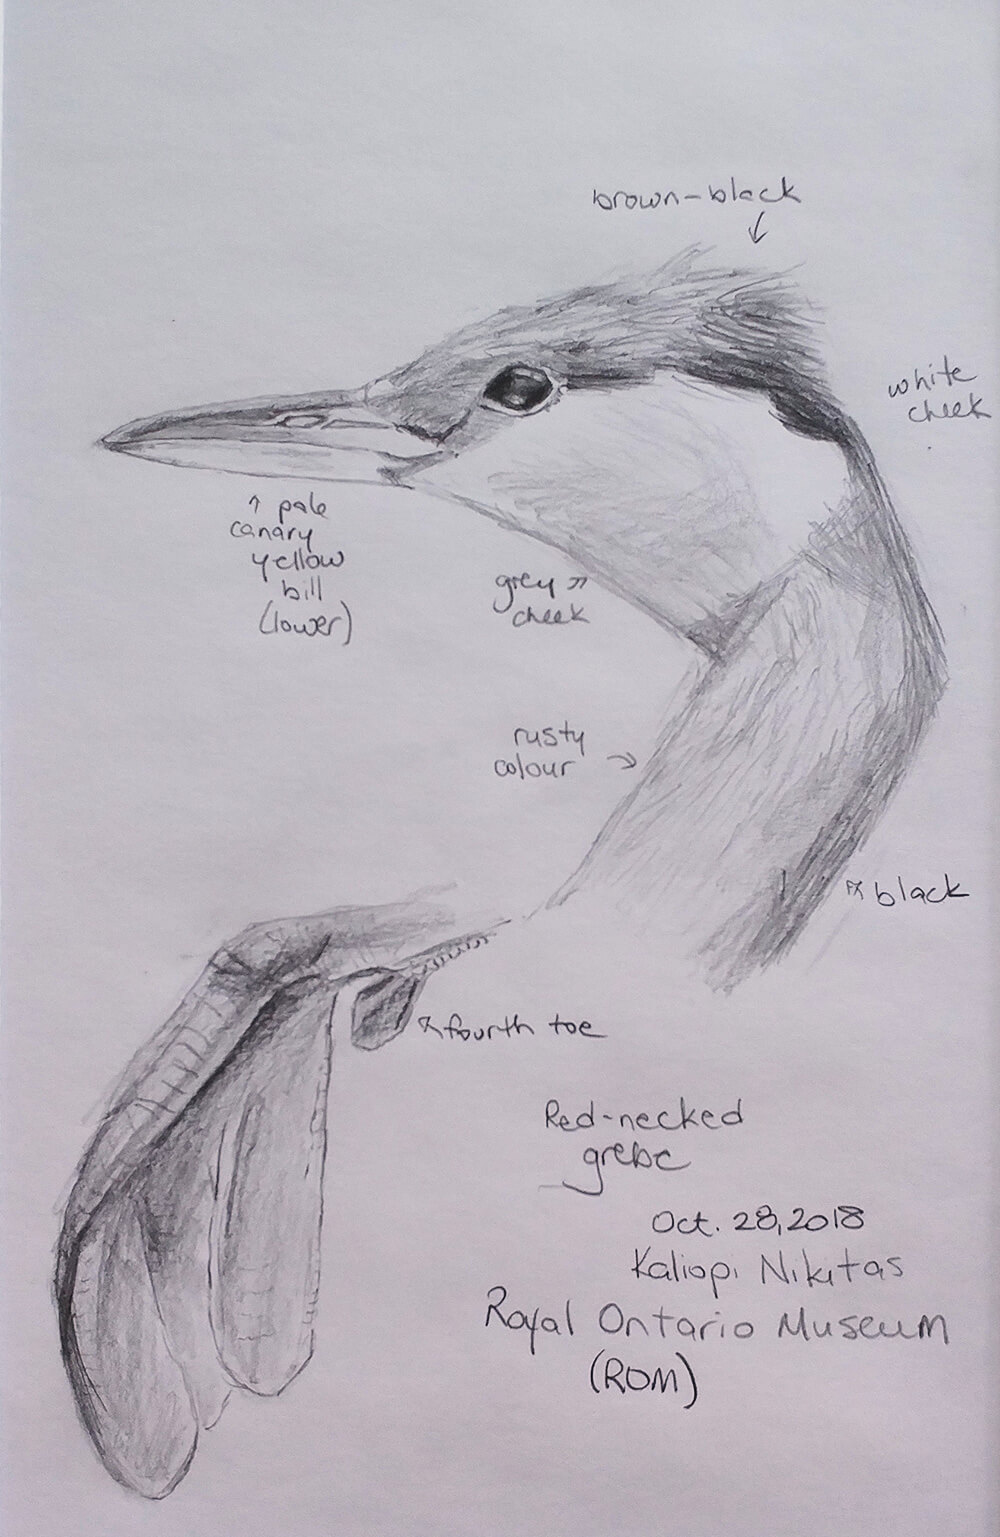
3. Lines should be all different thicknesses
It had never occurred to me to vary the thickness or thinness of my pencil line.
In the past, I would draw the outline of an entire object in an effort to distinguish it from its surroundings and give it form.
The effect, though, was more “king Tut’s tomb design” than realistic depiction, and resulted in a cartoon (where everything is outlined in a thick black line).
When I began playing with line thickness, I saw it as a tool to indicate depth, perspective, as well as texture. I also learned it’s okay to omit lines in some places, the eye will fill in the missing parts.
The pencil drawing of this red-necked grebe has varying lines. . . Notice those around the beak, and those that depict the tuft on the crest. Had I outlined the entire bird, it would not have a true-to-life quality to it.
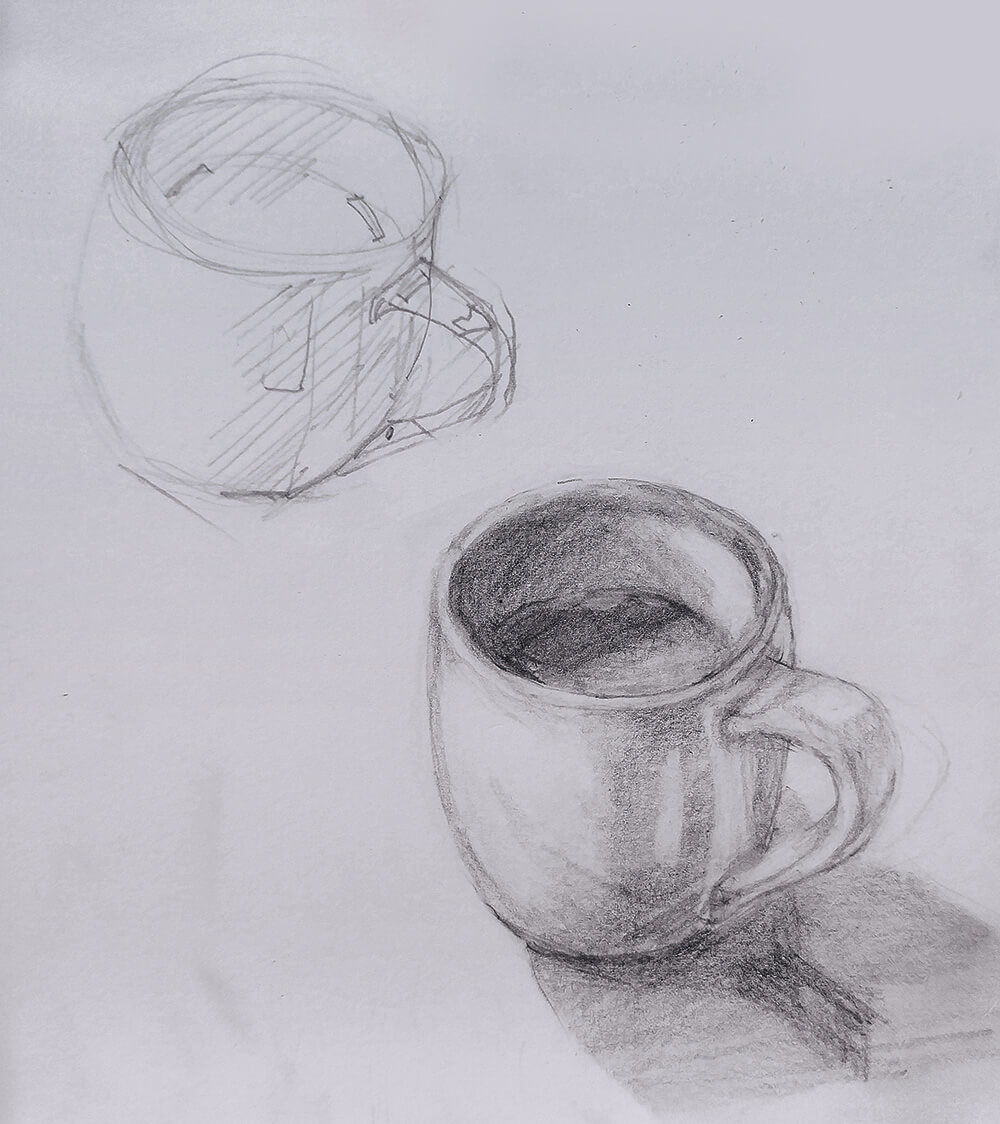
4. Circles are really ellipses
Another “aha” moment for me was learning that what you see as a circle in real life, most often needs to be depicted as an ellipse.
The reason is because most of the time we are looking at a circle from an angle, not head on. The size and actual shape of the ellipse drawn will depend on the angle of the viewer, and whether you’re looking at something from above or below.
Look at the sketch of my mug below. To you and I, the opening of the mug looks circular; however in depicting it, I had to draw an ellipse.
Ellipses are tricky and take a lot of practice. They also are very rewarding though!
These four points were some of the basic elements I learned in that beginner art class. They were concepts that I needed pointed out to me, and that I could not figure out on my own.
After that, it has been up to me to use them and continue learning; to practice drawing as much as I can, as often as I can. I won’t lie to you, even now, I make four or five lousy drawings for every decent one—and that’s okay. I figure, at this rate, if I just keep at it, I’ll be pretty darn good by 52.
Learning how to draw at 42 is proof that drawing is not only a teachable skill, but one you can tackle at any age!
Special thanks to Kaliopi Nikitas for sharing these 4 drawing tips! To learn more about Kaliopi, please visit her website.
This post may contain affiliate links.