In recent years, there’s been a huge surge in the popularity of watercolour illustration, particularly relating to food. Brands are looking for softer, more natural visual representations of their products, and illustrators are responding with increasingly creative techniques.
Georgina Luck is a Sussex-based artist whose fresh and vibrant illustrations have been commissioned by companies like M&S, Tesco and Heinz. From cakes to fruit, and even egg sandwiches, Luck’s work transforms everyday foods into a celebration of style and colour.
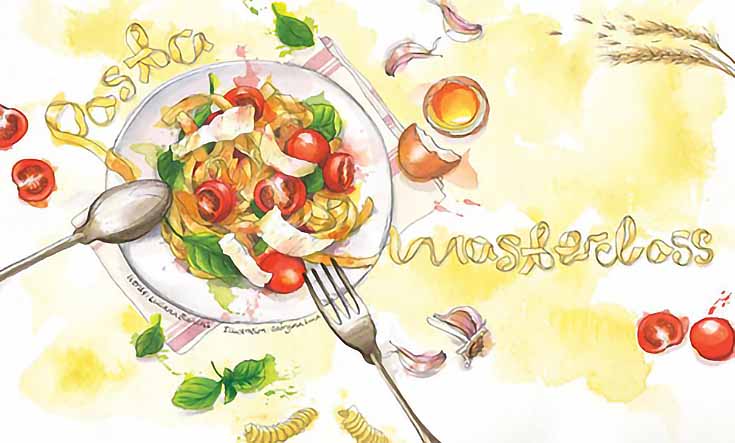
Figure 1 – Georgina Luck, Princess Cruises Magazine
With Georgina’s work serving as inspiration, here are a few 5 steps for mastering the art of watercolour food illustration. All you’ll need to start is a good set of watercolour paints and a selection of brushes. . .
Step 1. Lay down a base coat
The trick to successful watercolour illustration is layering, gradually building up pigment and detail to create a sense of depth. With this in mind, it’s a good idea to start with a base coat of colour.
Larger brushes, such as a mop brush or fan brush are best for covering broader surface areas with a colour wash. Bear in mind that the dense bristles of a mop brush will hold more colour than the fan brush, creating an effect similar to the yellow wash in the example above, so take a moment to consider how vibrant you’d like your first layer to be.
NOTE: Natural fibres are traditionally best for watercolours as they are softer, but harder synthetic fibres may also be useful when creating strong detail or patterns.
Step 2. Create your structure
After you’ve treated your paper with a light wash of colour, you’ll want to mark out the rough structure of your illustration.
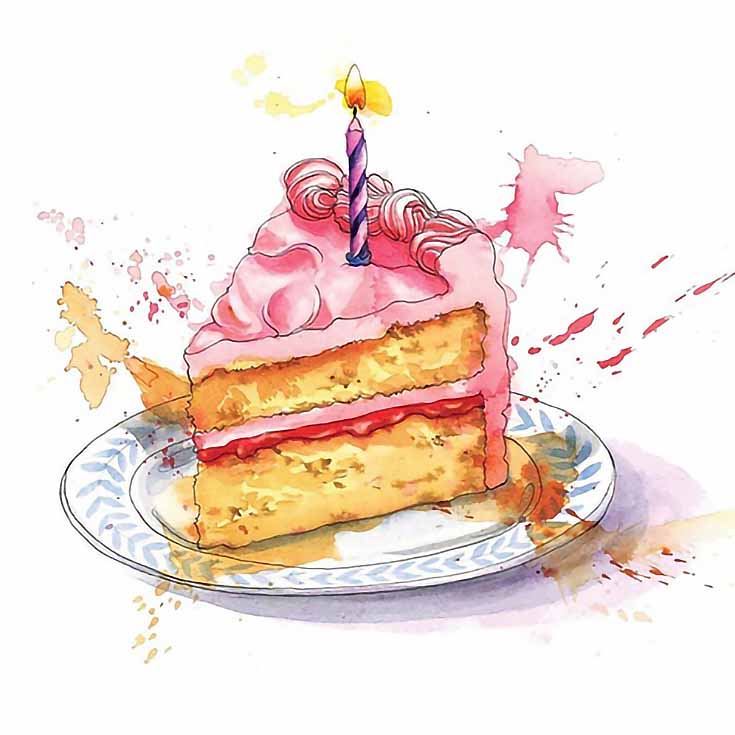
Figure 2 – Georgina Luck, Tobacco Free Florida Week 2017
A flat brush can be useful when marking out a subject with quite a rigid structure of its own, like the layered cake in the above example. Otherwise, you can use a round brush to map out the general composition of your illustration.
There’s no need to be too accurate at this point, just roughly block out areas of colour, highlights, and shadows.
Step 3. Build layers of pigment
When you’ve created your overall structure, you can begin to build up pigment. In the above example we can see how the artist has built up the layers, adding darker pinks and browns to her base coat in order to add depth to the cake illustration.
A softer brush made of natural fibres is ideal for this work, as it allows for perfect blending without any harsh edges.
Again, you can do this gradually, layering the paint to create more intense colour in certain sections. You should also decrease your brush size with every layer, as this will allow you to add more detail and a sense of depth.
Step 4. Add texture
In watercolour illustration, the aim isn’t to create a photorealistic representation of the subject. In fact, some of the most successful examples showcase imperfection. With this in mind, it’s worth making sure that you leave some areas more or less untouched when building pigment, as your illustration should demonstrate a range of textures.
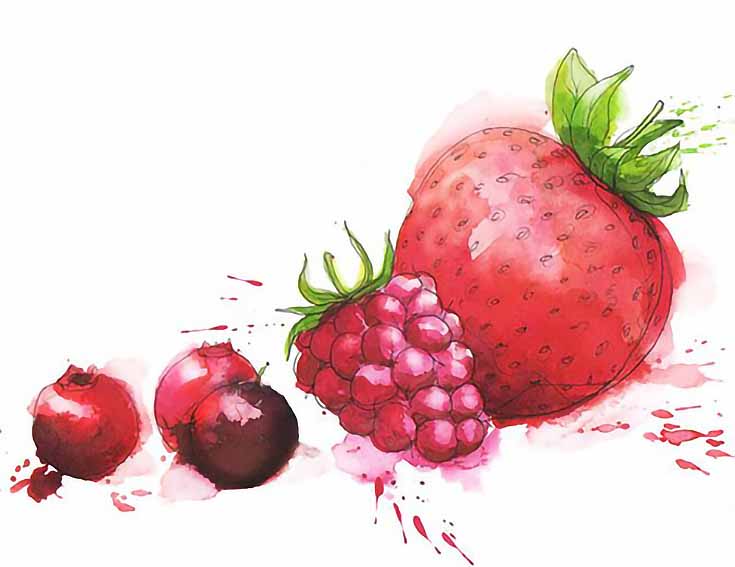
You can also try some more playful techniques to add interesting marks. A round brush is great for adding water drops, while a flat brush with stiffer bristles can create an interesting spray effect; the latter is most effective is the spray is directed outward from the subject, as seen in the example above.
Another option is to use a fan brush to create stripes, lines, and stippled patterns—don’t underestimate the value of simple mark-making!
Step 5. Finish off the painting
Finally, you can finish off your watercolour illustration with finer details and outlines. While some artists enjoy using a fine-liner to add definition to their work, others prefer to remain within their medium.
The obvious option for finishing off your watercolour illustration would be to use a tiny brush for detail, but you may want to try a waterbrush. These have a squeezable barrel of water that gives you greater control over the water content of the paint. They can be held like a pen, mimicking the effect of a marker with the softness of watercolour.
Give each of these steps a try, and you should be able to enjoy creating your own delicate and playful watercolour illustrations!
Jessica Farrugia writes on behalf of Cowling & Wilcox, quality art supply specialists. To learn more about their range of paint brushes, click here.
This post may contain affiliate links.