Today’s post is the last in my series on how to draw a portrait using classical drawing techniques.
If you’ve been following along, you know there are many details left to cover. Some of them will simply not fit into this series—but when that happens, I’ll share how you can find more instruction at DrawingAcademy.com.
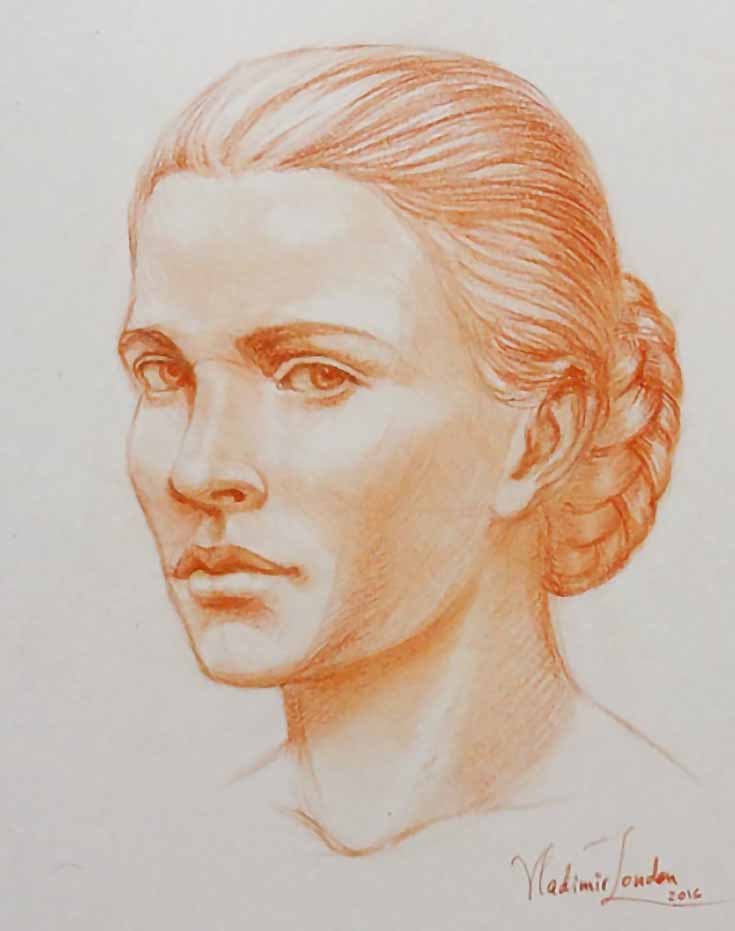
For now, however, let’s get back to the drawing we started so many weeks ago:
41. Shading the temple
I’ve separated the plane of the forehead from upper temples by using broad strokes with light pencil pressure on the side of the head.
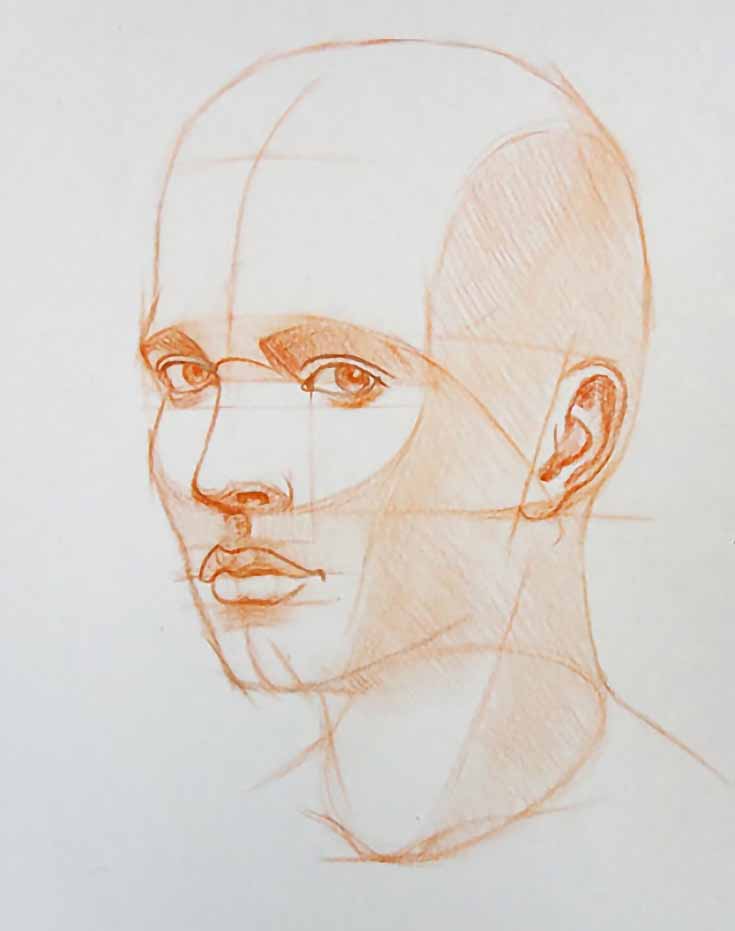
This is the last bit of construction for the head, and at this point there’s no need to finish with detailed shading. The hairstyle will cover much of this area, and we will come back to it later to deepen the tonal values as required.
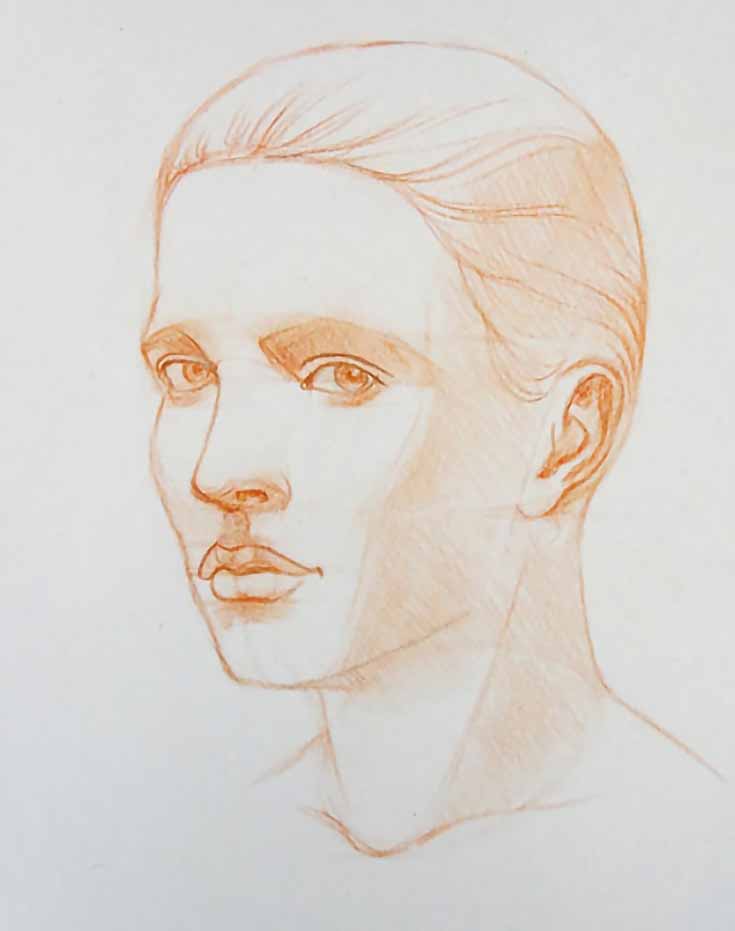
42. Drawing hair
Until now, I’ve intentionally left the hairstyle untouched in order to demonstrate the planes and construction of the model’s head. Of course, this is just my way of teaching. . . you can indicate the hair volume much earlier in the drawing if you’d like.
Since students often ask me how to draw hair, here are several points to keep in mind:
• Draw the hair not as individual strands, but as one big mass with light and shadow
• Construct the planes of the hairstyle much like you constructed the head
• Avoid rendering individual curls or details—those will come later
• Apply pencil strokes in the direction the hair grows
• Render the hairstyle gradually, along with the other parts of the portrait
For more information on this topic, I recommend the video lessons on drawing hair in the Drawing Academy course.
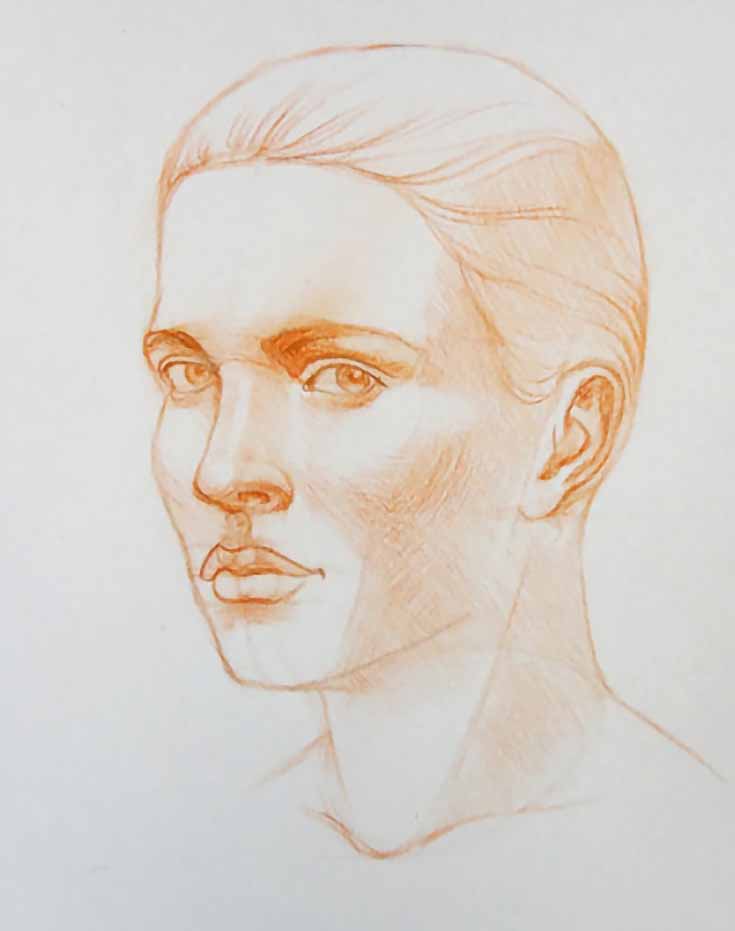
43. Rendering tonal values
There are many approaches to rendering (or shading) the tonal values of a portrait drawing. Here is the classical method that I use:
• Start by shading the largest areas with the darkest tonal values
• The process can develop gradually in multiple layers
• Try to darken the entire drawing simultaneously without finishing one section early
• While shading, comparing different areas to each other for accuracy
• When drawing in graphite pencil, the pencil tip should be sharp at all times
• Avoid using the full darkness a drawing tool can provide from the beginning
• Apply pencil strokes along the contours of objects
• Reveal the volume of an object with strokes
• Avoid 90-degree cross-hatching unless you’re drawing clothing or textiles
• Keep your types of pencil strokes rich and wide—use various directions of strokes, pencil pressure, curvature and length of lines.
Again, there are more tips and demonstrations on how to render tonal values in the Drawing Academy course. Because of space limitations, I can’t cover them all here.
44. Drawing small details
It’s always tempting to finish some areas before the rest of the drawing. However, professional artists know to work all around the drawing so that it’s completed gradually, and consistently.
When you work on a drawing, it’s best to start big, then progress to smaller areas to work on finer details with shorter pencil strokes. Periodically return to the bigger areas, then go back to the small areas again.
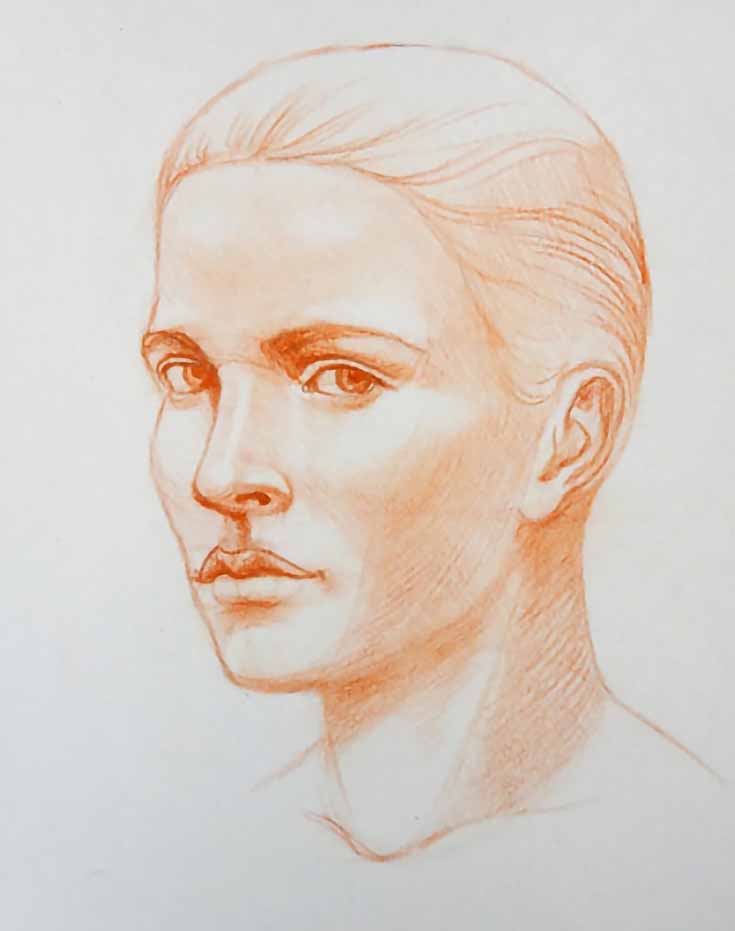
Such cycles can be repeated several times, ensuring that your finished portrait looks unified yet detailed.
45. When to finish a head drawing
The beauty of working on a portrait this way (where each section is simultaneously being worked on) is that your drawing generally looks completed at all times. So, it simply becomes your decision as an artist when to finish it.
As a point of interest, in many cases, when you leave the drawing slightly unfinished, it appears more intriguing to the viewer. For this reason, you may want to avoid overworking a drawing by stopping just before you think it is done.
I hope this series of articles on how to draw a portrait was helpful. Of course, this is just one way to do it. More methods are covered at the Drawing Academy.
If you have any questions, please ask Drawing Academy tutors at http://drawingacademy.com/drawing/ask-tutors-questions
I wish you all the creative success you deserve.
Vladimir London
Drawing Academy tutor and founder
Special thanks to Vladimir London for this series! The Drawing Academy is an online class for learning traditional drawing techniques from home—make sure to click those links above for full tutorials, drawing tips, and more!
For past lessons in this series, click the following links:
Part 1
Part 2
Part 3
Part 4
Part 5
Part 6
Part 7
Part 8
This post may contain affiliate links.