My first love has always been drawing. . . I guess I’ve always been drawn to it. :) I just find line to be very expressive!
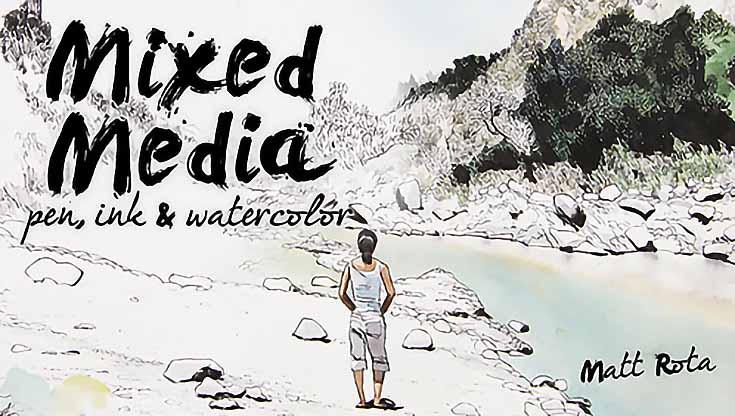
My next love would have be watercolor, so when I got the chance to review the online course Mixed Media: Pen, Ink & Watercolor by Craftsy, I dug out my pens, bought some new ink and paper, and joined in the fun!
This particular course is taught by teacher and illustrator Matt Rota. Rota does a great job explaining the basics (like how to start using the nib pen) as well as more advanced skills like composing a piece from multiple reference photos. There are seven lessons included, ranging from eighteen to thirty four minutes long, and each one builds on the others while teaching a specific skill.
Anyone who takes this course will learn—among other things—what tools and materials you’ll need; how to create line, value, and tone with a pen and brush; how to create depth in your work; how to use ink with watercolor washes; and how to compose a drawing.
I loved doing line work in school, and as I started going through this course I wondered why I quit doing it. Probably, I thought, because it’s messy! (After all, there are pens that work very well without all that ink mess!) But I soon realized that’s all part of the beauty of pen and ink.
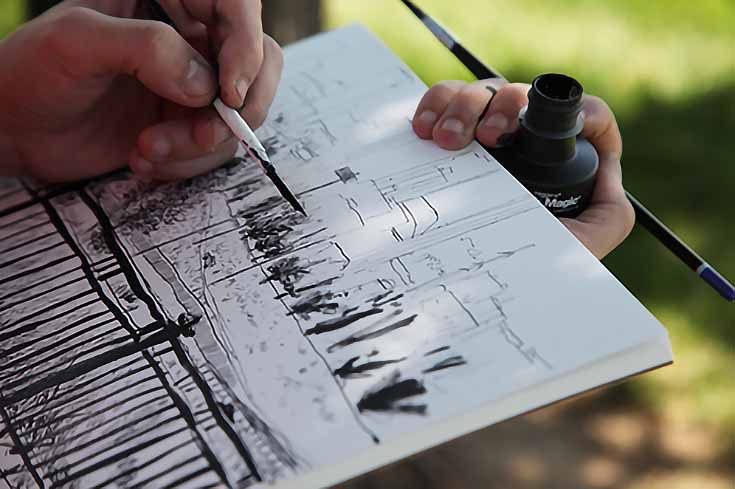
As Rota pointed out in one of the lessons, line is sensitive. Your line is distinct and personal. . . a line done with a nib pen imbues a part of you in the line you draw. Using a nib pen will also give you greater control over your marks—a greater sensitivity—and you can control the “weight” or thickness of the line by varying the pressure you put on the pen. Rota goes into some detail explaining how useful line weight can be.
Hatching and cross-hatching are covered in lesson three of the course, Value and Tone with Pen. Each lesson has downloadable reference photos so you can work right alongside Rota, but he also encourages you to use your own photos and props if you have them handy.
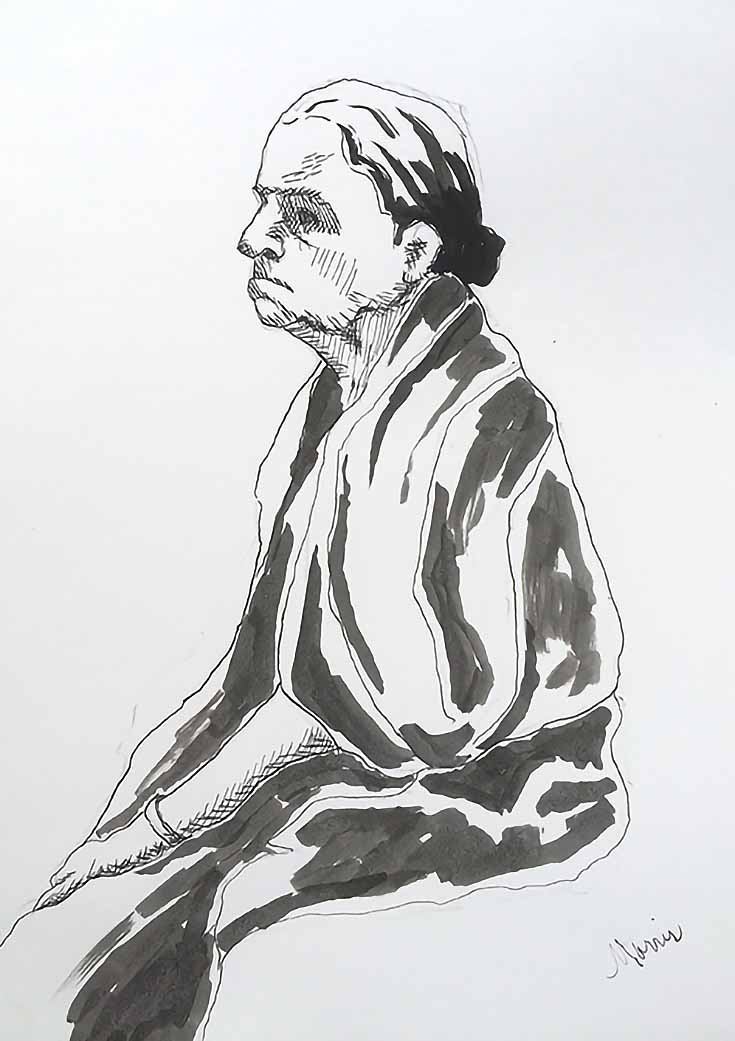
Using the given references will be very helpful to any beginners who take this course and are unsure of themselves. Someone more comfortable with pen and ink might enjoy the added challenge of finding your own reference materials. Since his reference was a figure, I chose a figure from my own photos to use, and then followed along with the instructions.
While I’m sure I will always use self-contained ink pens, it was nice to revisit my Speedball pens and ink pot—and see the ink on my fingers again! (Most of that was from when Rota taught us how to use our fingers to flatten and shape hairs when using dry brush techniques.)
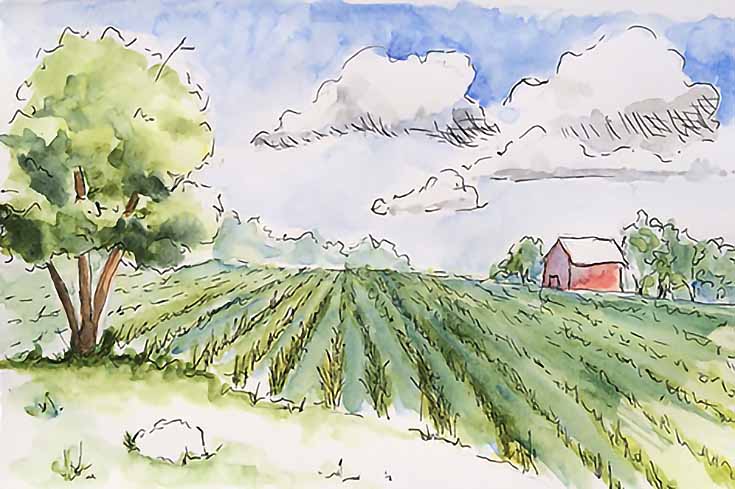
In the end, I think my favorite part of this course was the watercolor portion. While I never quit using ink with watercolor, I haven’t used a Speedball and ink together with watercolor for quite a while—and I found that it added something to the process that a regular pen doesn’t.
The sketch below was done quickly, but I thoroughly enjoyed the process and the less fussy quality to the drawing. While it will not always be practical to use a nib pen (say, when I’m sketching somewhere other than my studio) there’s definitely a time and place for it.
My takeaway for students new and old: pen and ink drawings have a personality that’s hard to replicate any other way. There’s something intimate and, at the same time, playful about pen and ink.
With no eraser, you MUST be comfortable enough to accept that accidents will happen—and that the drawing goes on anyway, and will probably have a few more. That’s what makes these drawings so unique and special.
I felt like this course did a great job providing all the information you need to begin using pen and ink with watercolor, and that Rota was a very thorough teacher, walking you through each step. Craftsy also includes a chat feature and project board with each class, so you can ask questions of the instructor or other students and post your work for others to comment on. These are wonderful features, since online learning can be a bit lonely and it’s always helpful to get feedback on your work.
If you prefer to learn at your own pace, in the comfort of your own home, Craftsy is the place for you. Visit their website to learn more, or check out the FREE giveaway that’s going on right now. Entering doesn’t cost a thing, and you could win full access to this very class! :)
Good luck and happy drawing!
This article was sponsored by Craftsy. For additional articles and tutorials, please visit their fine art blog.
This post may contain affiliate links.