Sometimes when you see a beautiful landscape, you just have to paint it. You want to capture the feeling, the emotion, the colors. . . and yet, those kinds of landscapes are often so visually complex that you can’t imagine painting everything in them!
It can seem overwhelming, but there’s an easy solution—with a little bit of creative cropping you can convey exactly what you want in a MUCH more simplified (some might say impressionistic) composition. Here’s how you do it:
1. Choose a striking photo
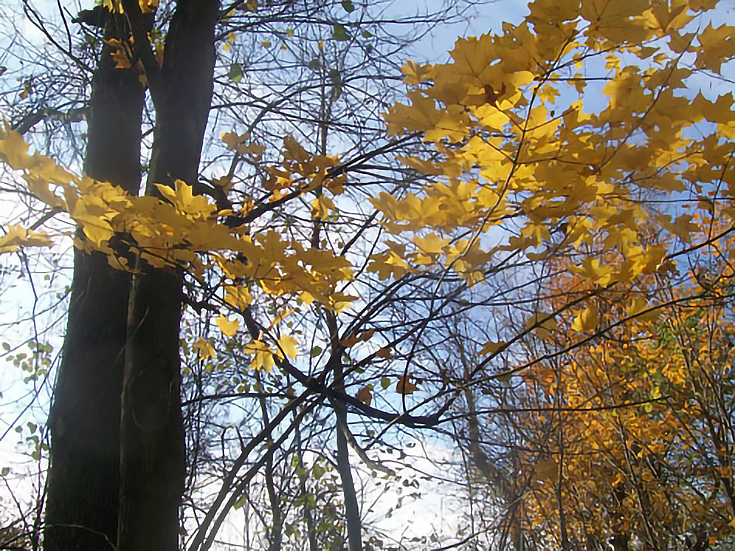
In this example I have taken a photo of a wooded trail on a sunny fall afternoon. I took many shots that day because it was SO beautiful and I knew I wanted some reference material for painting later on.
This is the original photo, full of golden leaves and bright blue and white sky.
I wanted to convey the same feeling of a gorgeous fall day with the sunlight peeking through the leaves, but without painting the entire scene. The solution? Careful cropping.
2. Find an interesting crop of your photo
I usually load my photos into Photoshop to crop and edit, but you can use any photo editing program that you may already have on your computer.
I knew my panel size would be 6×6 inches so I set that as my crop size. (You will need to choose whatever size works for you). Then, move the photo cropping square around to different areas of the image until you get a composition that you like.
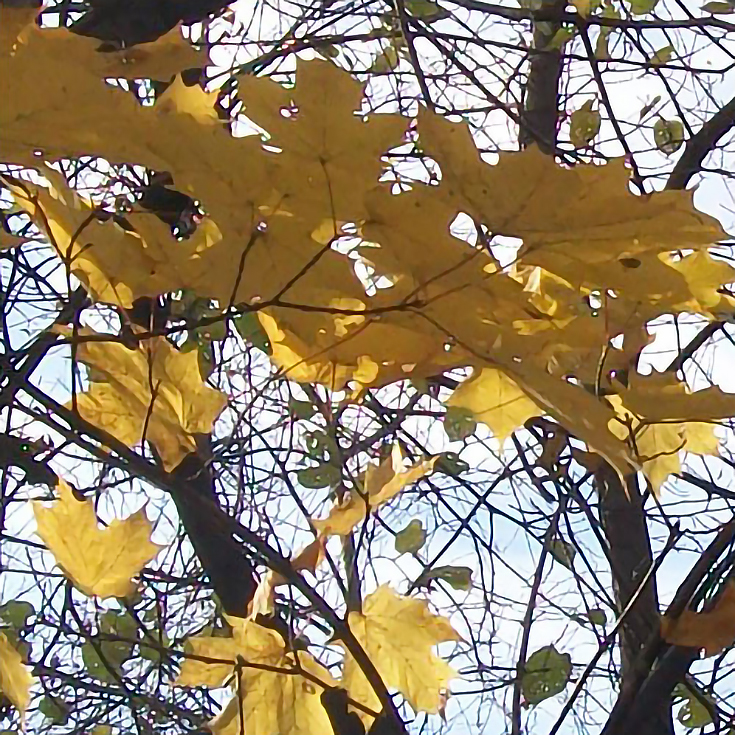
I settled on the crop above because it captured the light and had lots of great negative spaces between the leaves.
3. Print and transfer your image
Next, print out your image to use as a reference, and either sketch or trace it onto your panel or canvas. Don’t worry about every detail, just get the basic shapes and lines that you’ll be using.
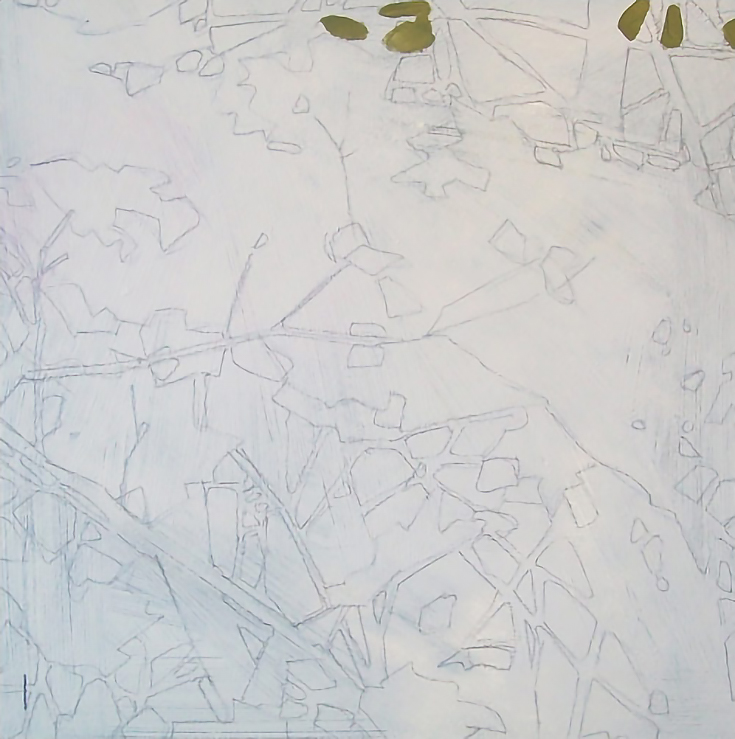
As you can see, I left out a lot of the smaller sticks and lines within the trees. The feeling is what you are working toward, so try not to get too caught up in the detail.
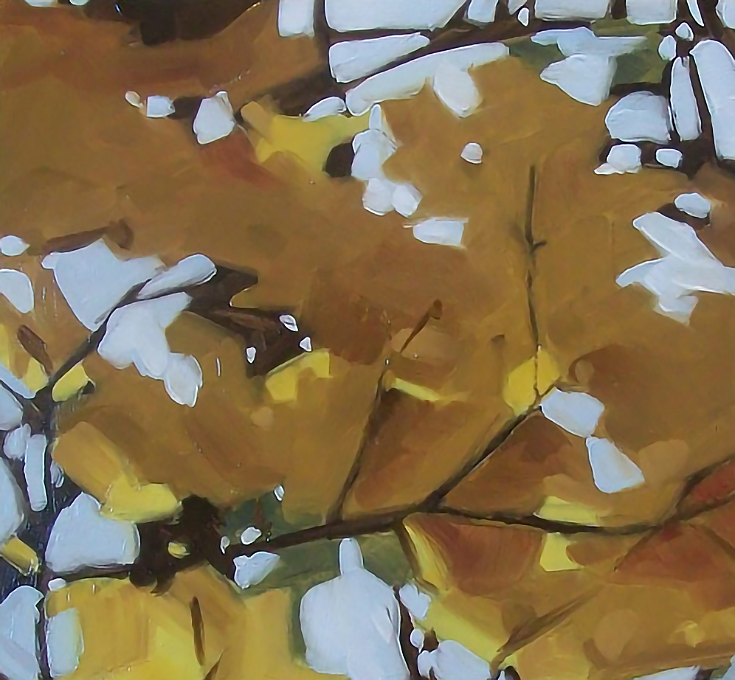
4. Paint large portions of color
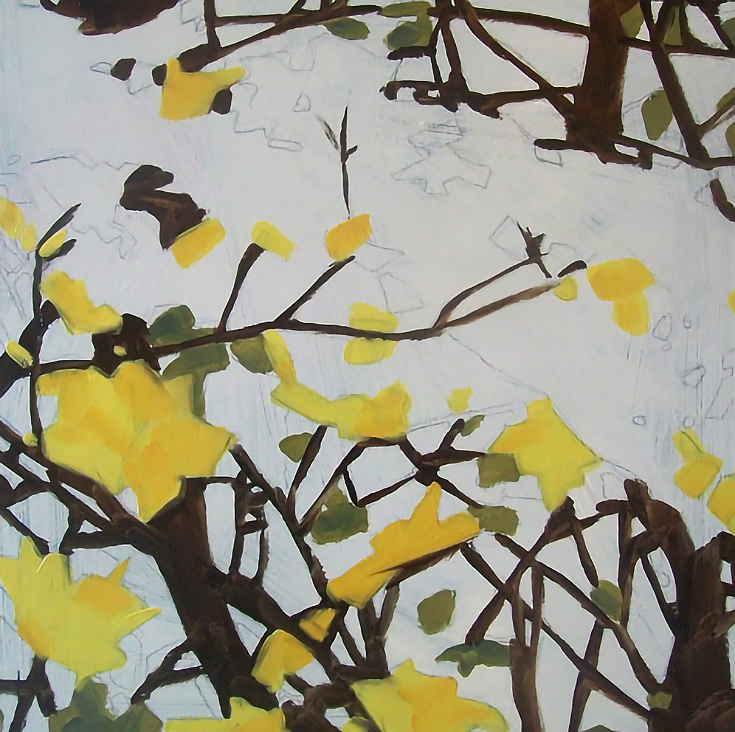
I started by blocking in the green bits first, just because there wasn’t too much and I wanted them to fall back behind the leaves. Next, I added the lightest yellows. (I started with the lightest yellows so they would stay clean and light and wouldn’t get muddied up by the browns and darker colors on my brush later.)
Once the light yellows were in, I added the brown tree branches.
I then blocked in the darker yellows and reds in the leaves. Notice in this next image how the leaves are not very defined; they sort of blend into one another. At this point I am still working to create an impression of the day and not focusing on the details.
Next, I added in the light blue sky. . .
The sky is always the fun part! :) I usually save my background color for last because I love to play with the negative spaces and the edges. A variety of hard and soft edges really add interest to a painting.
This is also the point where you can edit the branches the way you like and paint in bits of sky in order to define your leaves and branches better.
NOTE: Keep your brushes as clean as possible by wiping them with paper towels between strokes. You’ll probably pick up a little orange, yellow, or brown as you paint small sections of the sky, and you don’t want to muddy your color on your palette by leaving that paint on the brush when you go back for more light-blue.
5. Finish with simple details
Now, stand back and look at your painting from a distance. You may want to add in a few darks or lights to help with the composition, but again, don’t get lost in the detail.
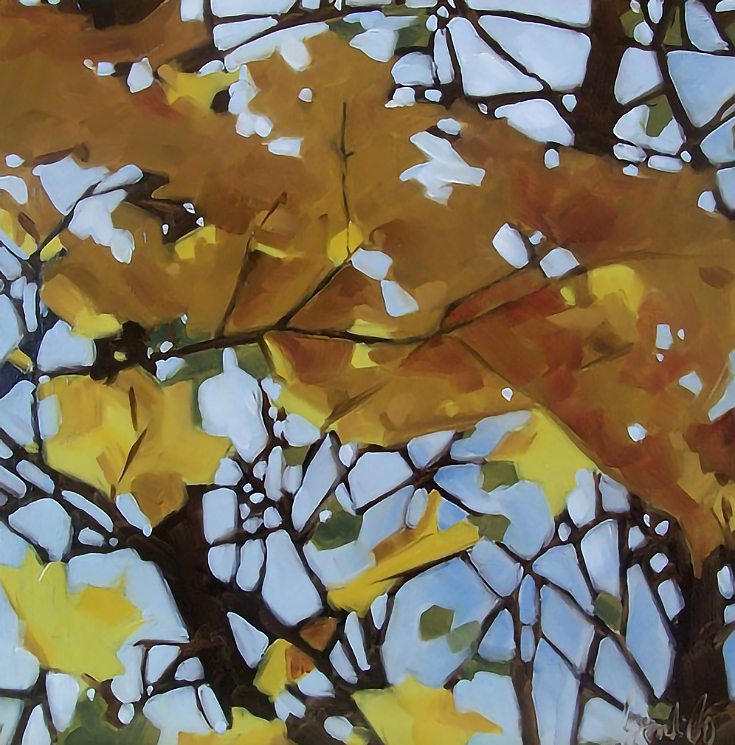
The finished painting has almost a stained glass quality and it definitely gives you the impression of a sunny fall day, without the need to paint an entire landscape.
Give it a try for yourself, and enjoy your painting!
This post may contain affiliate links.