In today’s blogging tutorial, I’ll explain how to set up an email subscription service and RSS feed for your art blog in under an hour. If you have an art blog and haven’t done this yet, read on:
Once you have your art blog up and running, it’s important to keep visitors interested and coming back. One way to do that is to add content to your blog on a regular basis—another way is to make it extremely easy for your visitors to stay updated.
To that end, all blogs come with an RSS feed (RSS is a free syndication service that allows visitors to stay informed without actually visiting the website). The problem is that most RSS feeds need to be read via a “news aggregator”—which the average, everyday person either doesn’t understand, or forgets about altogether.
If given the choice between an RSS feed and an email subscription, most blog readers will opt for an email subscription service every time. Why? Because email is something that we all use anyway. . . so staying in touch with our favorite bloggers is truly effortless.
To give your readers what they want, and to save money, I suggest that you sign up for a free FeedBurner account through Google. Feedburner combines the best of both worlds—it’s an RSS feed and an email subscription service all rolled into one.
Below are the steps necessary for setting up a FeedBurner email subscription service for your Blogger art blog.
Step 1: Create your FeedBurner Account
Go to http://feedburner.google.com and click on the “create an account” button (or use your existing Google account login information).
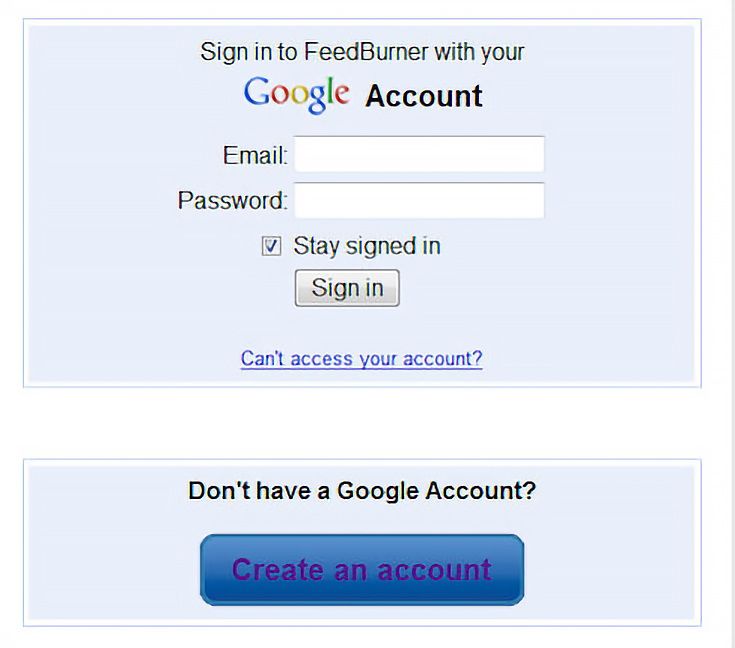
Once you click “Create an Account,” you’ll be taken to the setup page below.
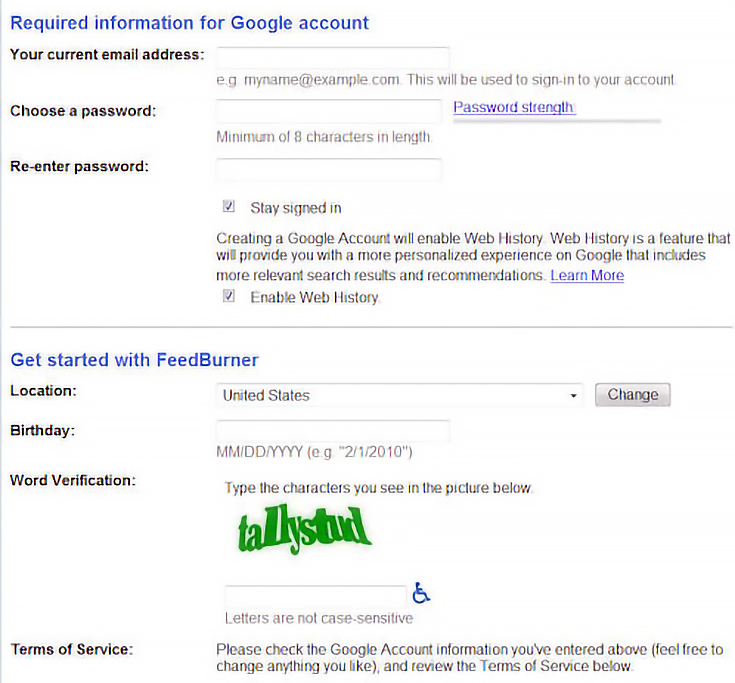
Fill out all the required information: email address, password, location, birthday, and word verification characters. Then read through the “Terms of Service” and click the “I accept” button to create your account.
Step 2: “Burn” your Blog’s Feed
After accepting the terms of service, you’ll be taken to a page where you can “claim” your blog’s feed via Feedburner.
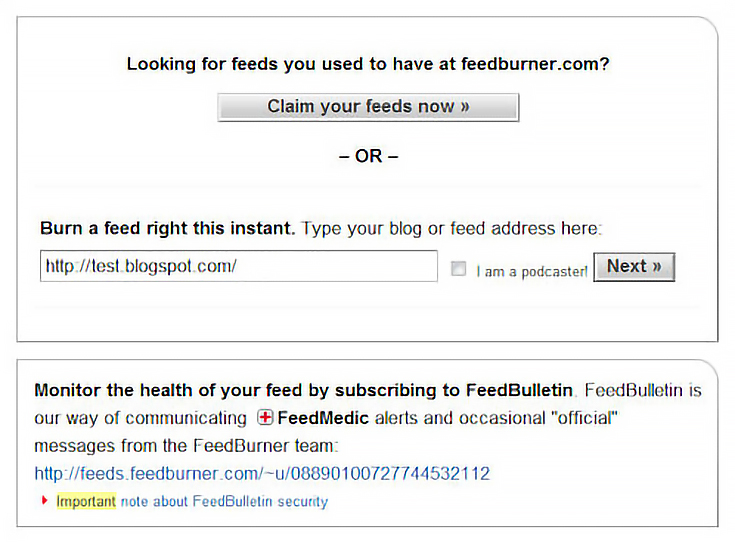
Simply type your blog’s address—probably “something”.blogspot.com—in the box and click the “next” button. FeedBurner will automatically find your blog’s available feeds on the next page:
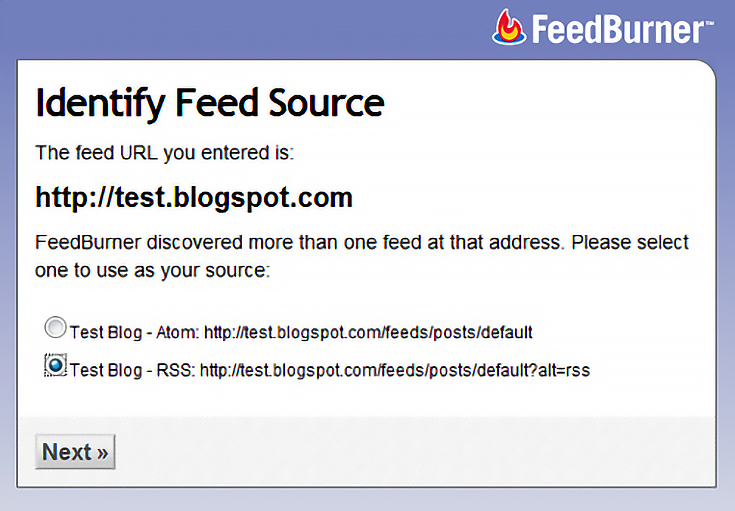
Click on the option for RSS, then click “next.” This is what you’ll see:
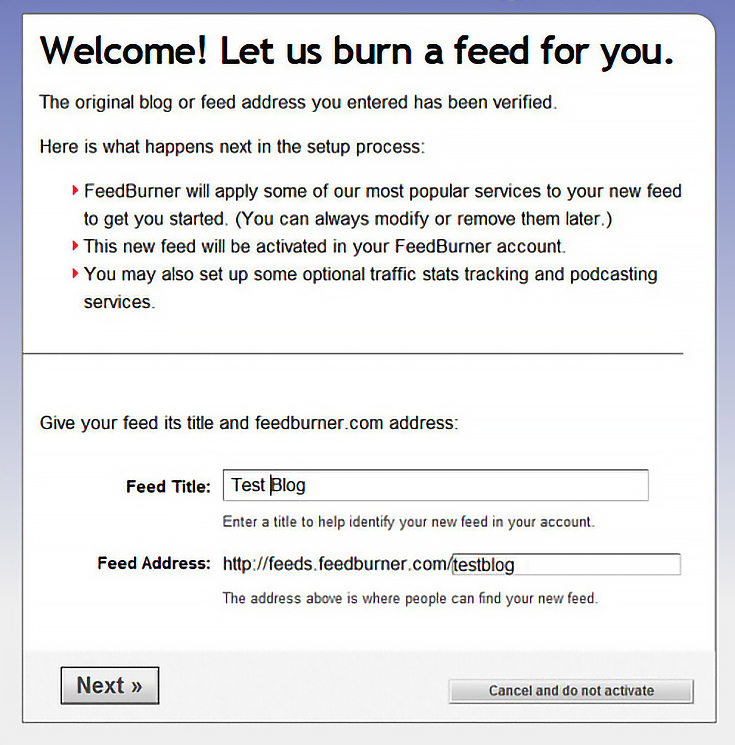
Right away you’ll notice that FeedBurner has already suggested a blog title and extension for your blog’s RSS feed. If you don’t like those suggestions, change the text to whatever you’d like, then click “next” again.
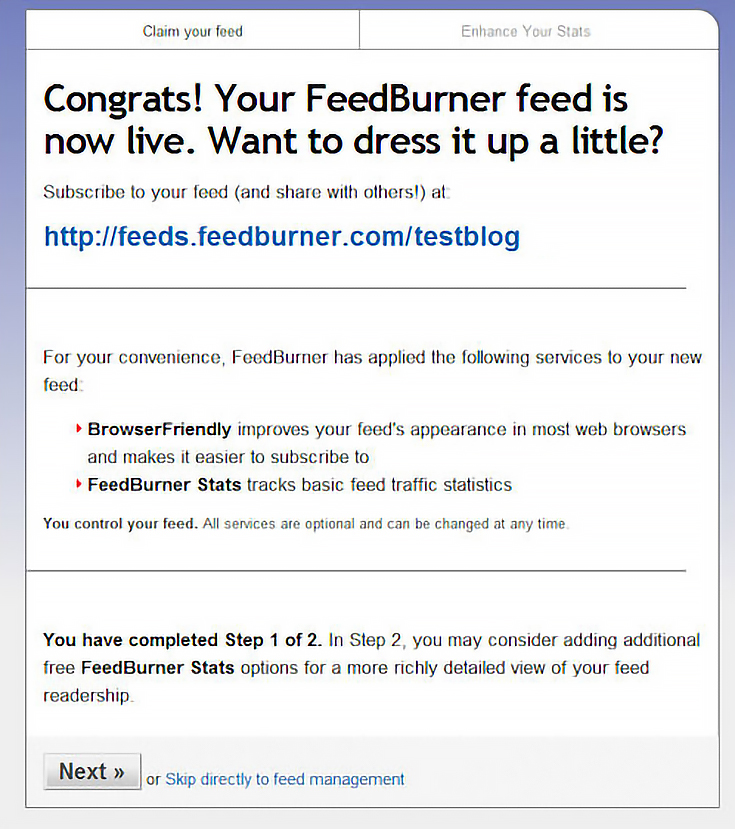
Congratulations! You’ve just set up your very first RSS feed!
But there’s no need to stop there. . . we still have a lot more that we can do! Click on the “next” button (yet again!) and let’s continue.
Step 3: Enhance Your Stats
After setting up your feed, FeedBurner will offer you a few optional “bells and whistles” for your feed.
The first thing you’ll be asked is if you want FeedBurner to keep track of more than just your circulation and readership. In other words, do you want FeedBurner to track how many times a link has been clicked on in your feed?
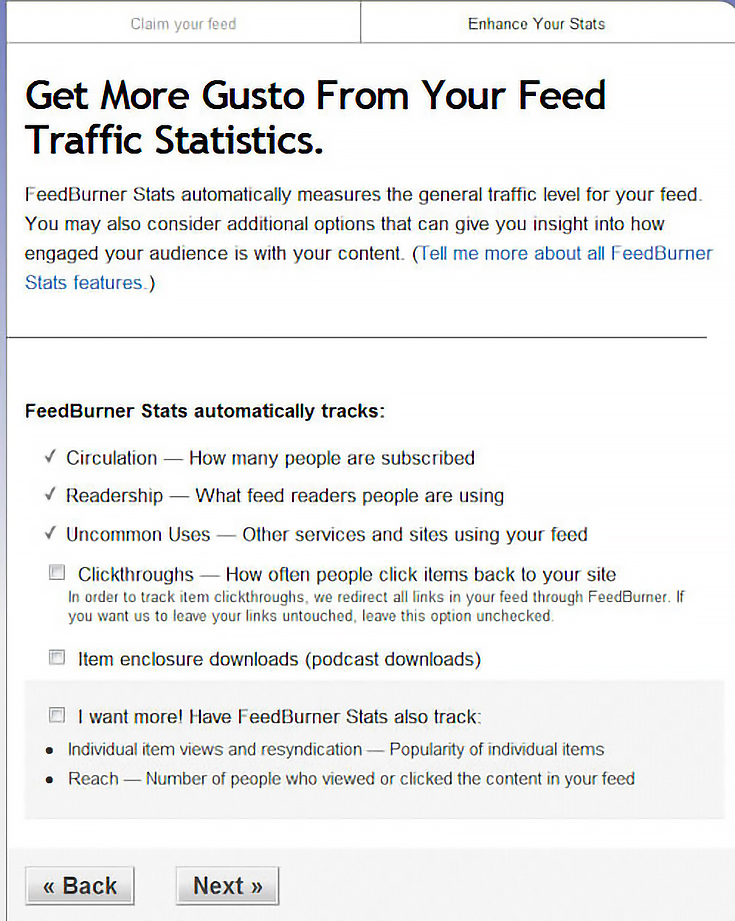
Since it’s free, I’d go ahead and check the boxes, then click “next”.
Step 4: Integrate FeedBurner With Blogger
At this point you’ll be taken to your Feedburner dashboard with five tabs across the top: analyze, optimize, publicize, monetize, and troubleshootize.
You’ll also see a list of several blogging platforms, and the features that Feedburner offers for each of them.
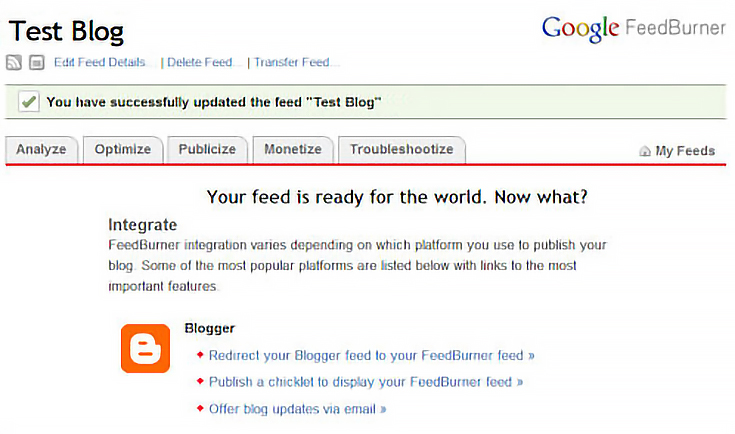
For the sake of this post, we’re going to ignore all other tabs and concentrate solely on the “publicize” tab. Clicking on the “publicize” tab will take you to the following page. Notice all the options on the left:
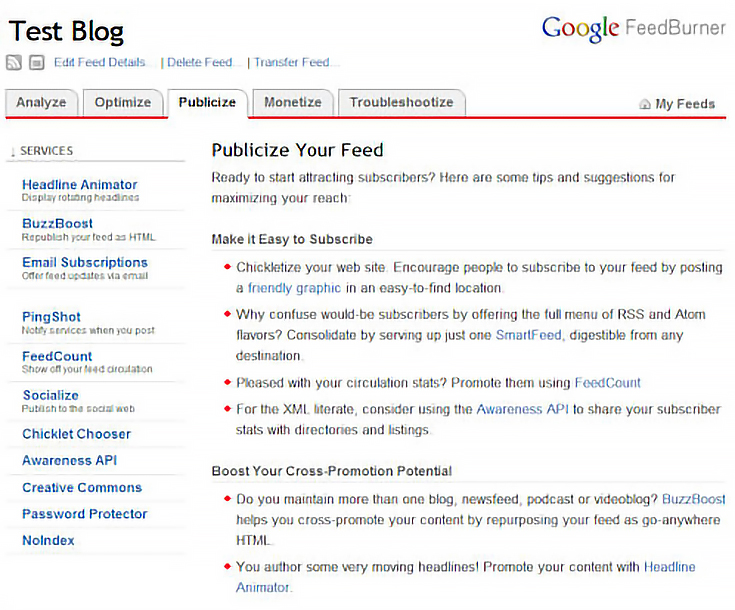
Click on the “Email Subscriptions” link on the left side to set up a simple email subscription option for your readers. (This will let your visitors sign up to automatically receive your blog posts in their email inbox.)
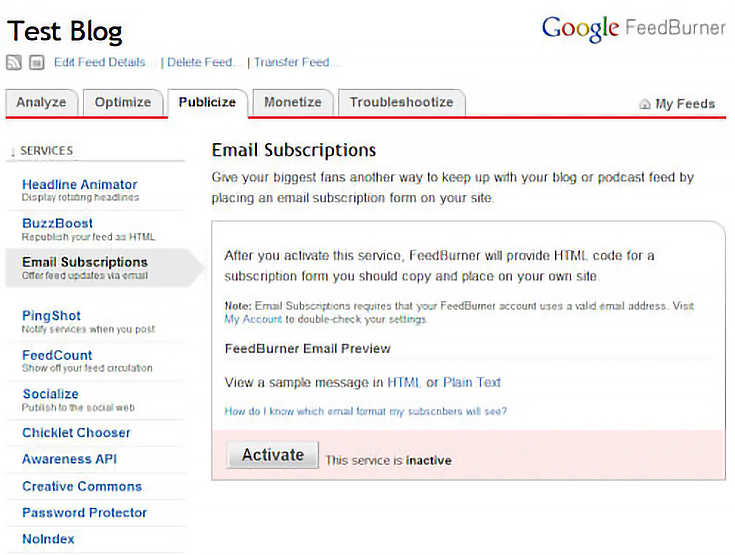
On the Email Subscriptions page, just click on the “activate” button. Once you activate the service you’ll have a few more options, shown below.

Although it looks a little confusing, basically you’ll just need to copy and paste a section of code into your blog—and you need to make sure that Feedburner knows what type of blog you have, so it gives you the correct code.
By default, the code is set up for a “Typepad” blog (I’m not sure why that’s the default, it just is). Scroll down and choose the option marked “Blogger.”
At this point the code is right in front of you, so go ahead and copy it. Highlight the entire section of code by clicking on it—make sure it’s ALL highlighted—then press “CTRL+C” to copy it.
Now you need to hop over to your Blogger account to place that code.
Open a new browser tab (or browser window) so you can come back to your Feedburner account later, and go to http://blogger.com.
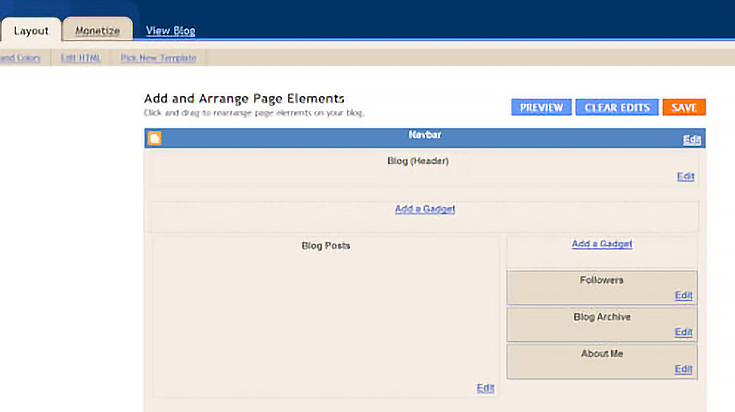
Enter your user name and password to log in, then click on the “Layout” tab. Next, click on the “add a gadget” link on the upper right hand side of the screen.
There are a lot of “gadget” options on the next screen. . .
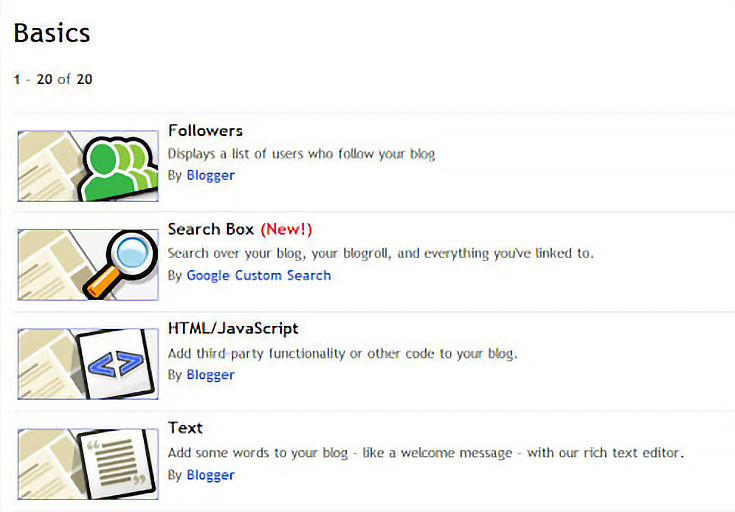
The only one you want is the “HTML/JavaScript” link. Click it to see this page:
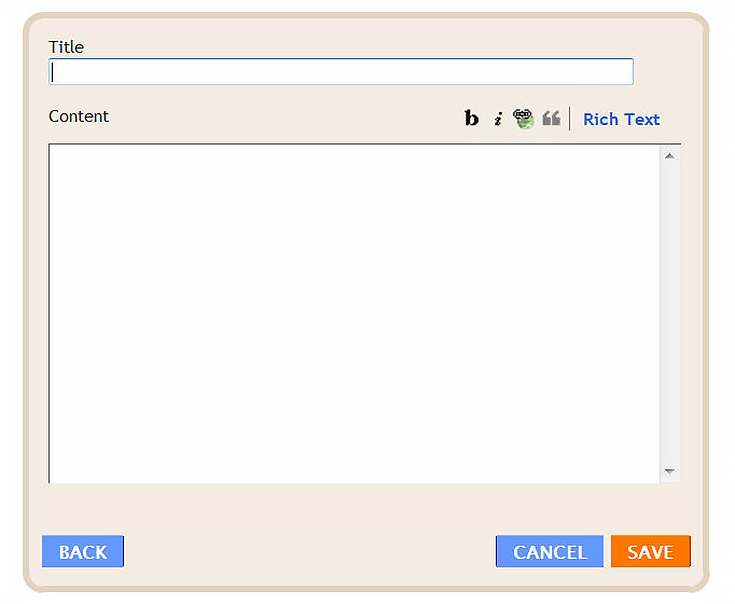
Place your cursor in the large box and then press “CTRL+V” key to paste the code that you JUST copied from your Feedburner account. Also, add a title in the title field, like “Subscribe for Updates.”
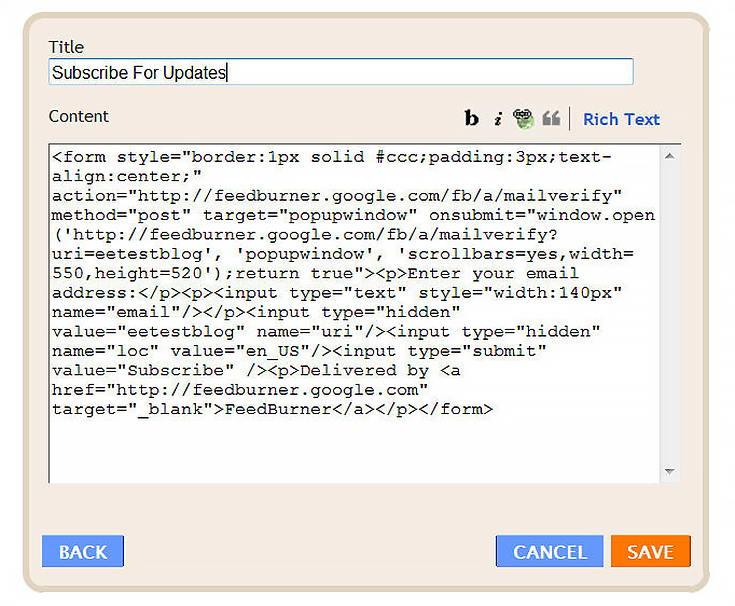
If your screen looks similar to the image above, click “save”.
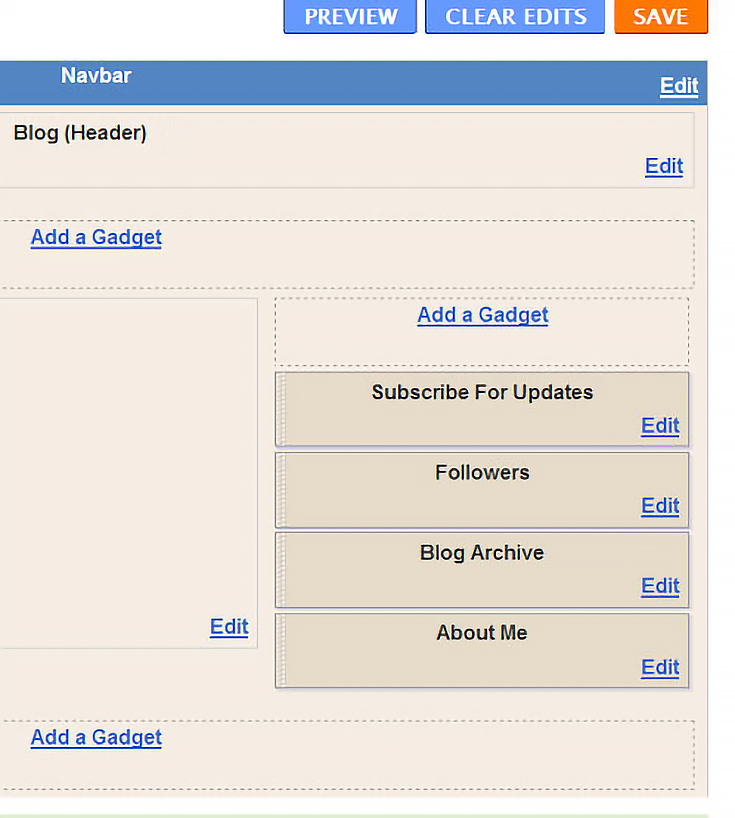
You’ll be taken back to your “Layout” page, and voila! You can see that you’ve just added a subscription service to the right side of your blog. When you visit your blog, there will be a sign-up form visible where people can subscribe.
Of course, there are many more little things you can do with Feedburner, now that you’ve got the basics in place.
To personalize your feed even more, either click around the various Feedburner tabs and try things out, or check out Google’s free Feedburner manual, located at www.google.com/support/feedburner.
This post may contain affiliate links.